
How to Backup & Restore Azure Virtual Machines
Azure virtual machines are an integral part of Azure Iaas (Infrastructure as a service). You can create a new Azure virtual machine in seconds with few clicks. Microsoft also provides an easy process to backup and restore the virtual machine. In this post, we will discuss that how we can backup & restore Azure virtual machine.
Backup Azure Virtual Machine (VM)
Go to Azure portal by navigating to https://portal.azure.com
Search and select Recovery Services Vault in the Azure portal.
Select Add or Create recovery Services vault.

Create a new resource group or use an existing one.
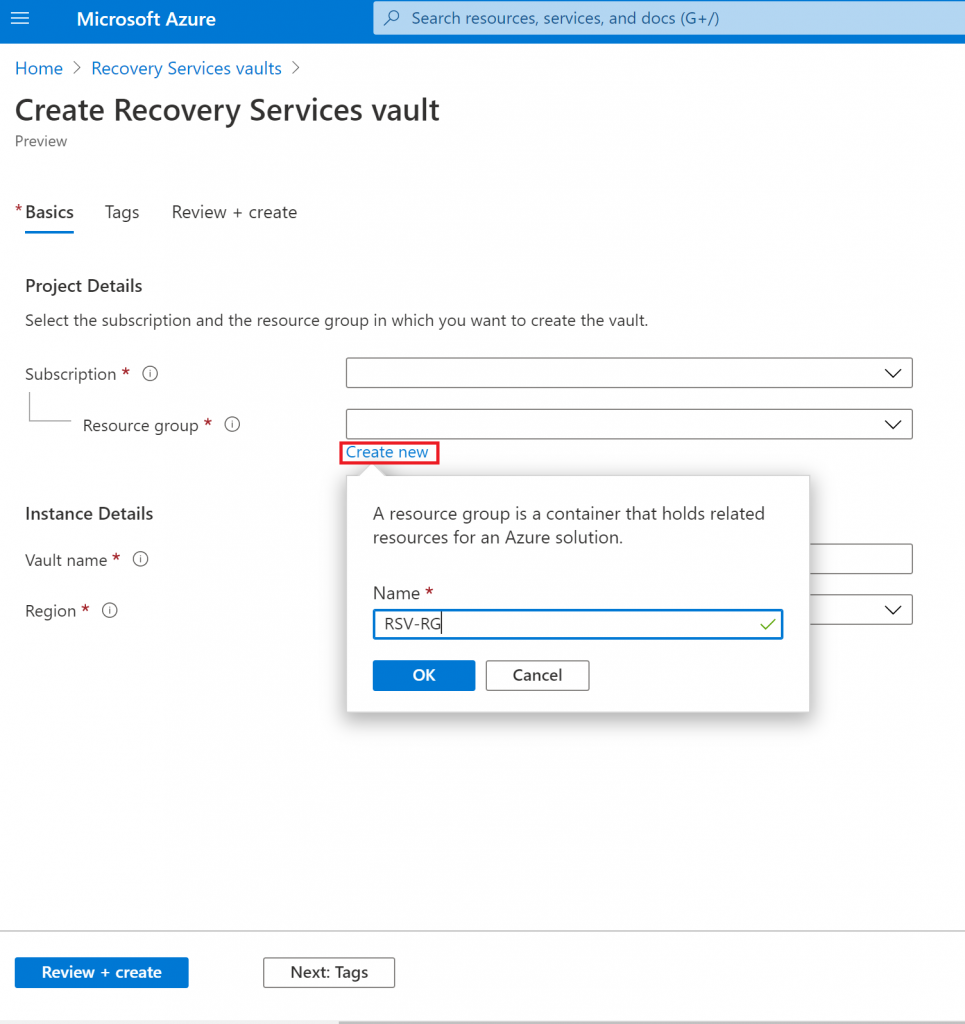
Enter vault name and Region. Select Review + Create
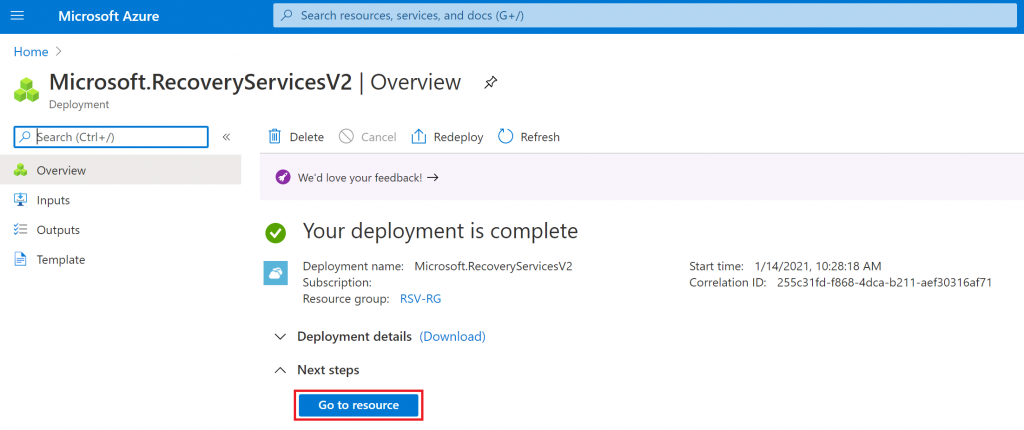
Select Go to resource
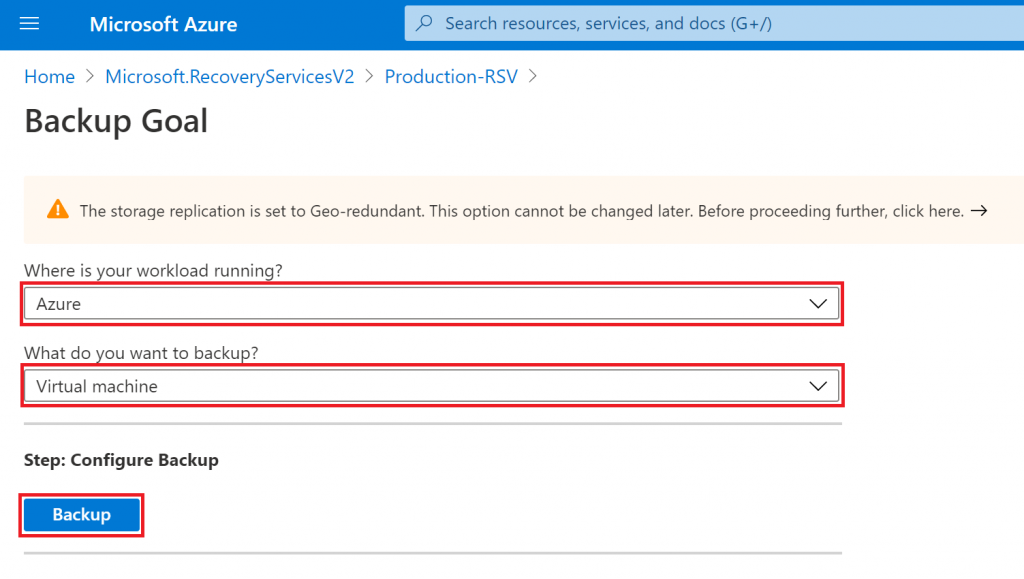
Select Overview and Backup

Where is your workload running? Select Azure
What do you want to back up? Select Virtual machine
Select Backup
 You can use the default backup policy or create a new one
Select Add to add virtual machine in this backup policy
 Select the virtual machine which you want to backup. Select OK and Enable Backup.
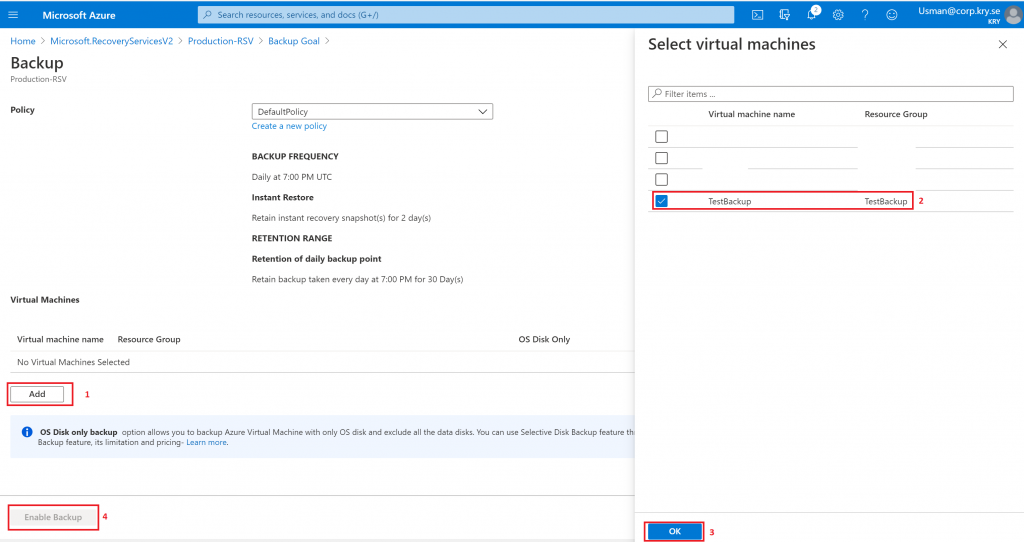
Go back to Recovery Services Vault. Select Backup Items from Protected items menu
Select Azure Virtual Machine

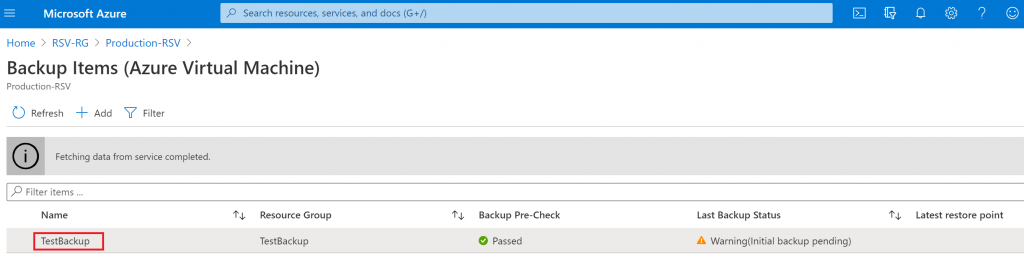
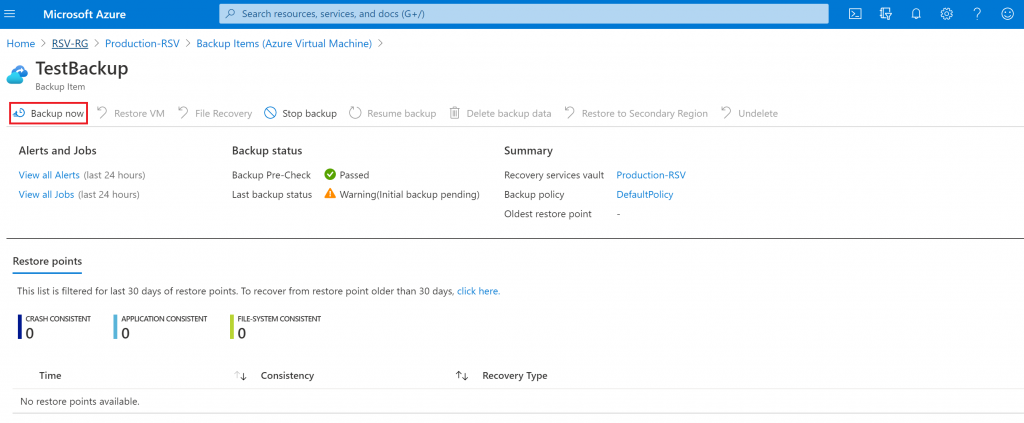
- Start the Initial Backup by selecting “Backup now”
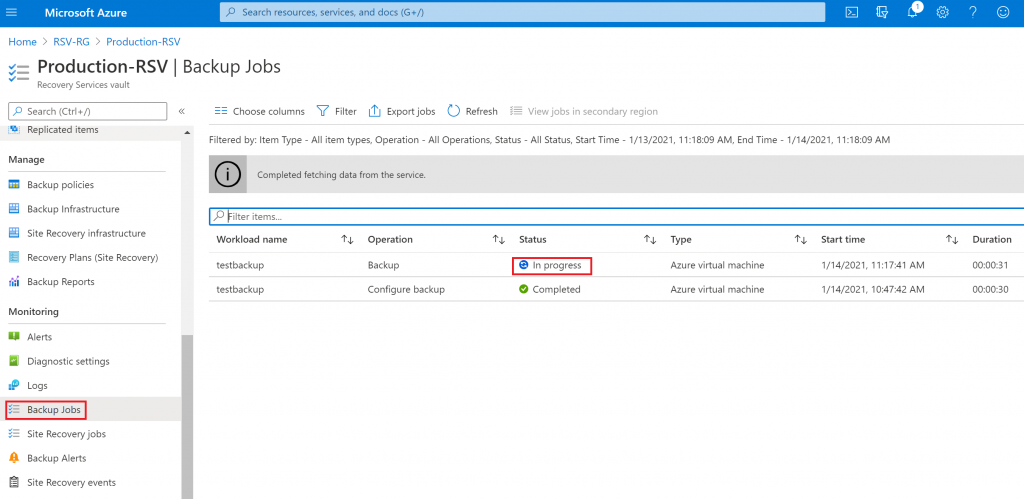
You can view the backup progress in “Backup Jobs”
Restore Azure VM (Virtual Machine)
Make sure that the virtual machine is stopped and de-allocated before starting the restore process.
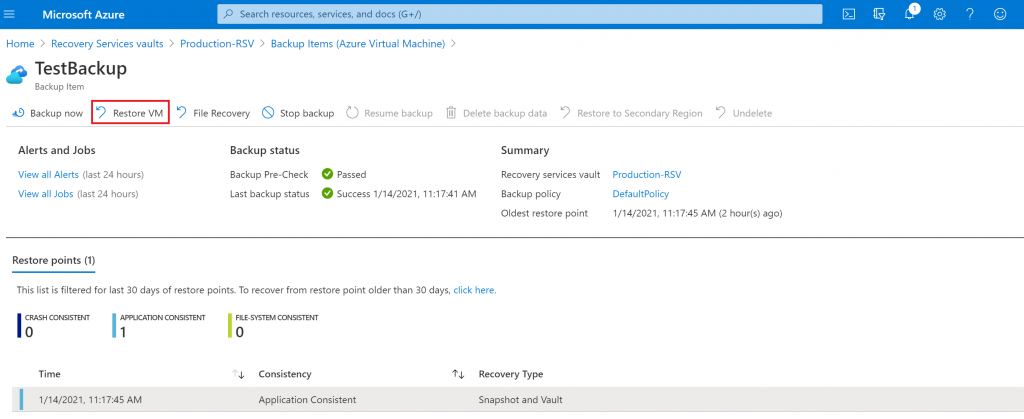
Select the Backup items and select Azure Virtual Machine
Select Restore VM
Select Restore point
Select Replace existing (it will restore the same VM)
Restore Type: Replace Disks
Staging Location: Storage account
