Azure Backup protects your virtual machines through a Recovery Services Vault, capturing application-consistent recovery points you can restore from after data loss, corruption, or accidental deletion. This guide walks through both halves of the process — backing up an Azure VM and restoring one — using the Azure portal.
Quick answer: Create a Recovery Services Vault, then Backup → Azure → Virtual machine, choose a backup policy, select your VM, and click Enable Backup followed by Backup now. To restore, open the backup item, select Restore VM, pick a restore point, and choose how to restore (create a new VM, restore disks, or replace the existing VM).
Backup Azure Virtual Machine (VM)
Step 1: Open the Azure Portal
Go to Azure portal by navigating to https://portal.azure.com.
Search and select Recovery Services Vault in the Azure portal.

Step 2: Create a Recovery Services Vault
Select Add or Create recovery Services vault.

Create a new resource group or use an existing one.
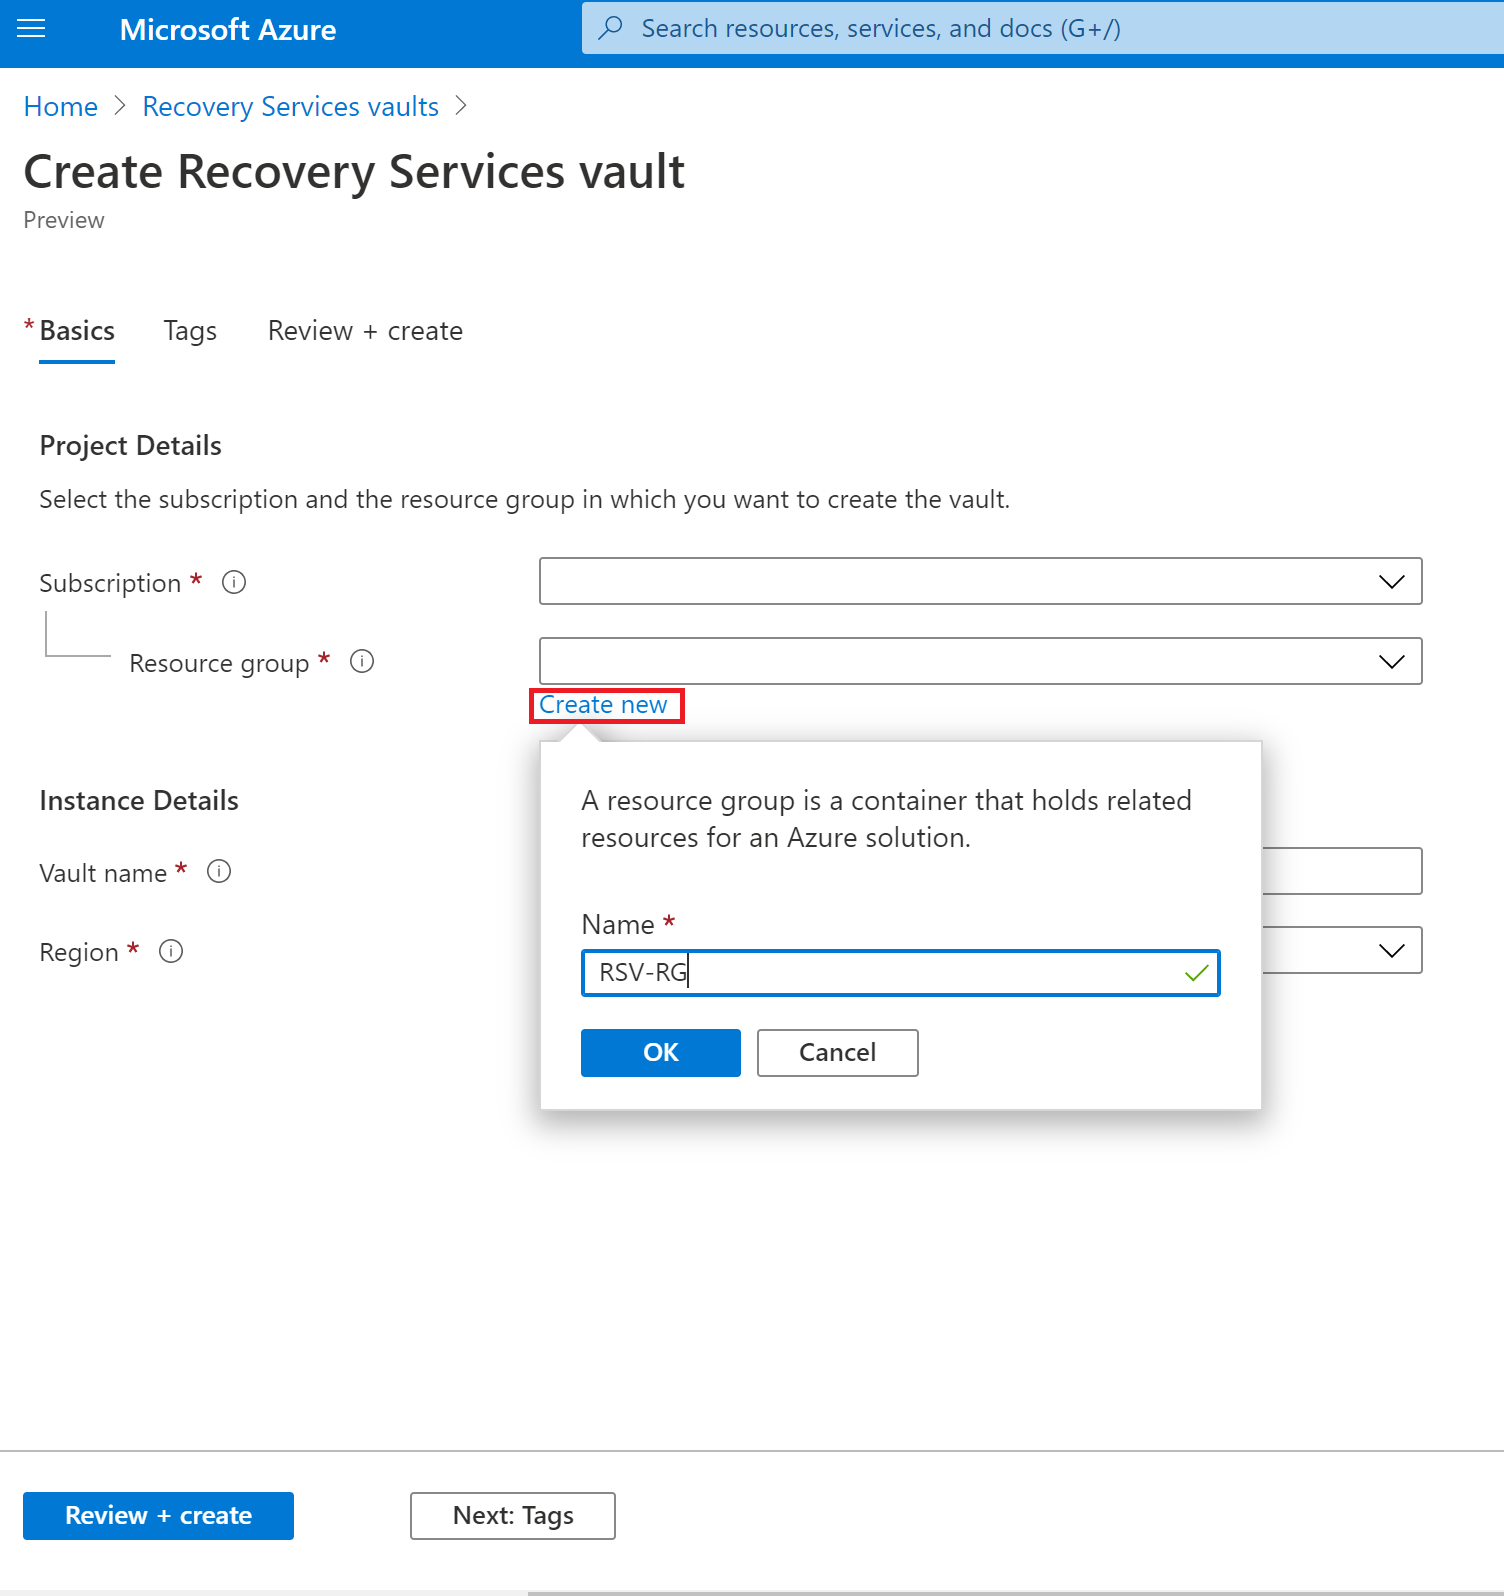
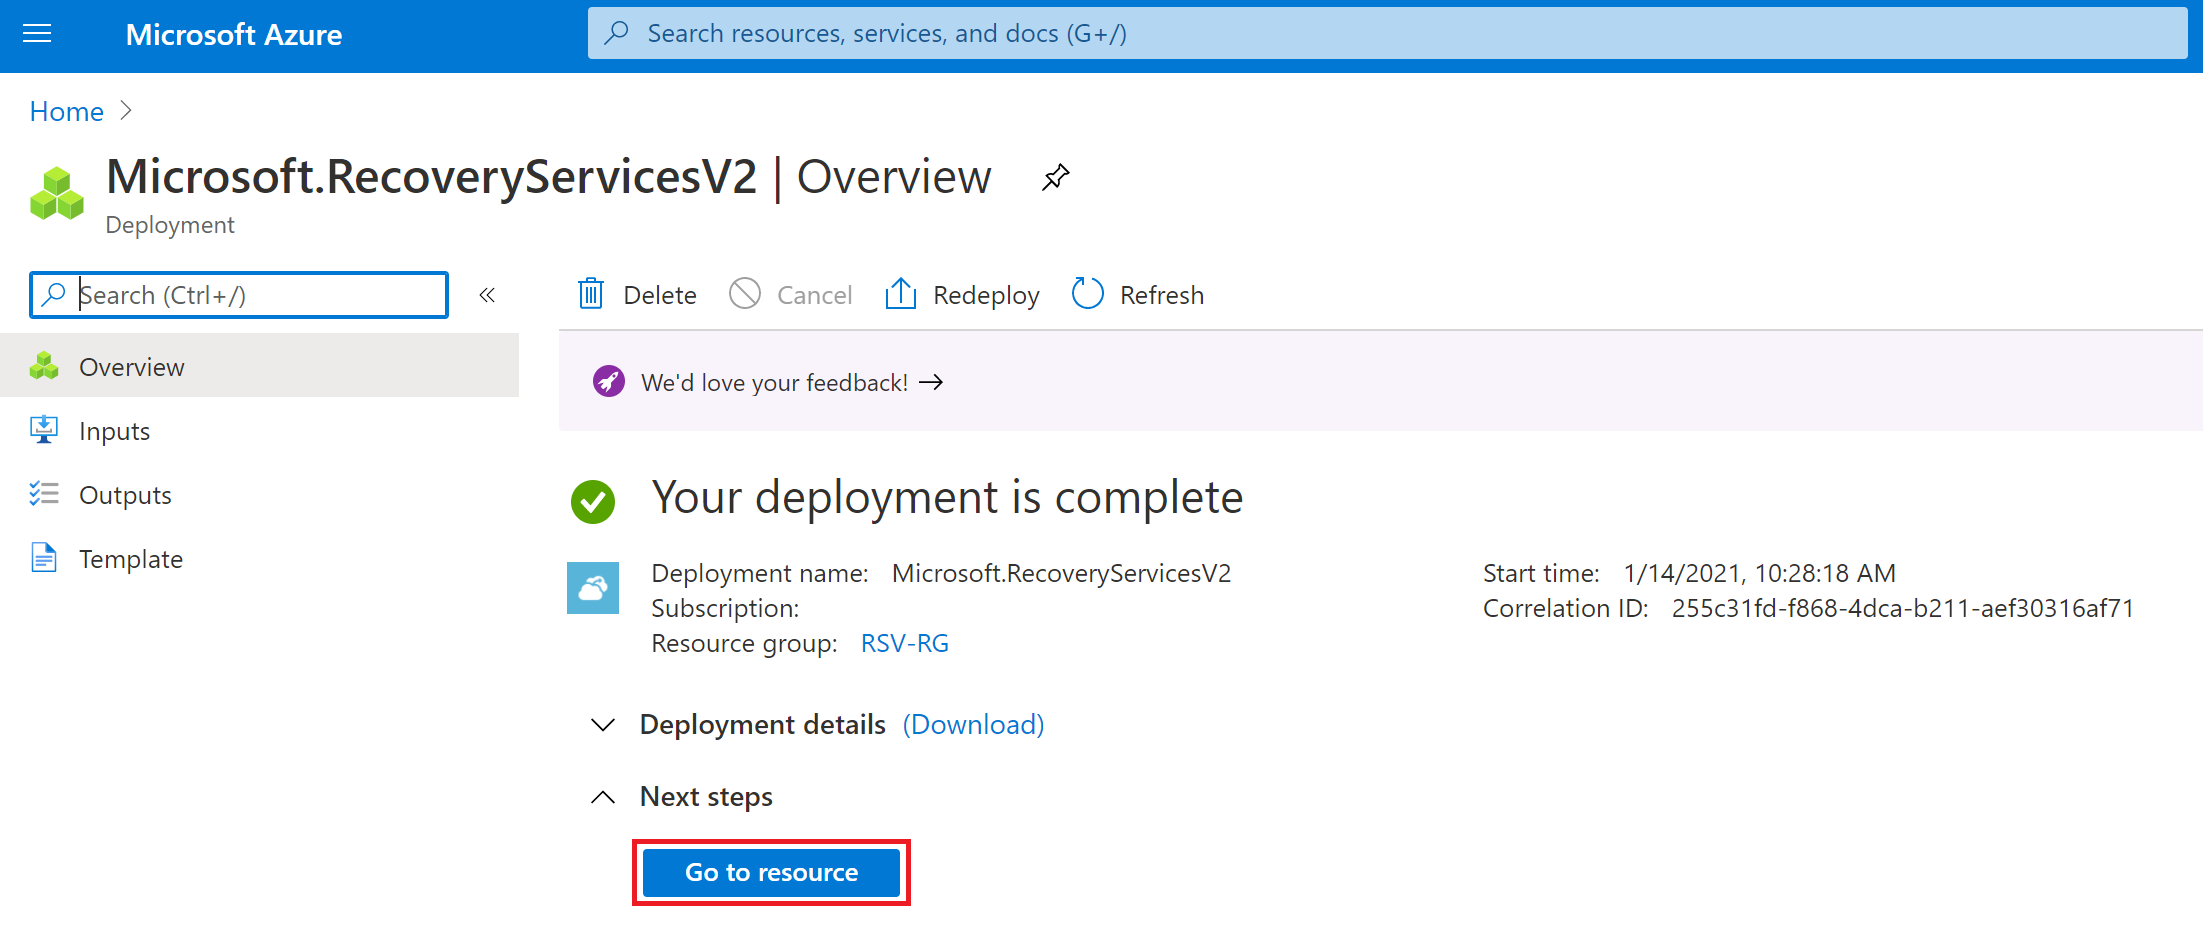
Enter vault name and Region. Select Review + Create, then select Go to resource.
Step 3: Configure the Backup
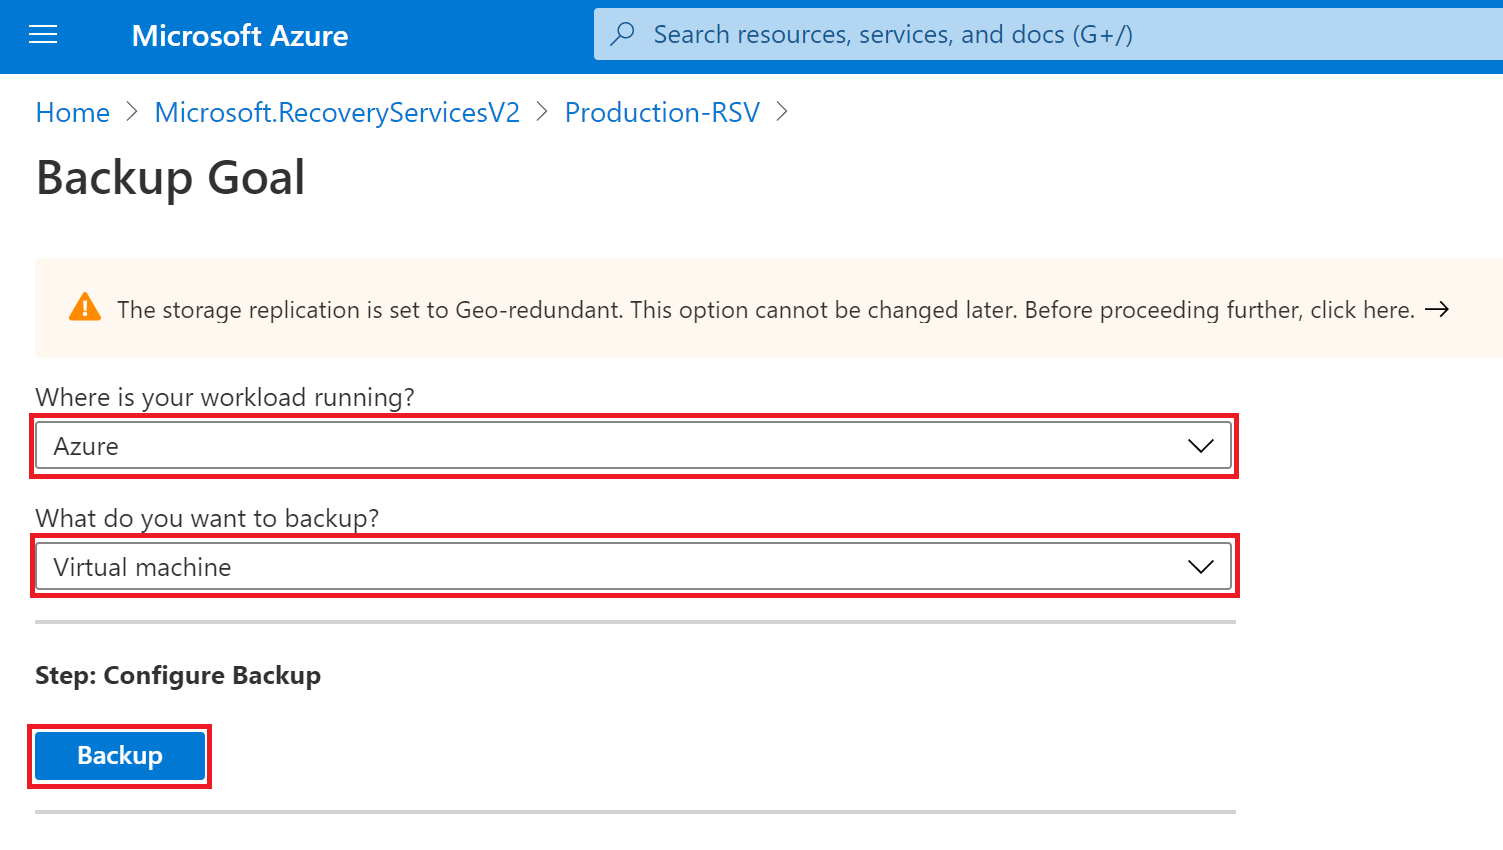
Select Overview and then Backup.

Configure the backup goal:
- Where is your workload running? Select Azure
- What do you want to back up? Select Virtual machine
Select Backup.
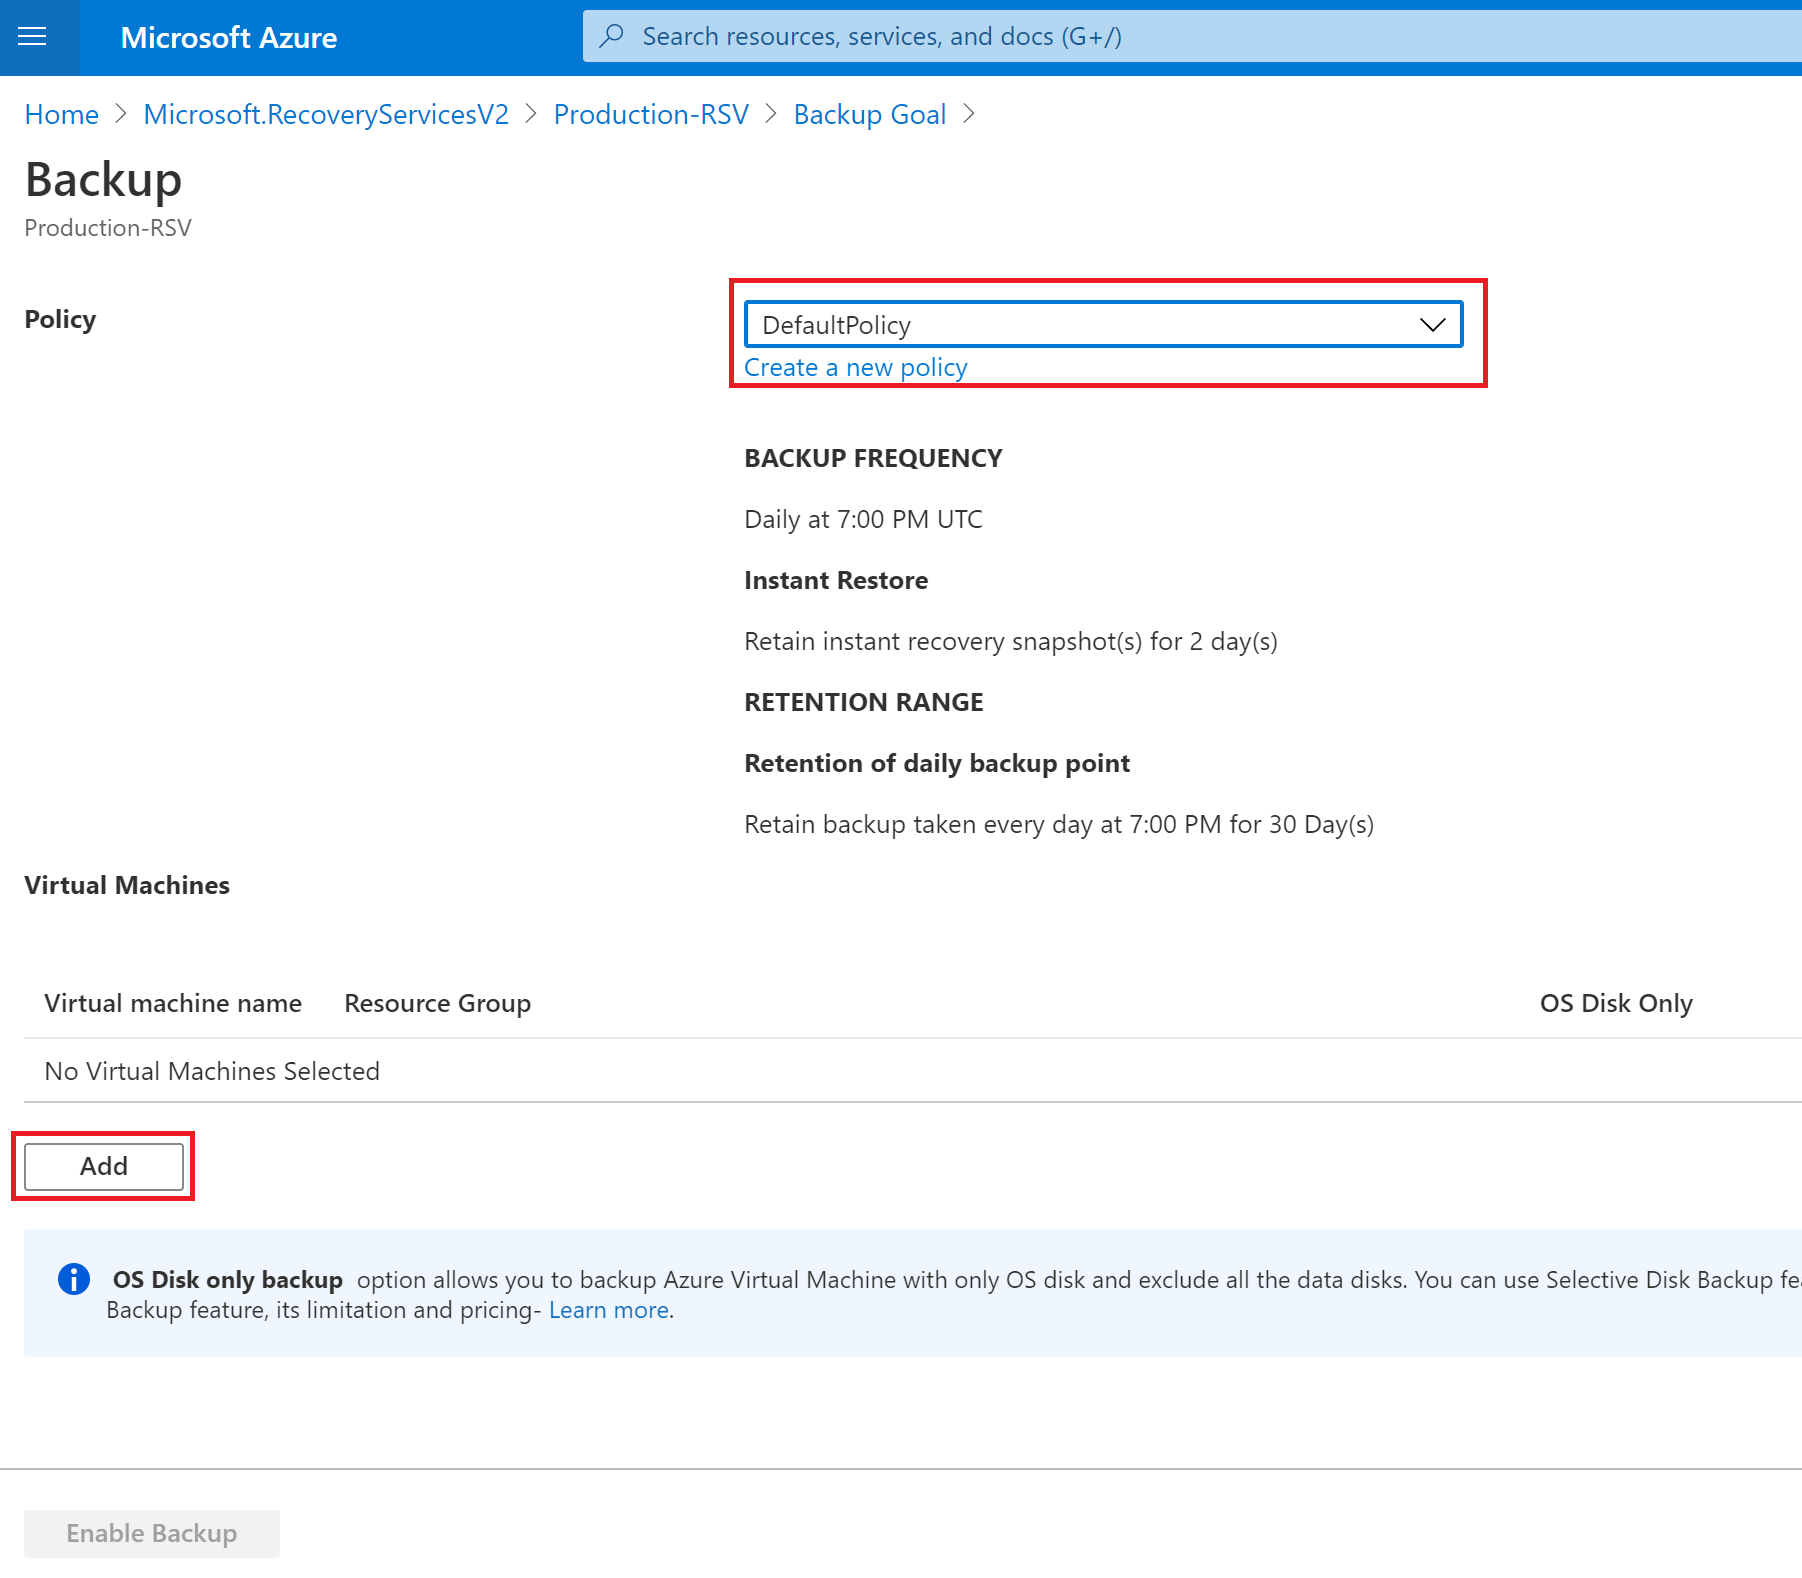
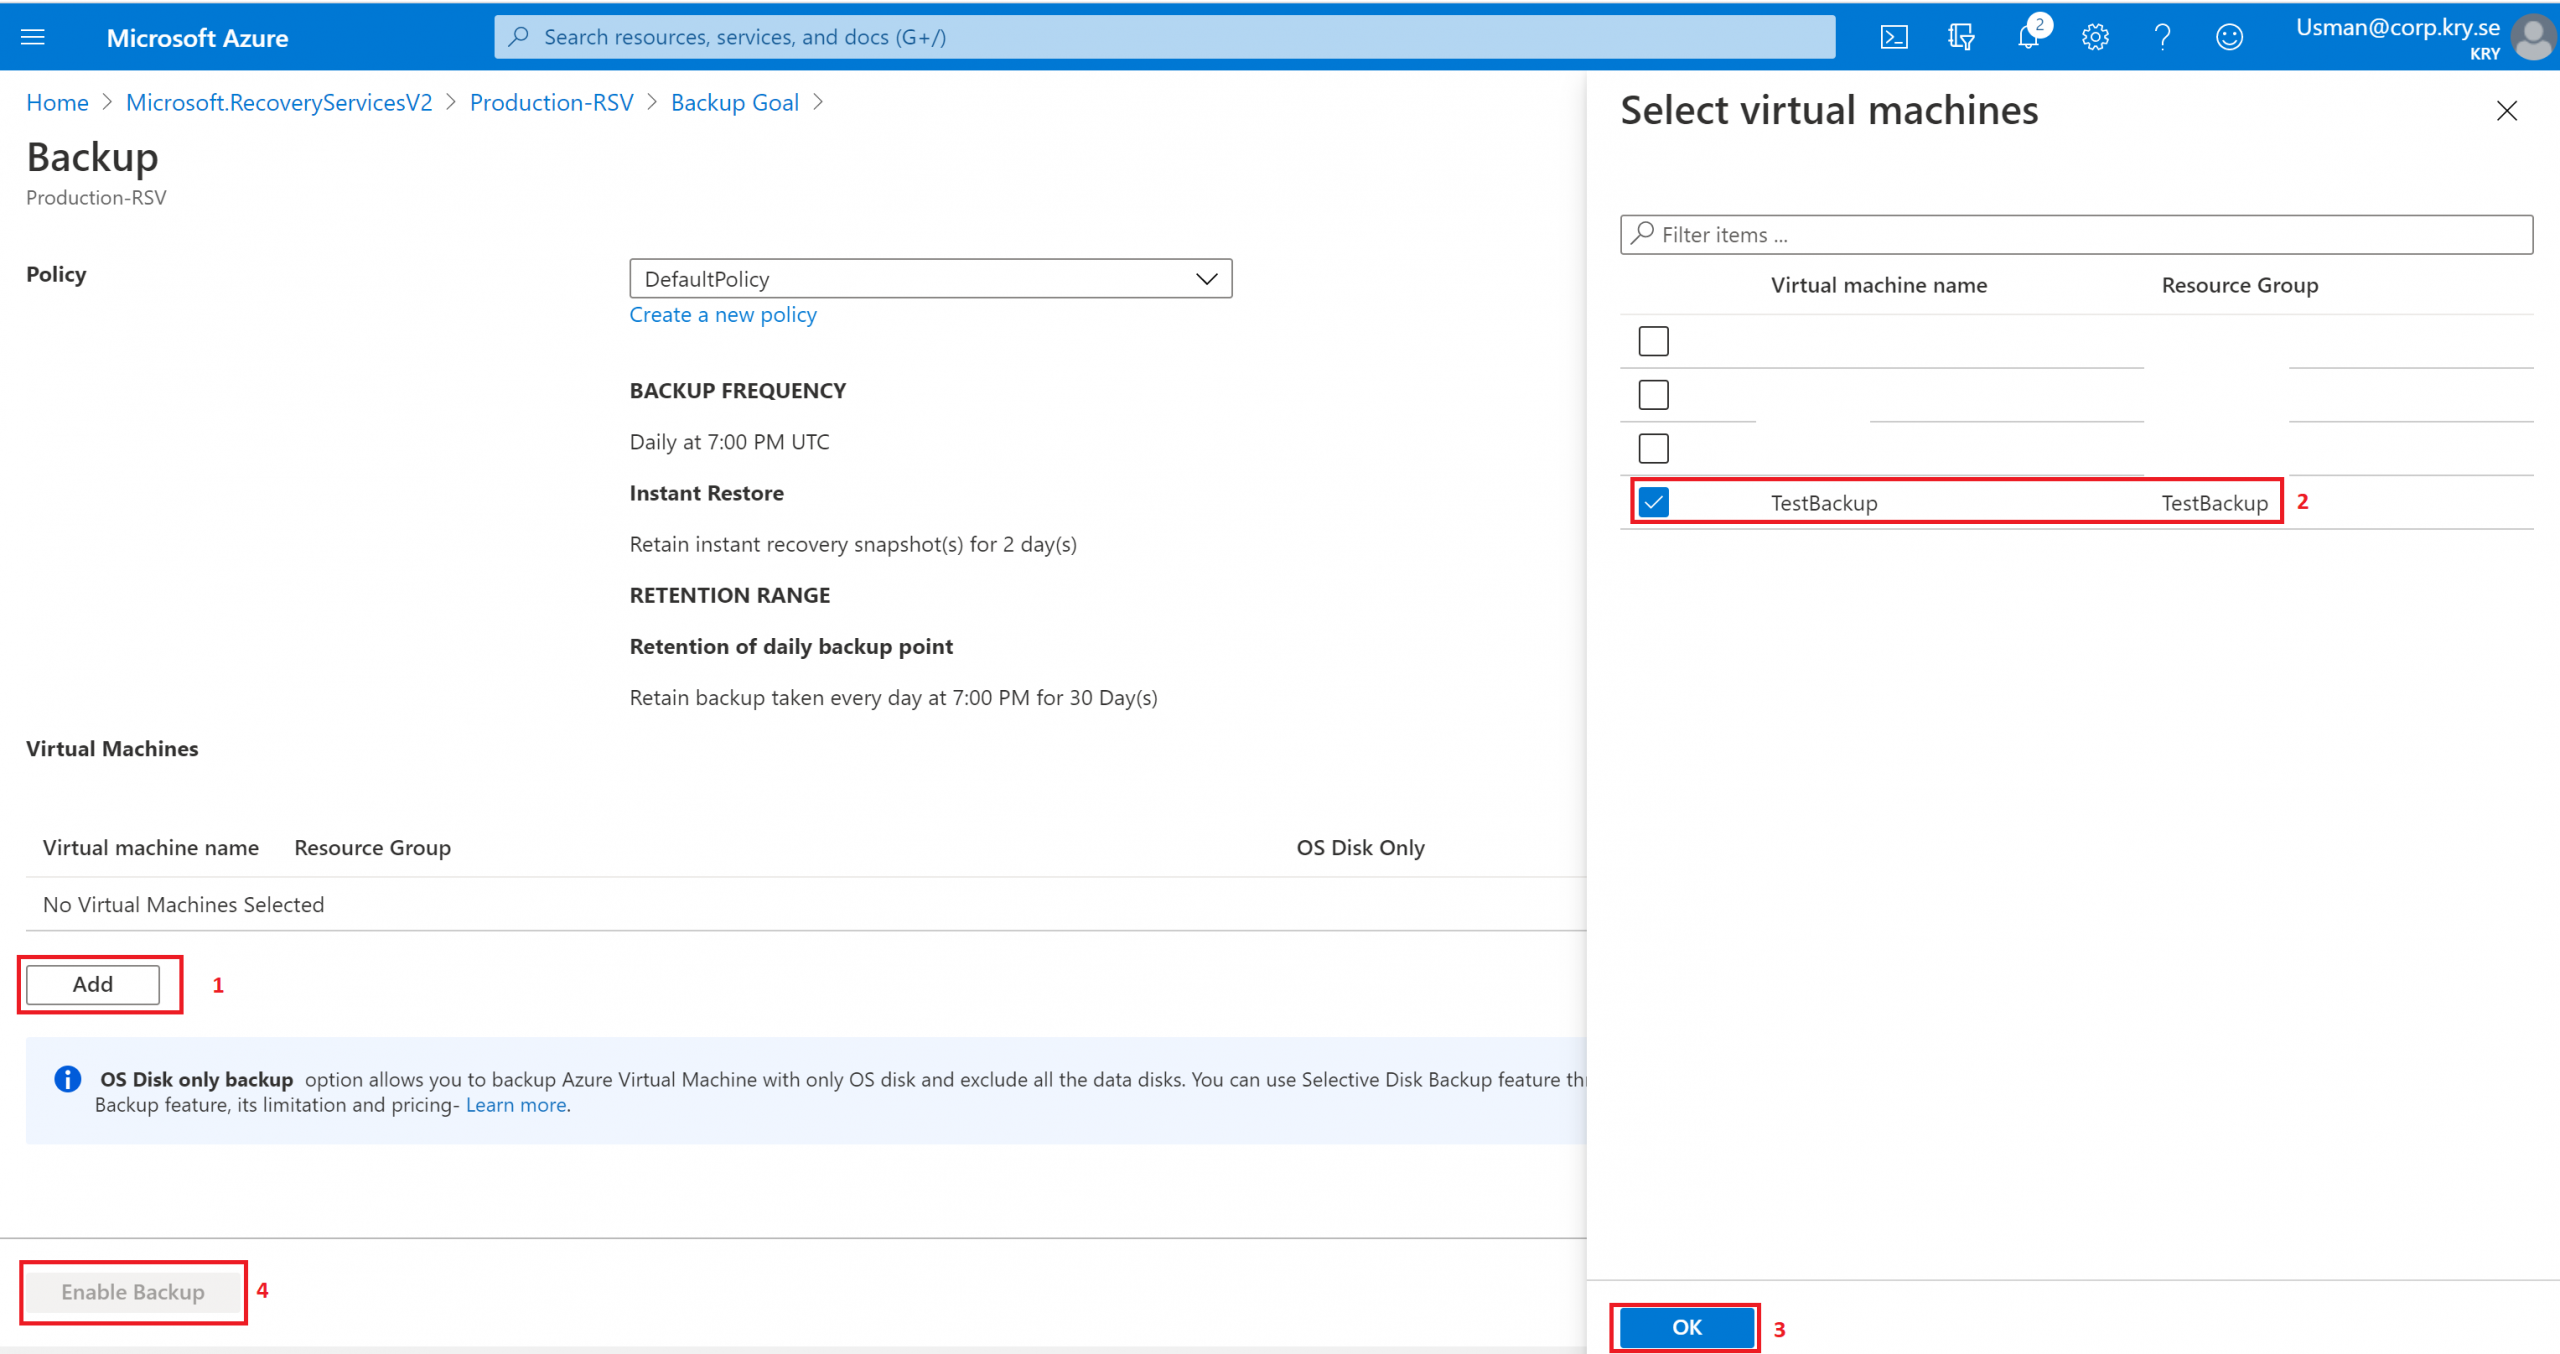
Step 4: Set the Backup Policy
You can use the default backup policy or create a new one.
Select Add to add a virtual machine to this backup policy.
Step 5: Select the Virtual Machine
Select the virtual machine which you want to backup. Select OK and then Enable Backup.
Step 6: Verify and Start the Backup
Go back to Recovery Services Vault. Select Backup Items from the Protected items menu.
Select Azure Virtual Machine.
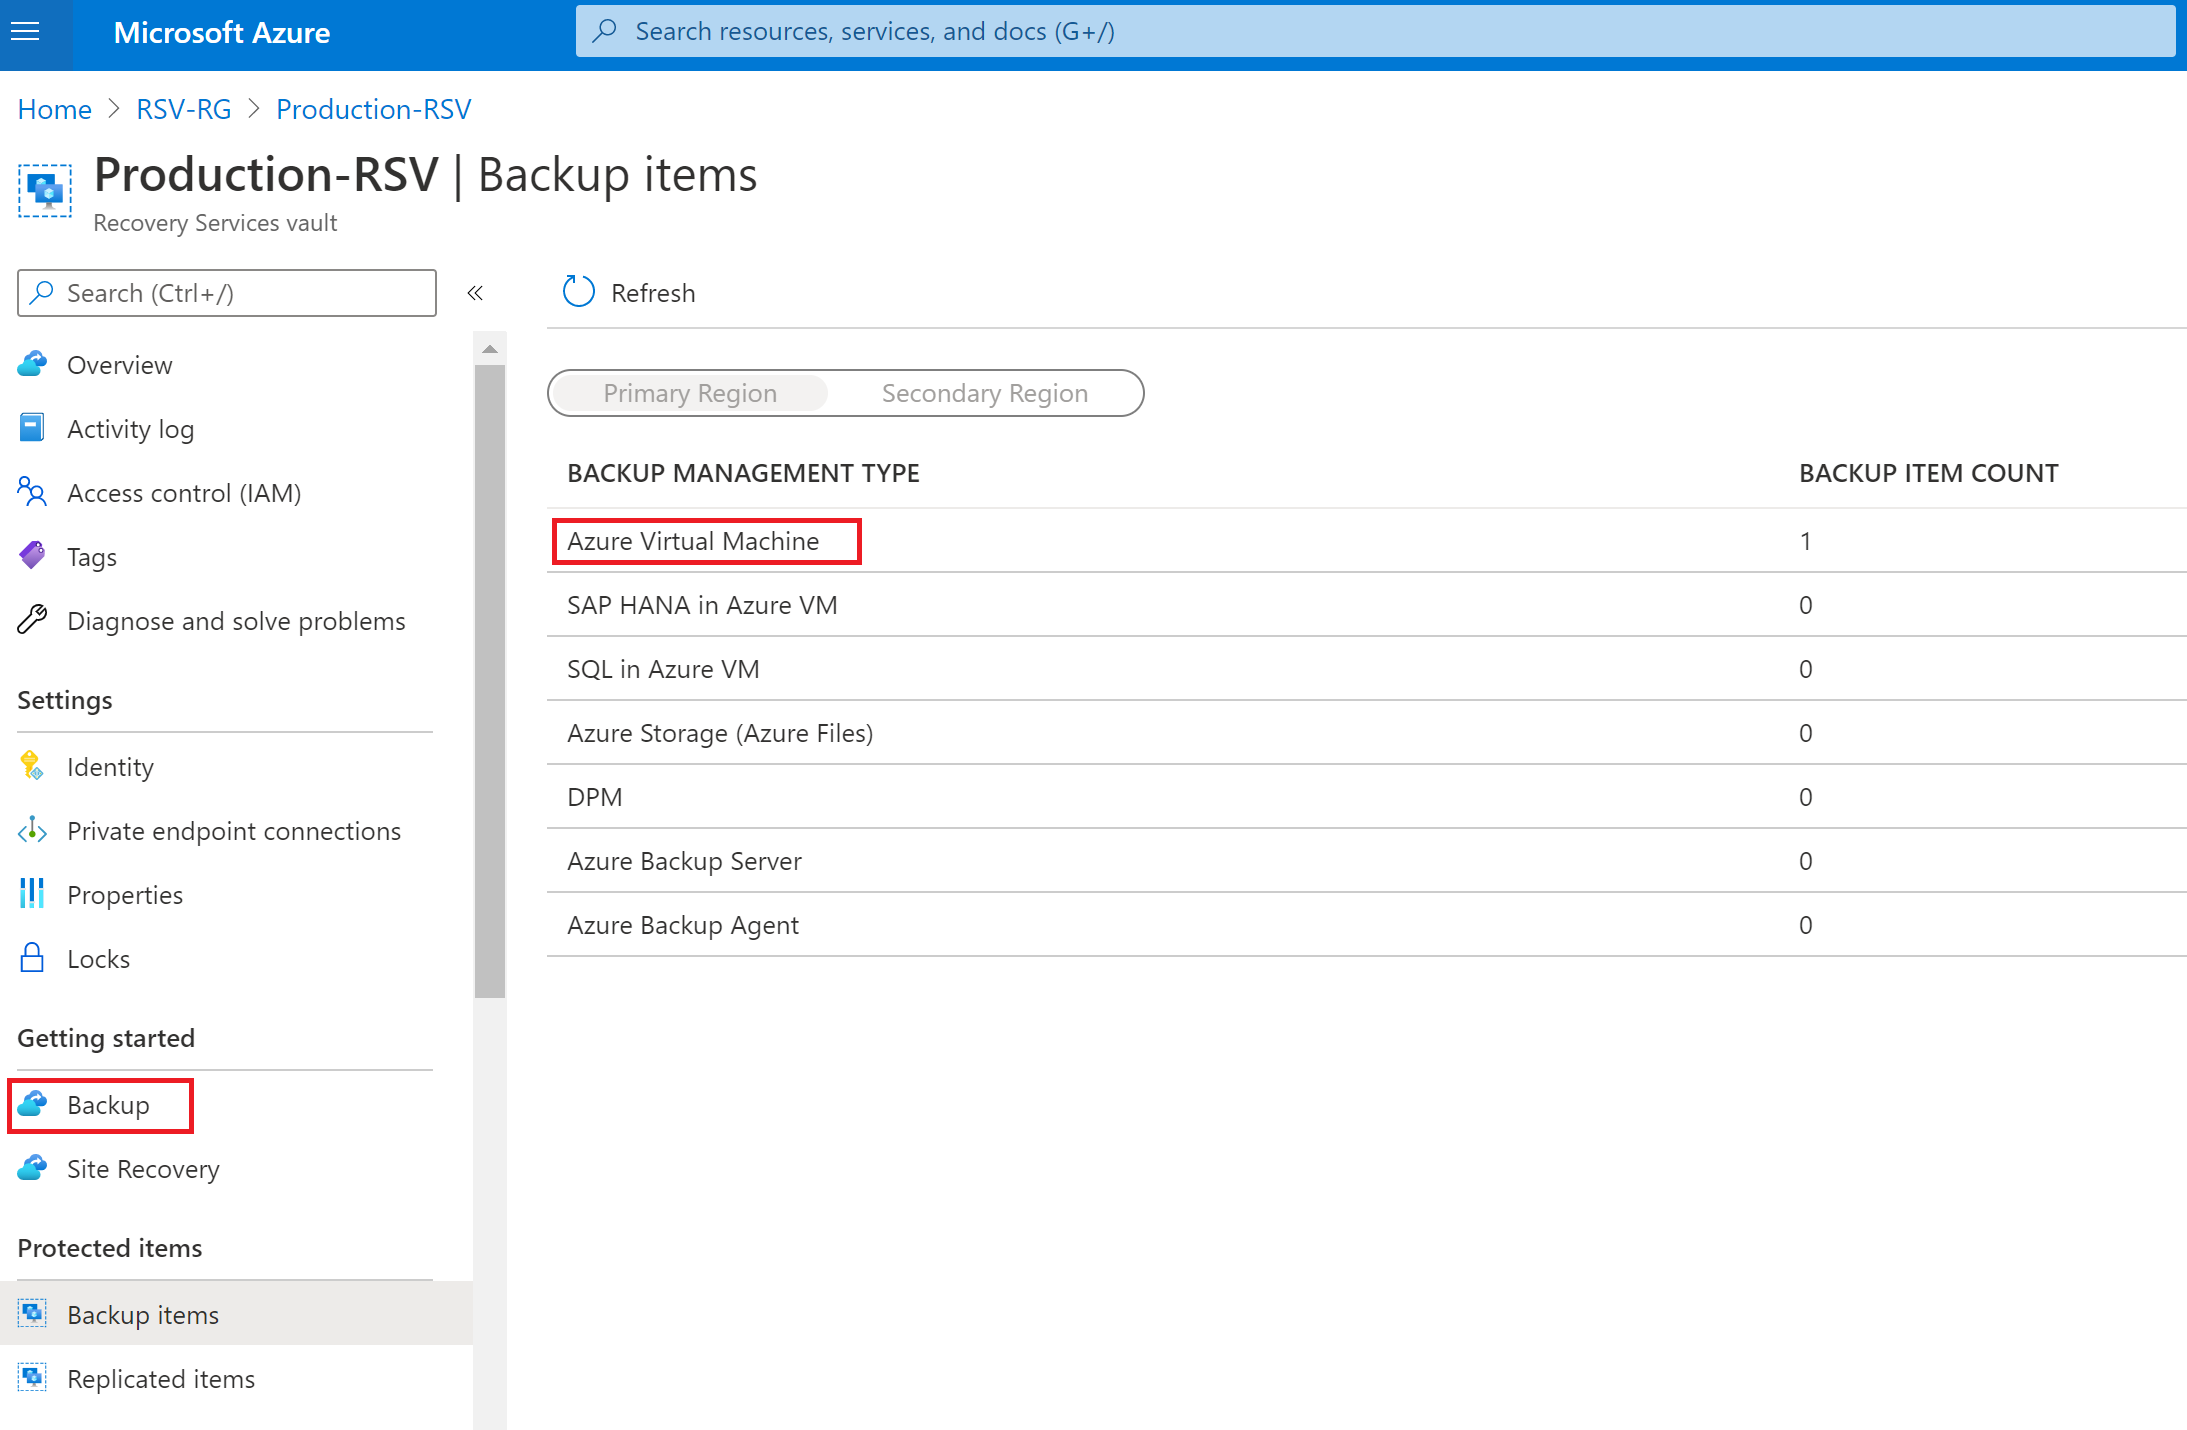

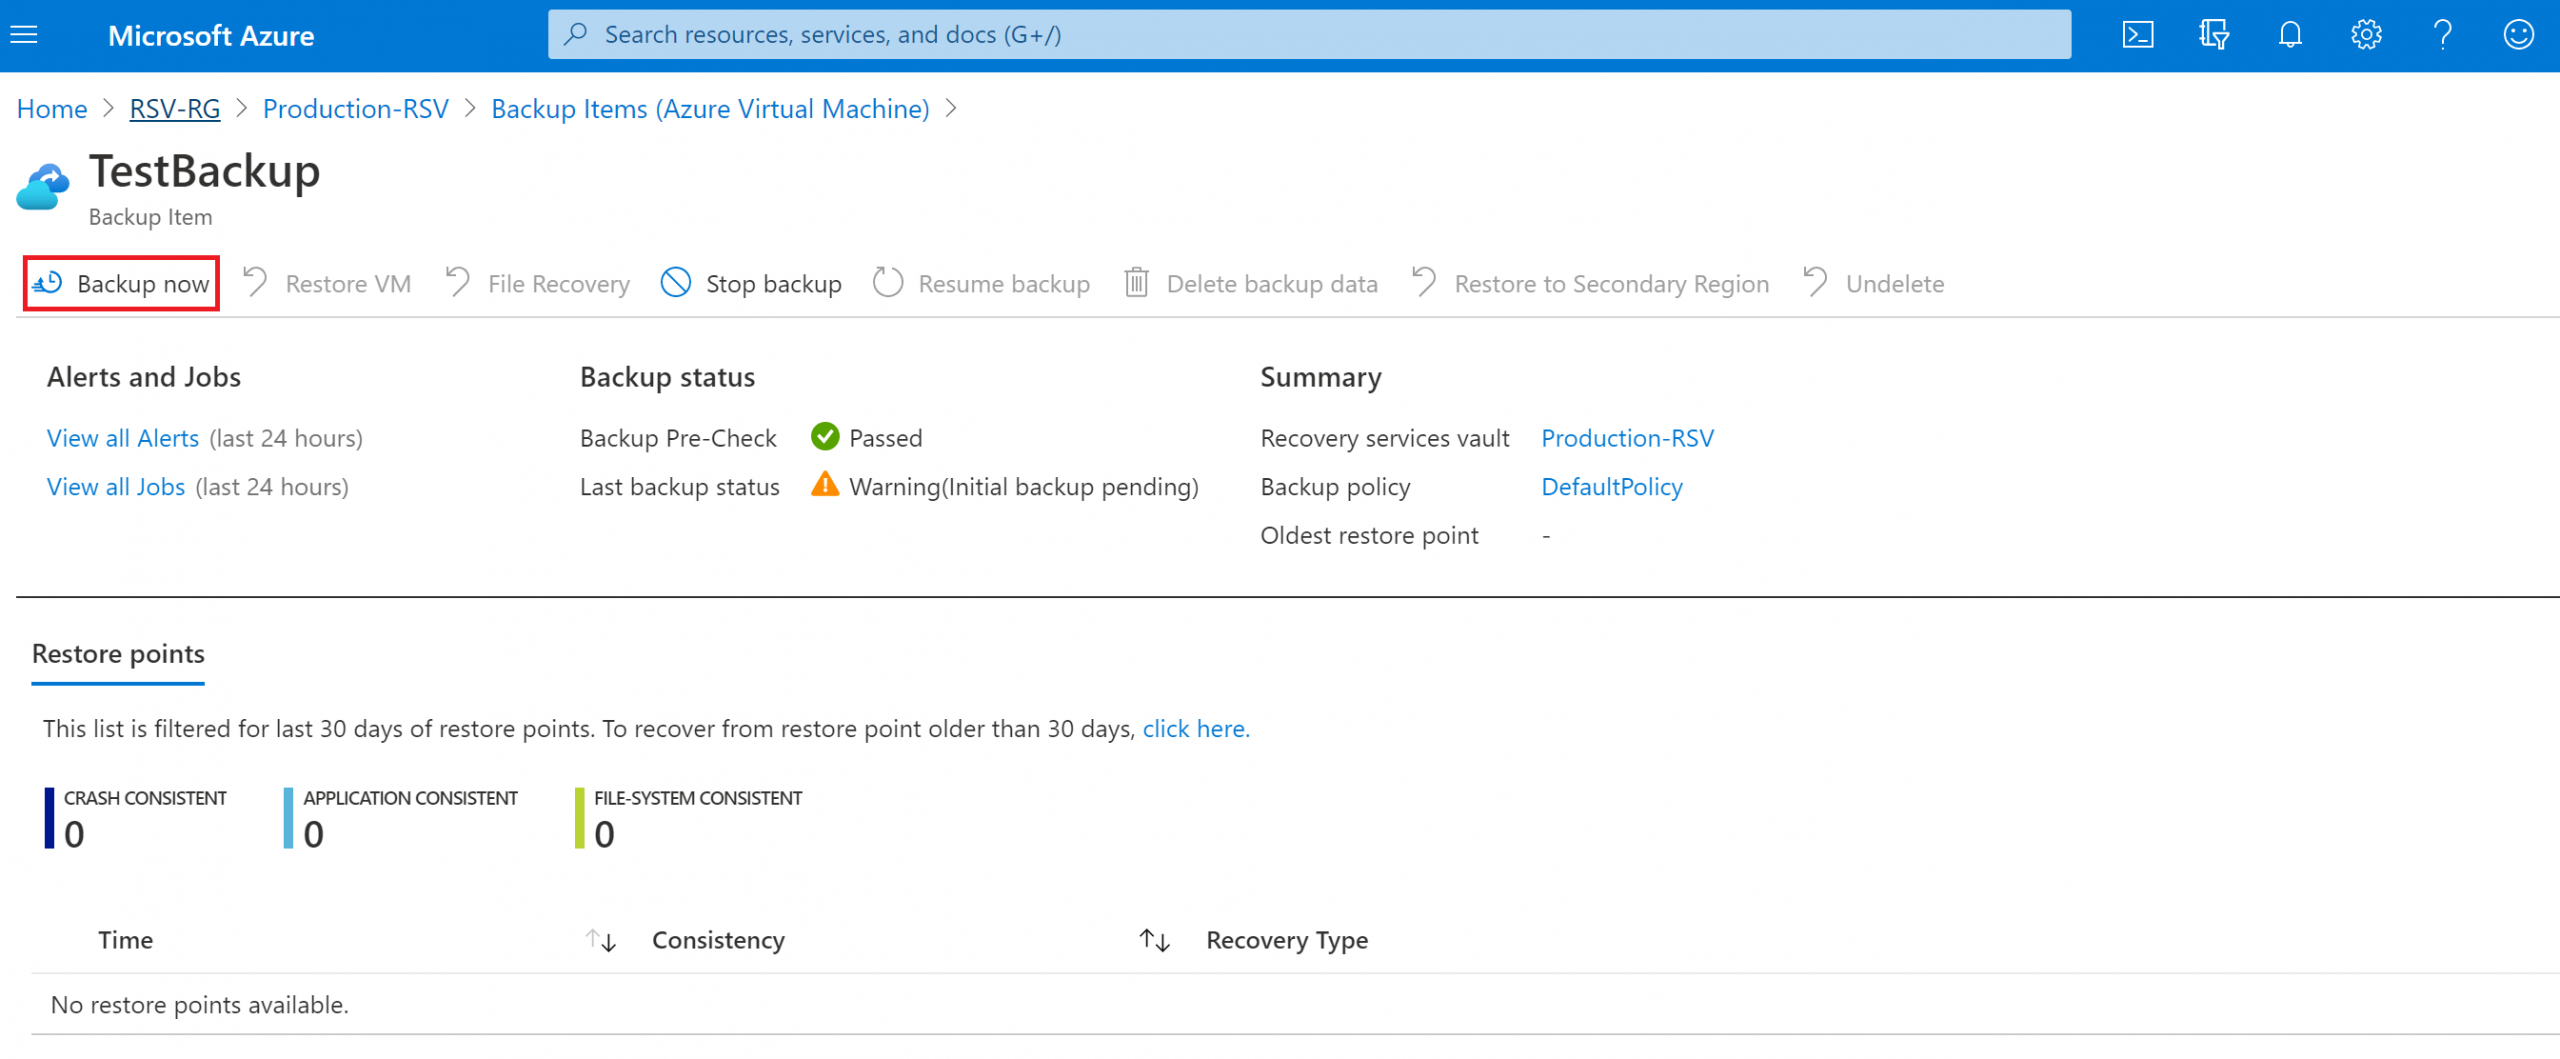
Start the initial backup by selecting Backup now.
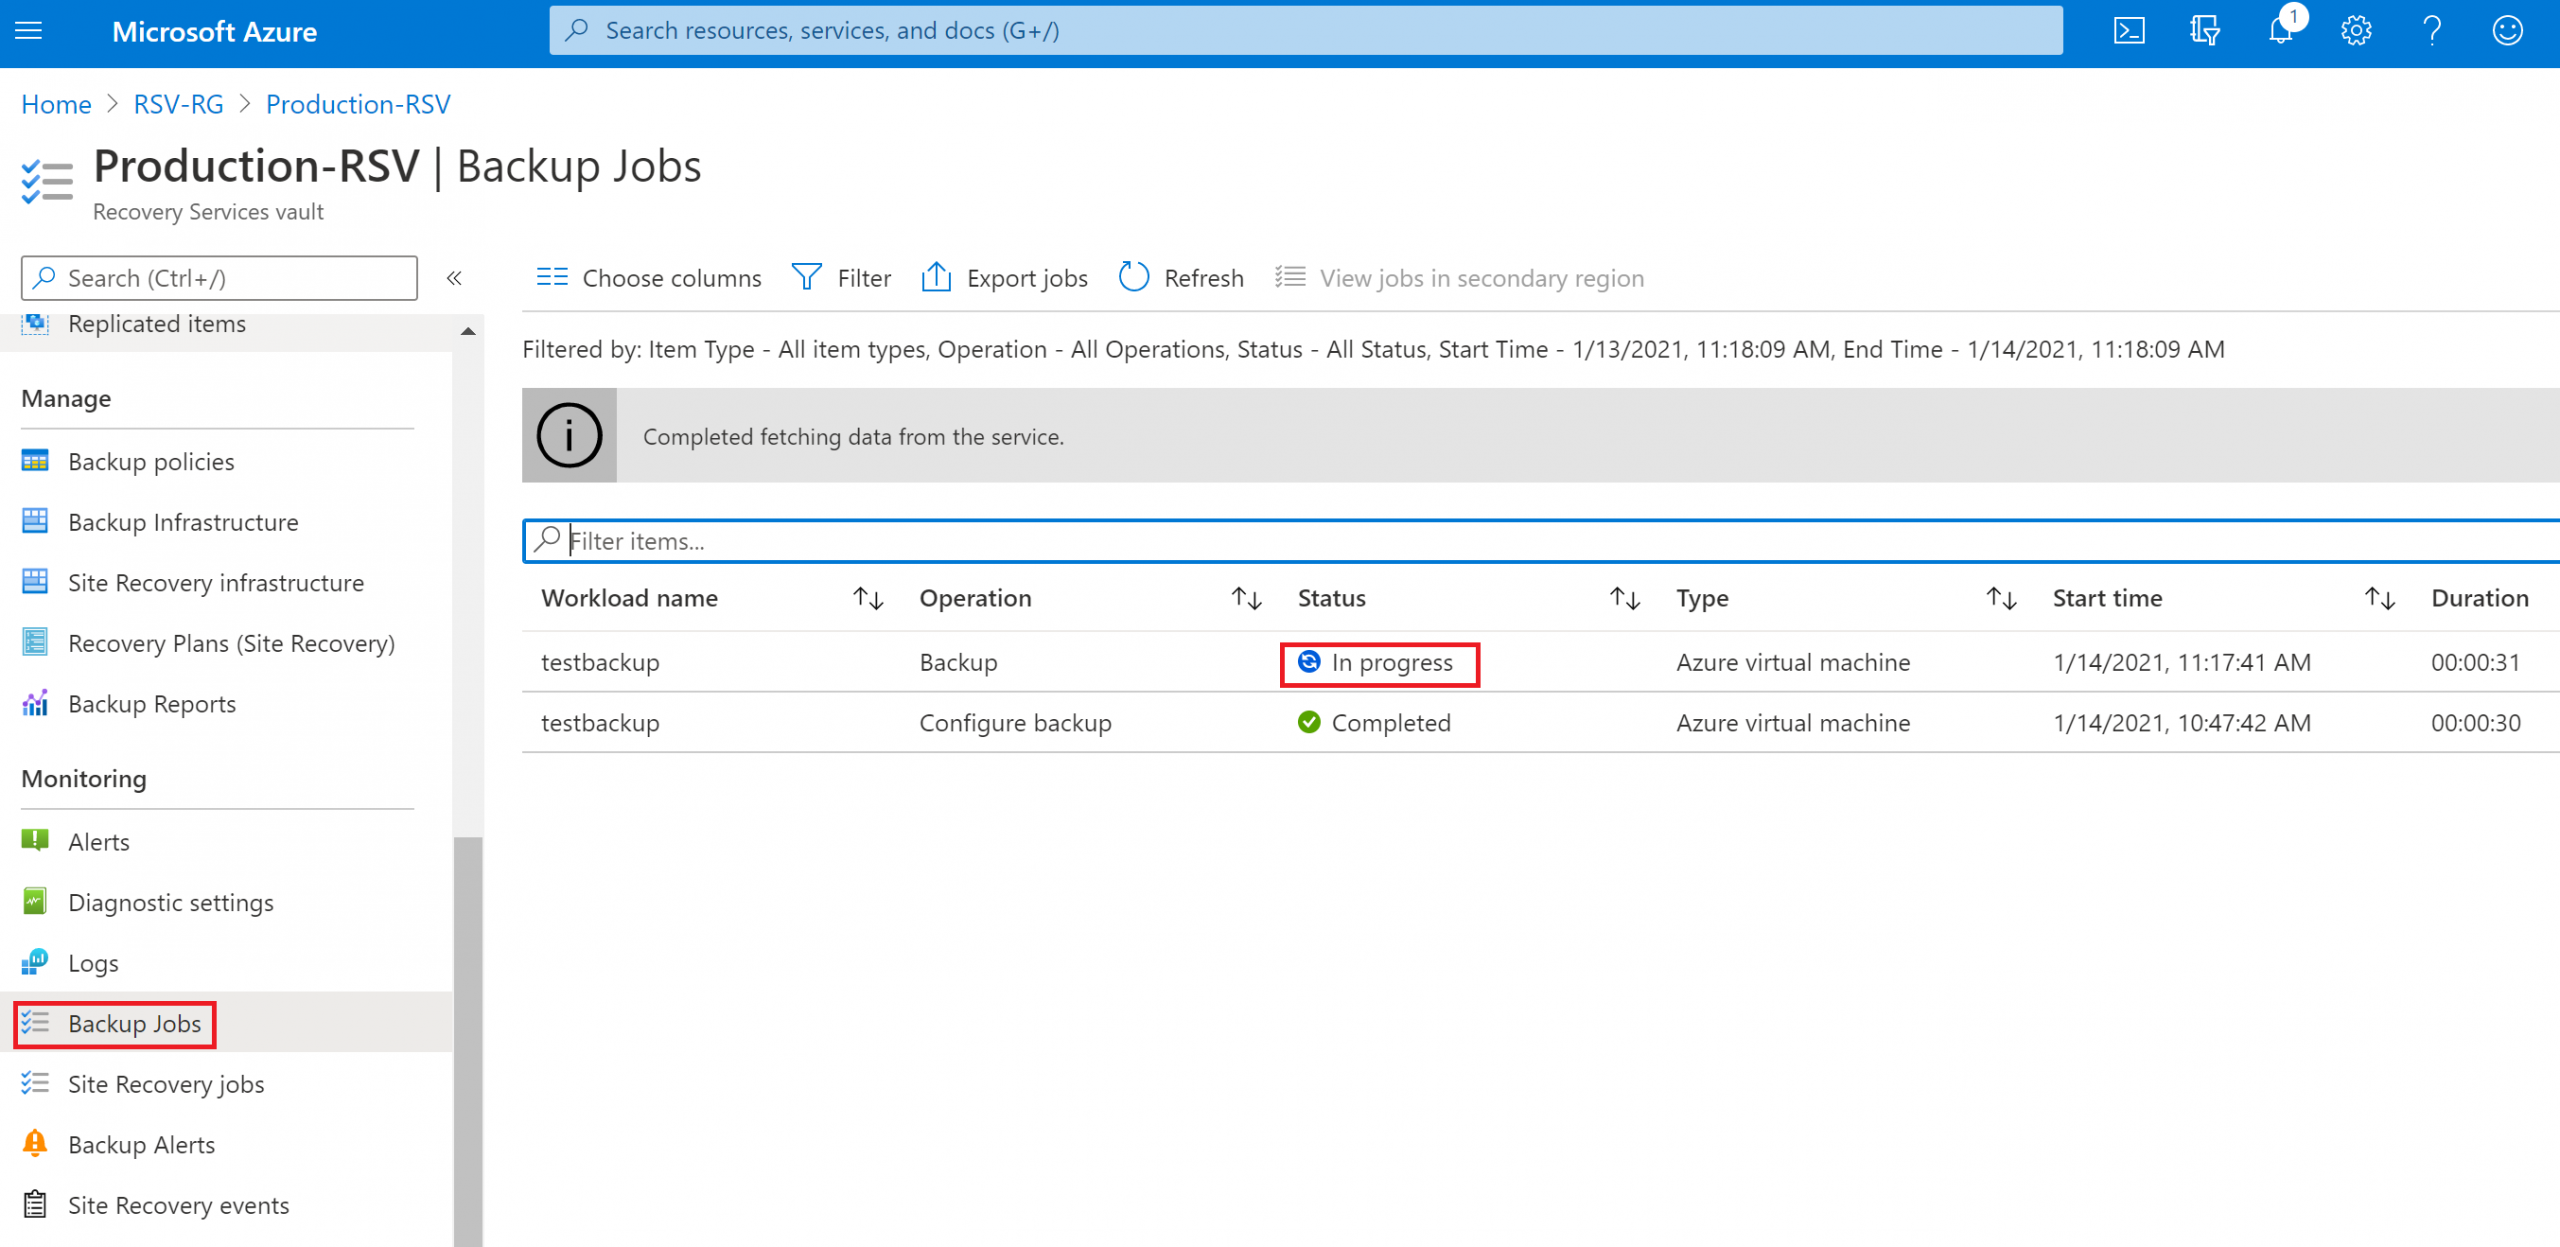
You can view the backup progress in Backup Jobs.
Restore Azure VM (Virtual Machine)
Make sure that the virtual machine is stopped and de-allocated before starting the restore process.
Step 1: Select the Backup Item
Select Backup items and then select Azure Virtual Machine.
Step 2: Initiate the Restore
Select Restore VM.
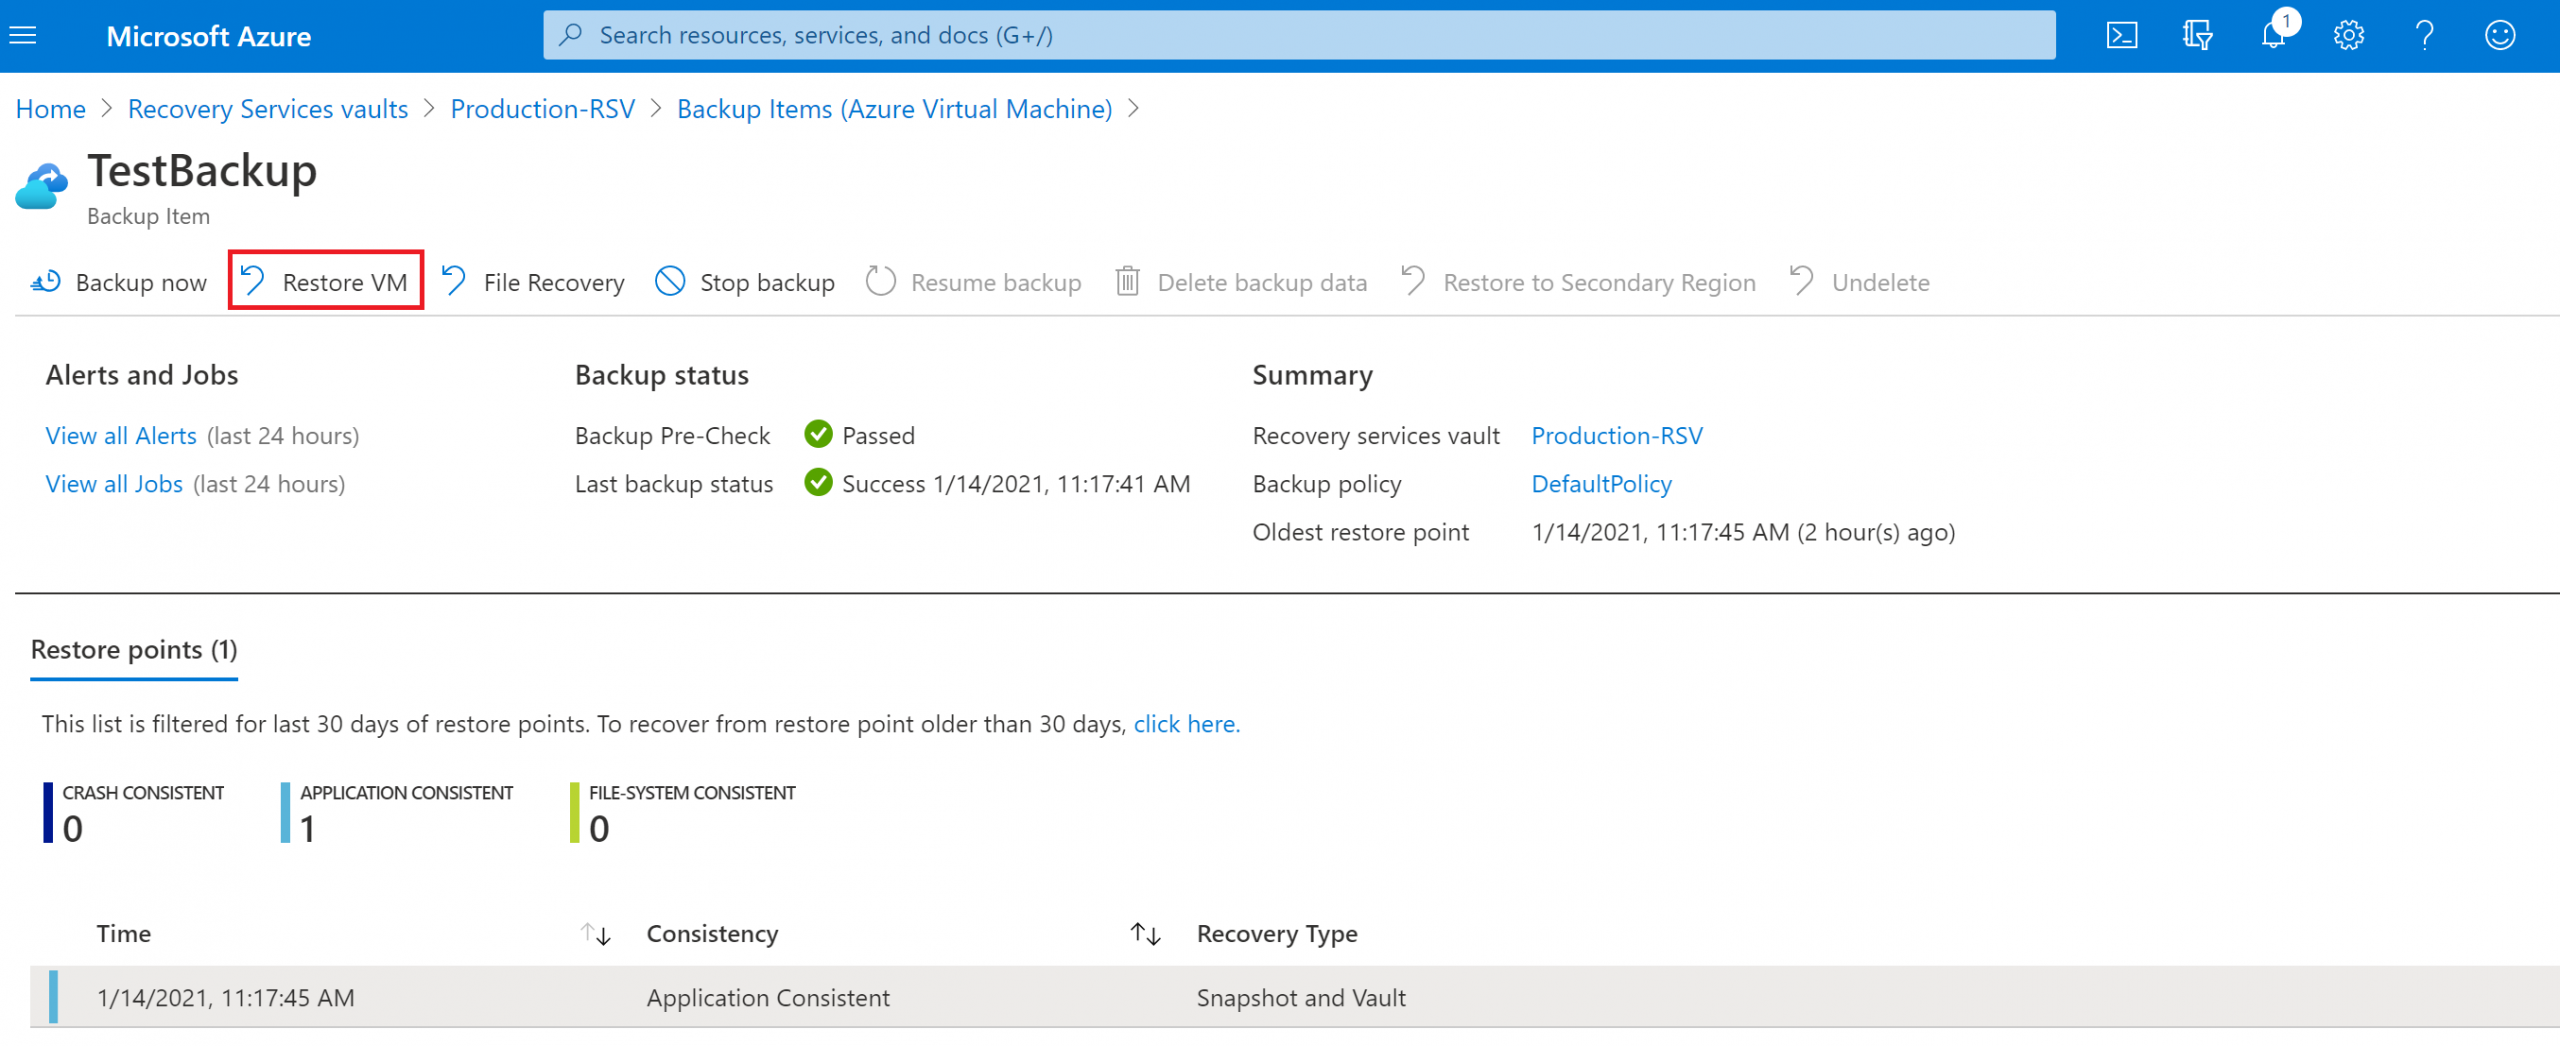
Step 3: Select a Restore Point
Choose the recovery point (date and time) you want to restore from. Each successful backup creates a restore point you can roll back to.
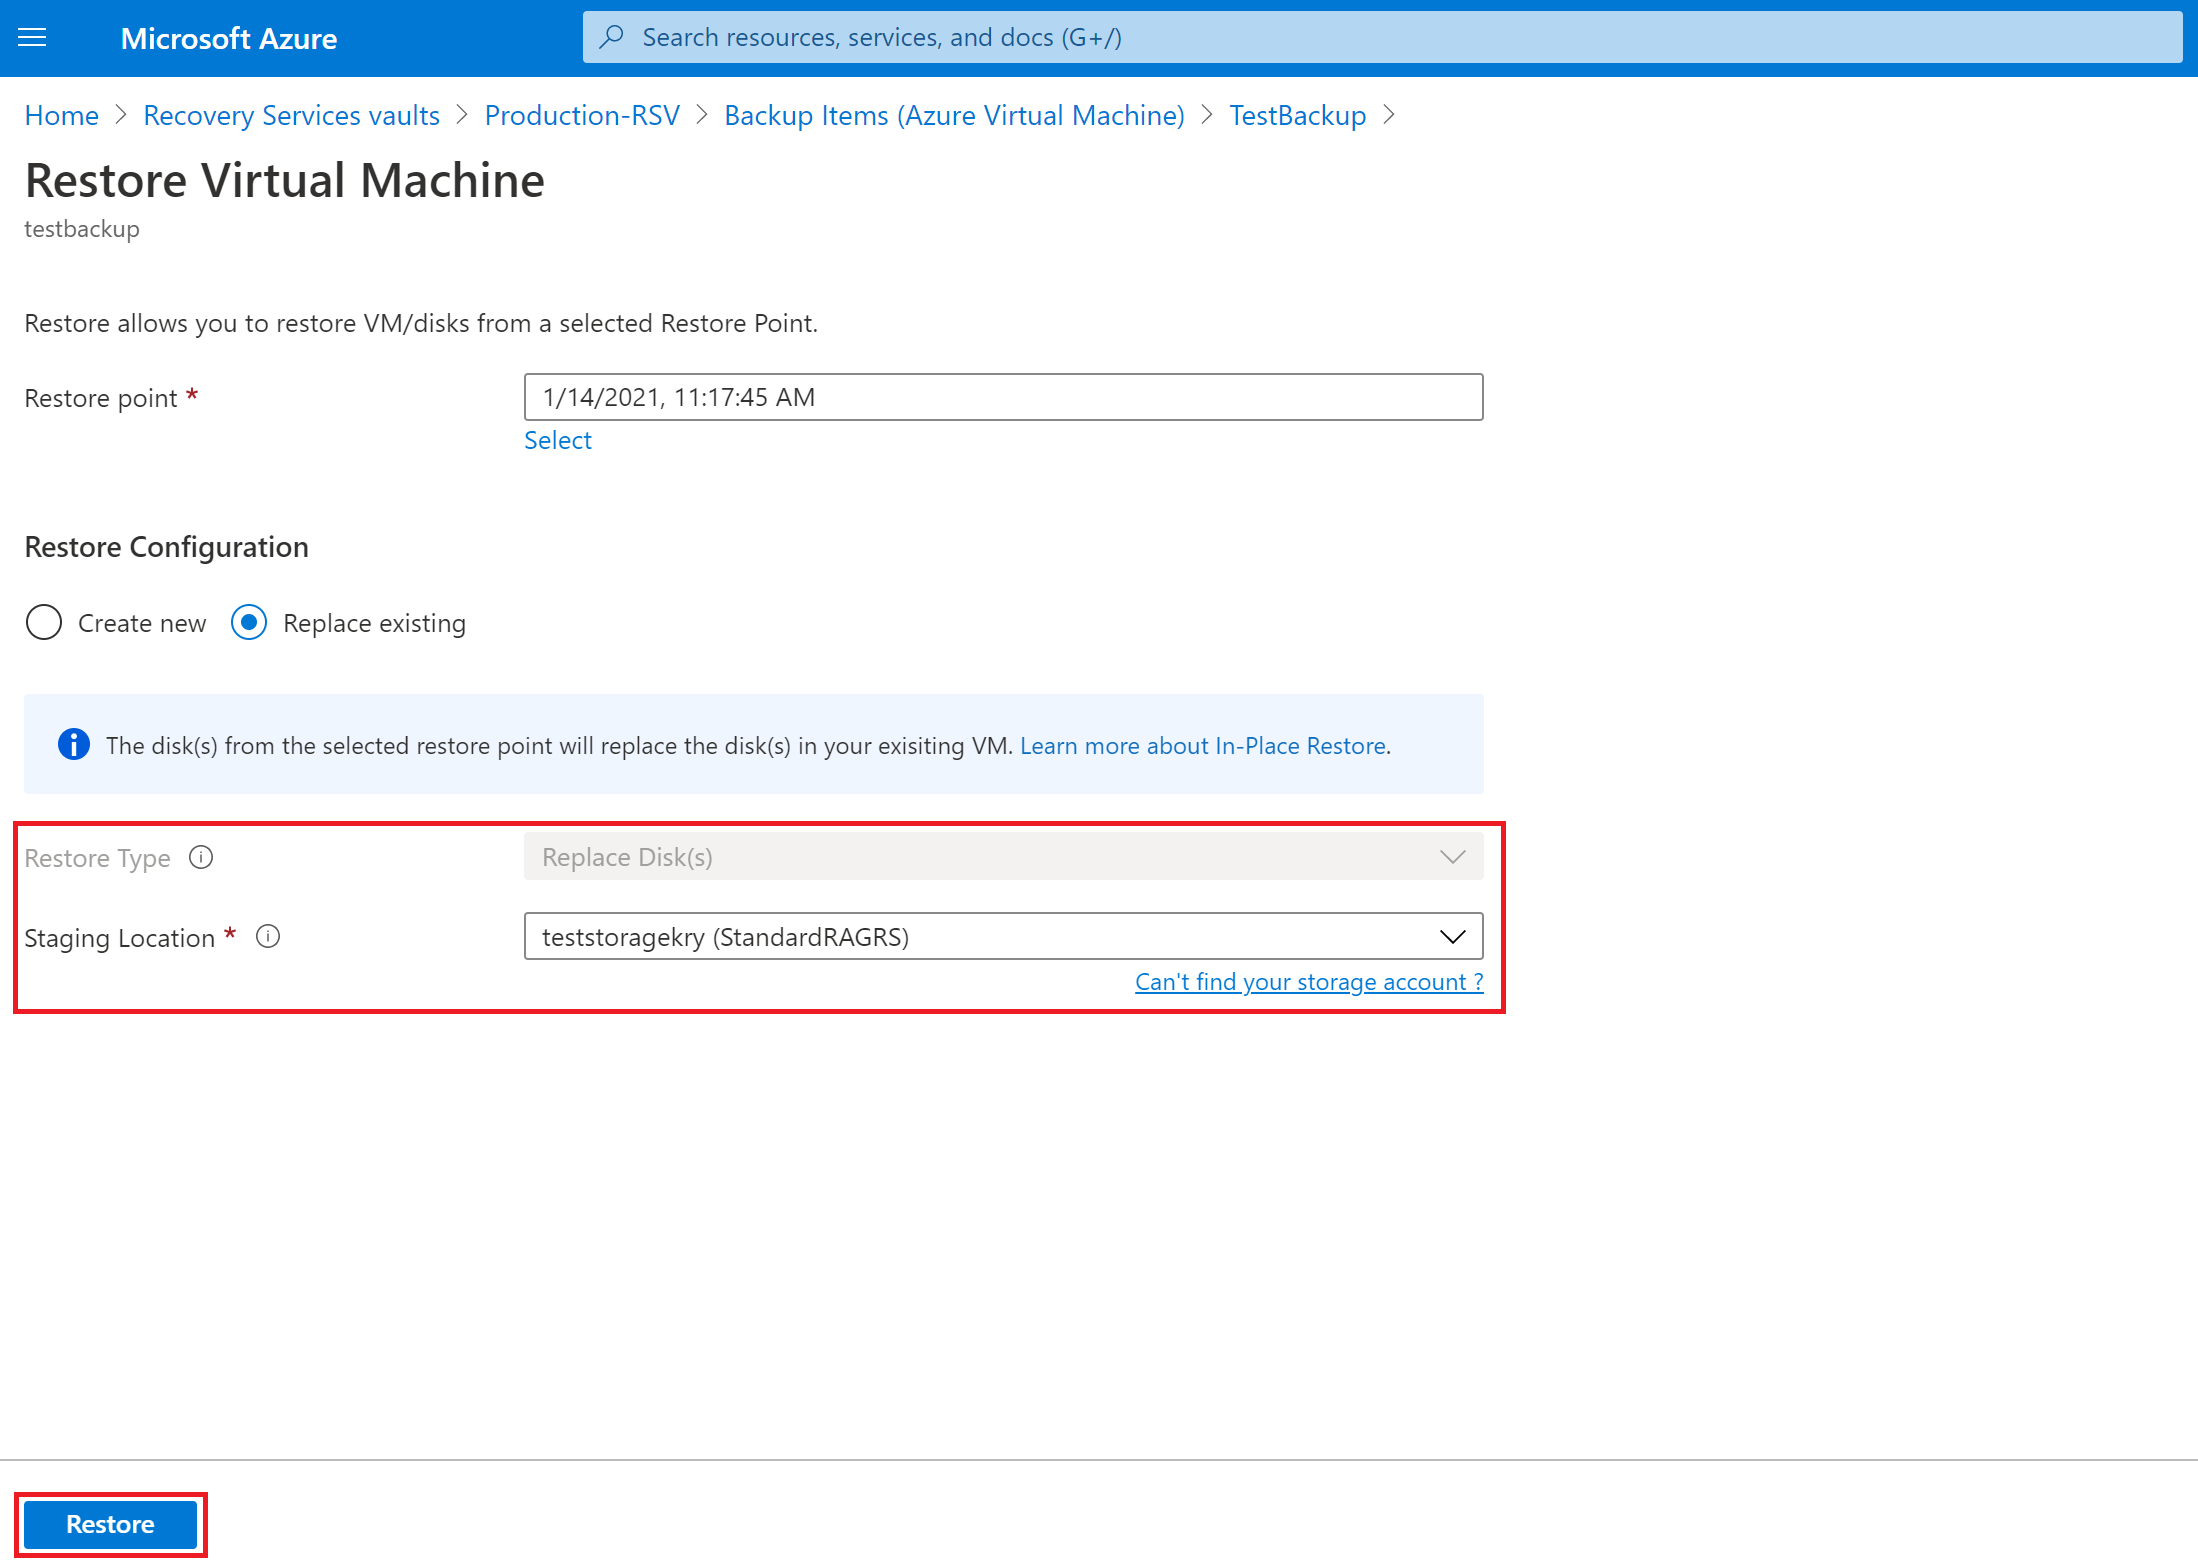
Step 4: Choose How to Restore
Azure Backup offers several restore options — pick the one that fits your situation:
- Create new — provisions a brand-new VM from the restore point. Use this when the original VM was deleted, or when you want to keep both the original and the restored copy.
- Restore disks — restores the VM's disks to a resource group, then lets you create or attach the VM yourself. This is the most flexible option and is useful when you need to customise the VM during recovery.
- Replace existing — replaces the disks on the existing VM with the backup data, keeping the same VM configuration. This requires a staging location (a storage account used temporarily during the restore).
- Cross Region Restore — if enabled on the vault, restores the VM in the Azure paired secondary region, for disaster-recovery scenarios.
Set the Staging Location (storage account) when prompted, then start the restore.
Hitting a Key Vault permissions error during backup or restore? Encrypted VMs need the vault to have Key Vault access. See our fix for UserErrorKeyVaultPermissionsNotConfigured in Azure Backup.
Frequently Asked Questions
How long does an Azure VM backup take?
The duration of an Azure VM backup depends on the size of the VM disks and the amount of data that has changed since the last backup. The initial backup typically takes longer since it captures the full disk. Subsequent incremental backups are usually much faster and can complete in minutes to a few hours.
Can I backup a running Azure virtual machine?
Yes, Azure Backup supports backing up running VMs without any downtime. The backup process uses VM snapshots to capture a consistent state of the disks. However, for restoring a VM, it is recommended to stop and de-allocate the VM first to avoid conflicts.
What is the difference between "Replace existing" and "Create new" restore options?
Replace existing restores the VM by replacing the current disks with the backup data, keeping the same VM configuration. Create new provisions a completely new virtual machine from the backup, which is useful if the original VM has been deleted or if you want to keep both the original and the restored version.
How much does Azure VM backup cost?
Azure Backup pricing is based on the size of each protected VM instance. The cost includes the backup infrastructure and the storage consumed by recovery points. You can reduce costs by adjusting the retention policy and backup frequency through custom backup policies.
Can I restore an Azure VM to a different region?
Azure Backup supports Cross Region Restore (CRR) if it is enabled on the Recovery Services Vault. This feature replicates backup data to an Azure paired secondary region, allowing you to restore VMs in the secondary region during outages or for disaster recovery purposes.