Active Directory is used for centralised administration of network objects such as computers, users, and printers. In this blog post, we will discuss how we can install an active directory in Windows Server 2019.
This process includes the installation of the Active Directory role in the Windows server and then promoting it to a domain controller. During this process, we will also install the DNS (Domain Name System) role which is necessary for Active Directory to work without any issues.
Requirements for Active Directory Installation
- An operating system (2012/2016/2019)
- Administrator user and password
- NTFS partition with enough free space
- A NIC with properly configured TCP/IP
Installation of Active Directory
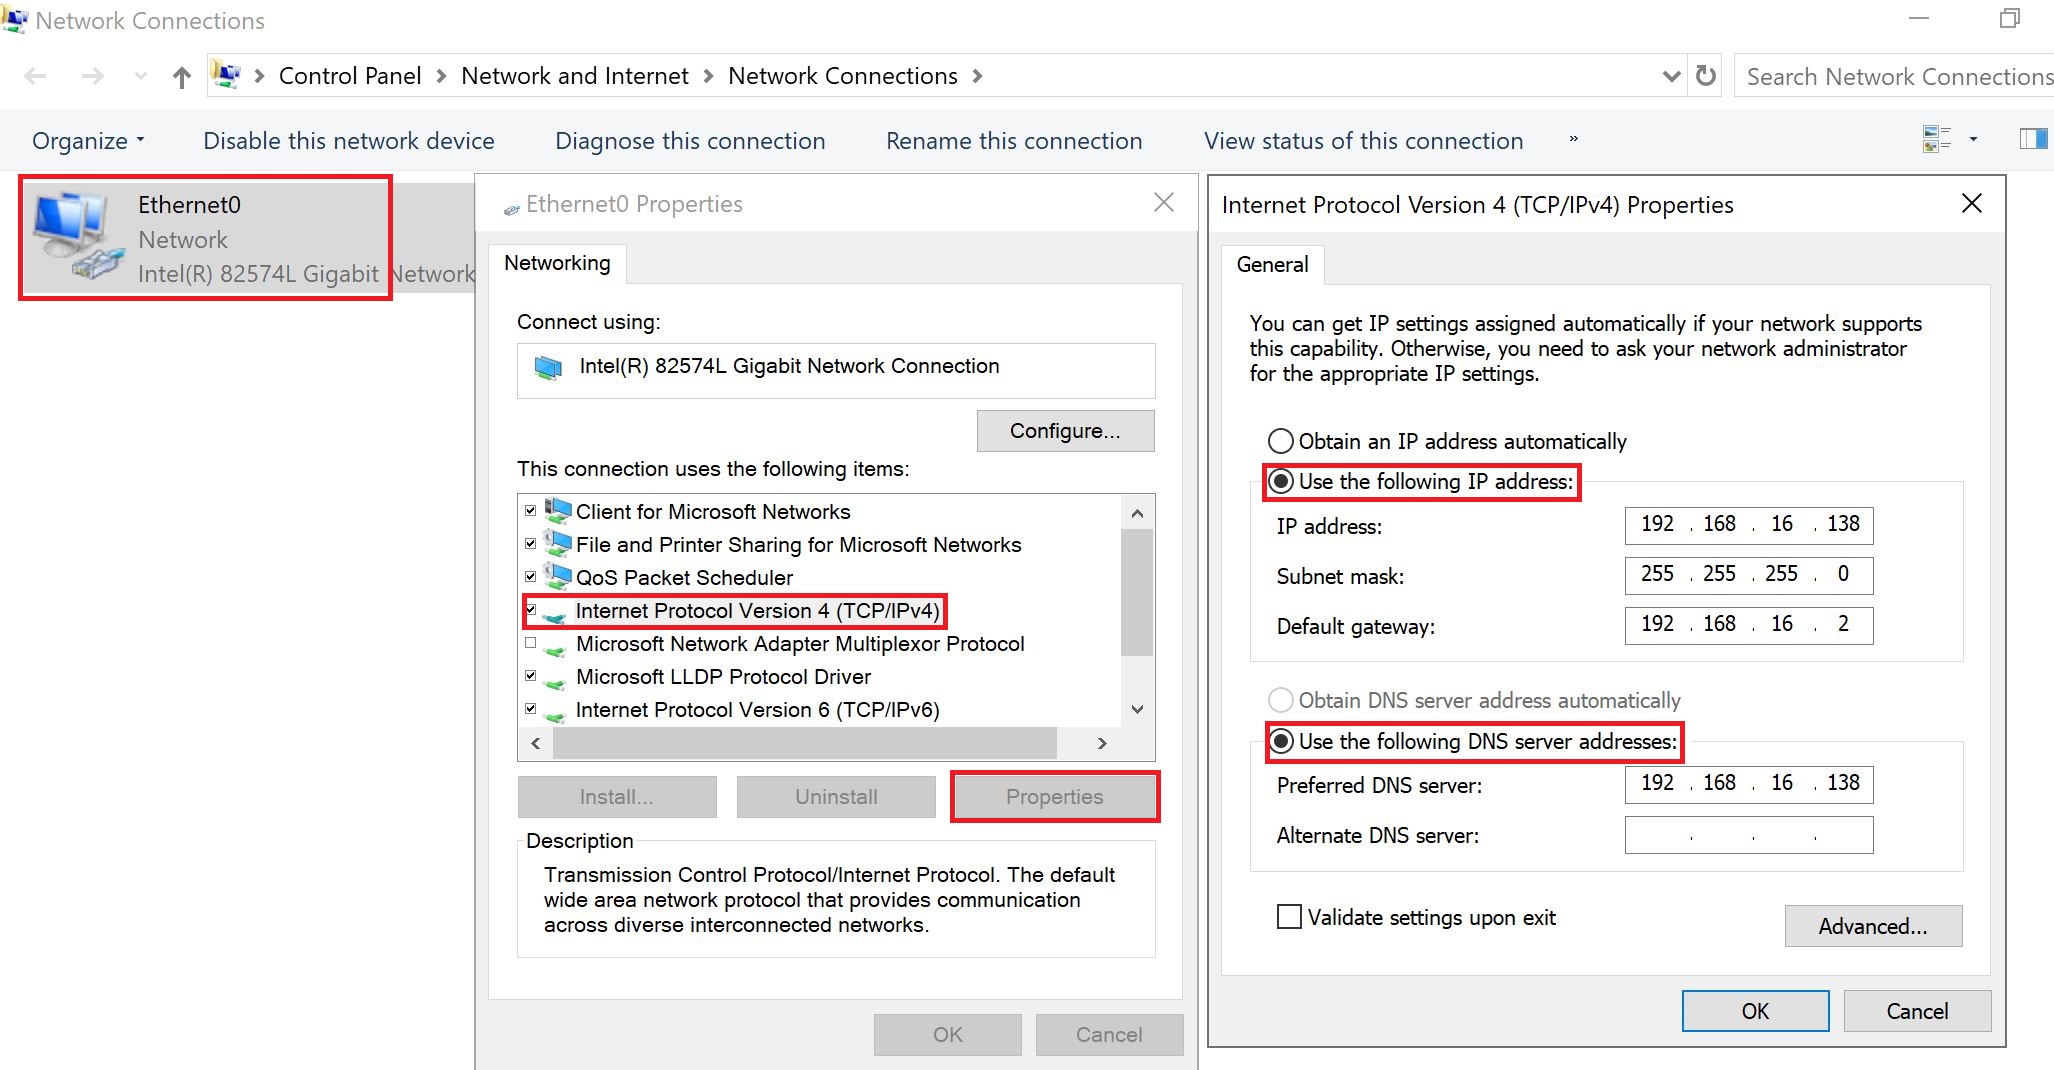
Before installing the Active Directory, we need to make sure that the Server has a static IP on the NIC. Go to Control Panel\Network and Internet\Network Connections and right-click on the network Ethernet card and select properties. Select Internet Protocol Version 4 (TCP/IPv4) and click Properties.
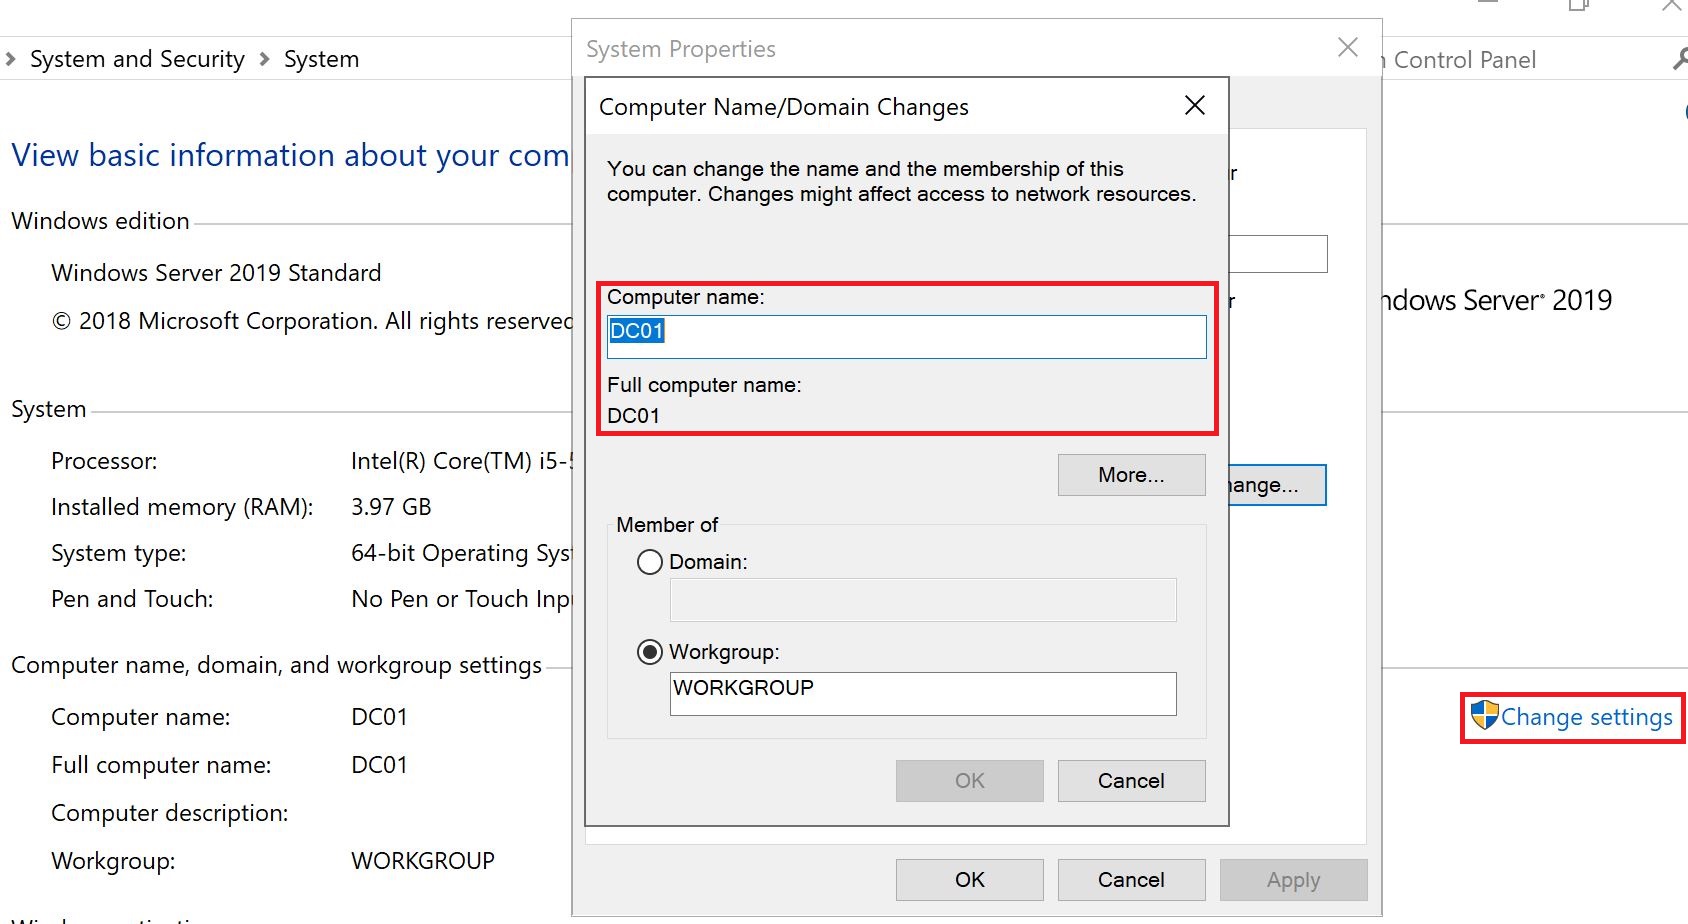
We also need to change the computer/hostname because once the Active Directory role is installed, we will not be able to change the computer name.
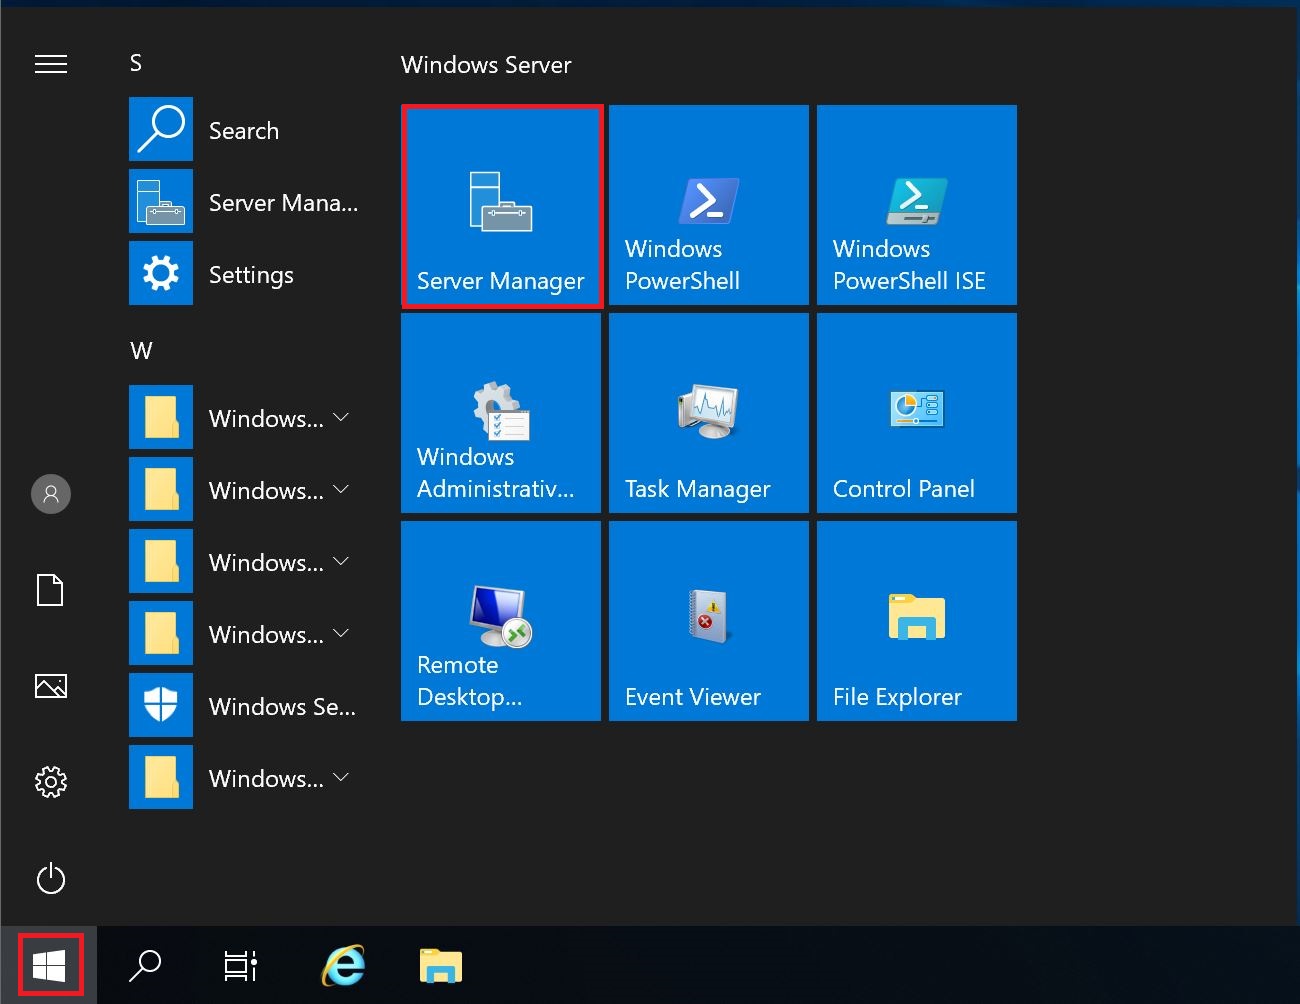
Select Start Menu and select Server Manager.
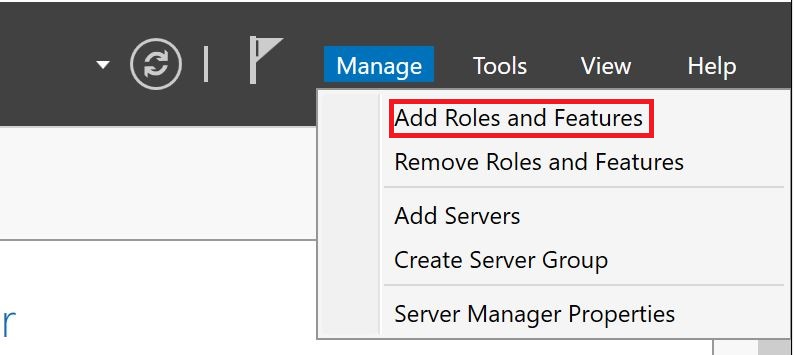
From the Menu bar, select Manage and "AD Roles and Features".
Active Directory installation wizard has been started.
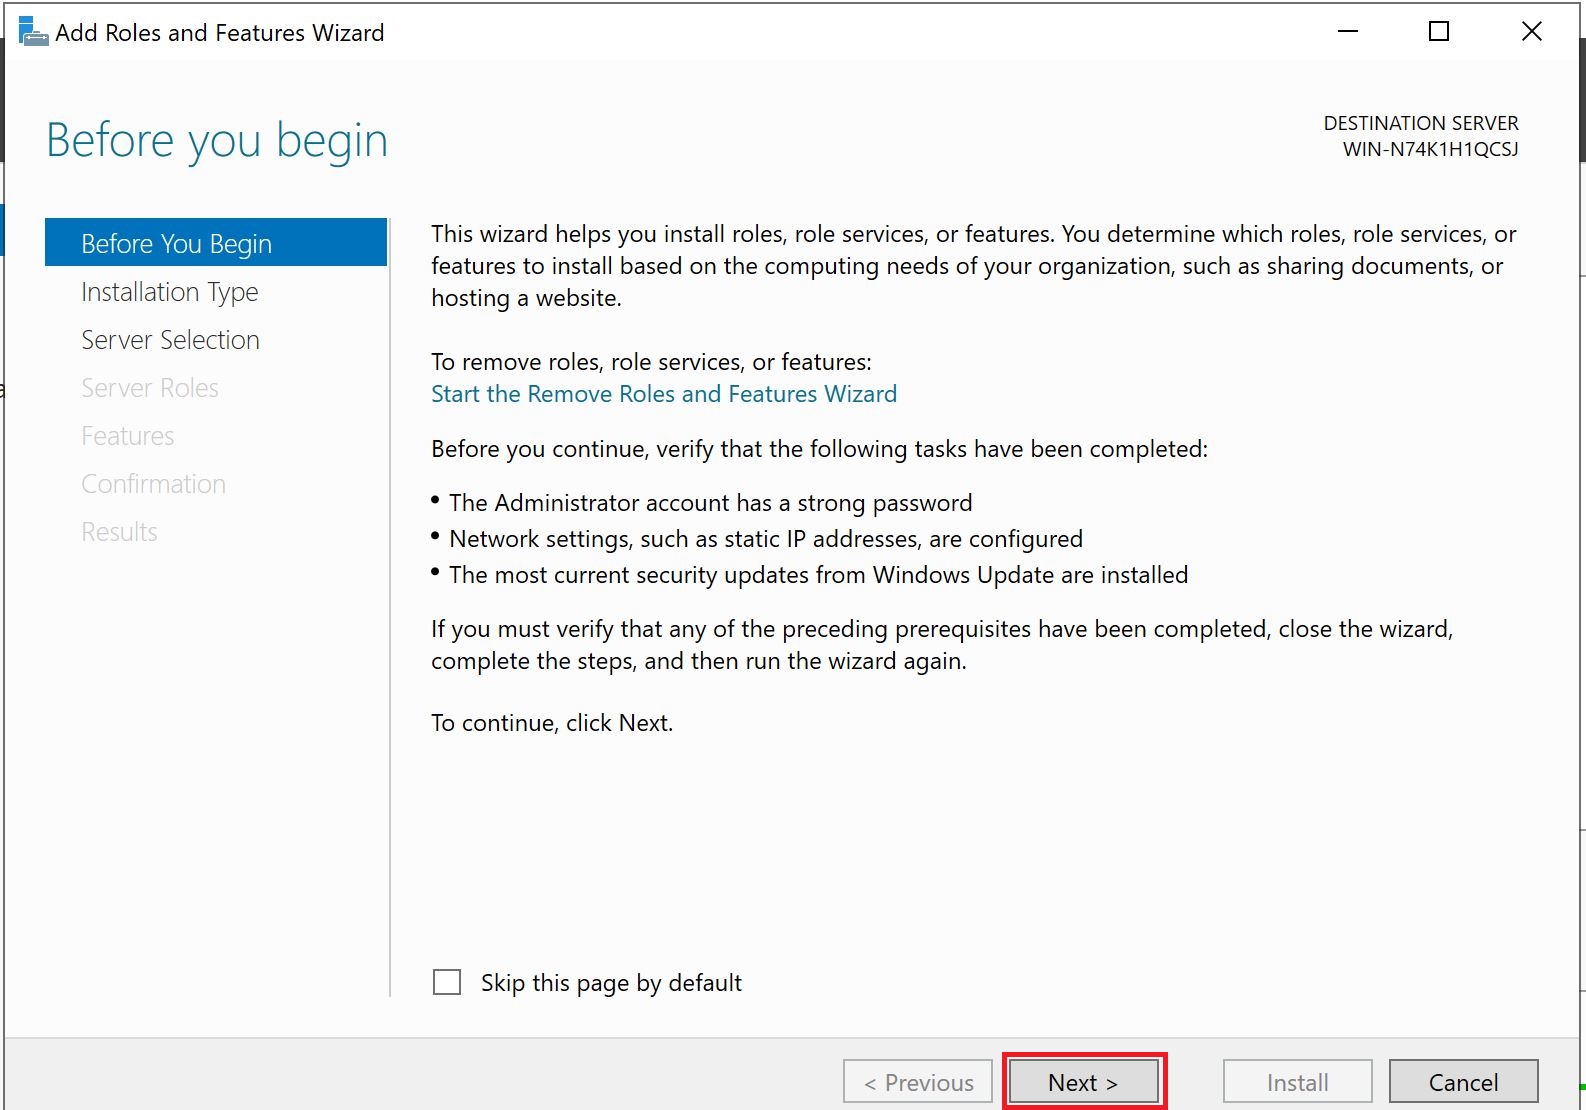
Before You Begin
We need to make sure that the following tasks have been completed and select next:
- The administrator account has a strong password
- Network settings, such as static IP addresses, are configured
- The most current security updates from Windows Updates are installed
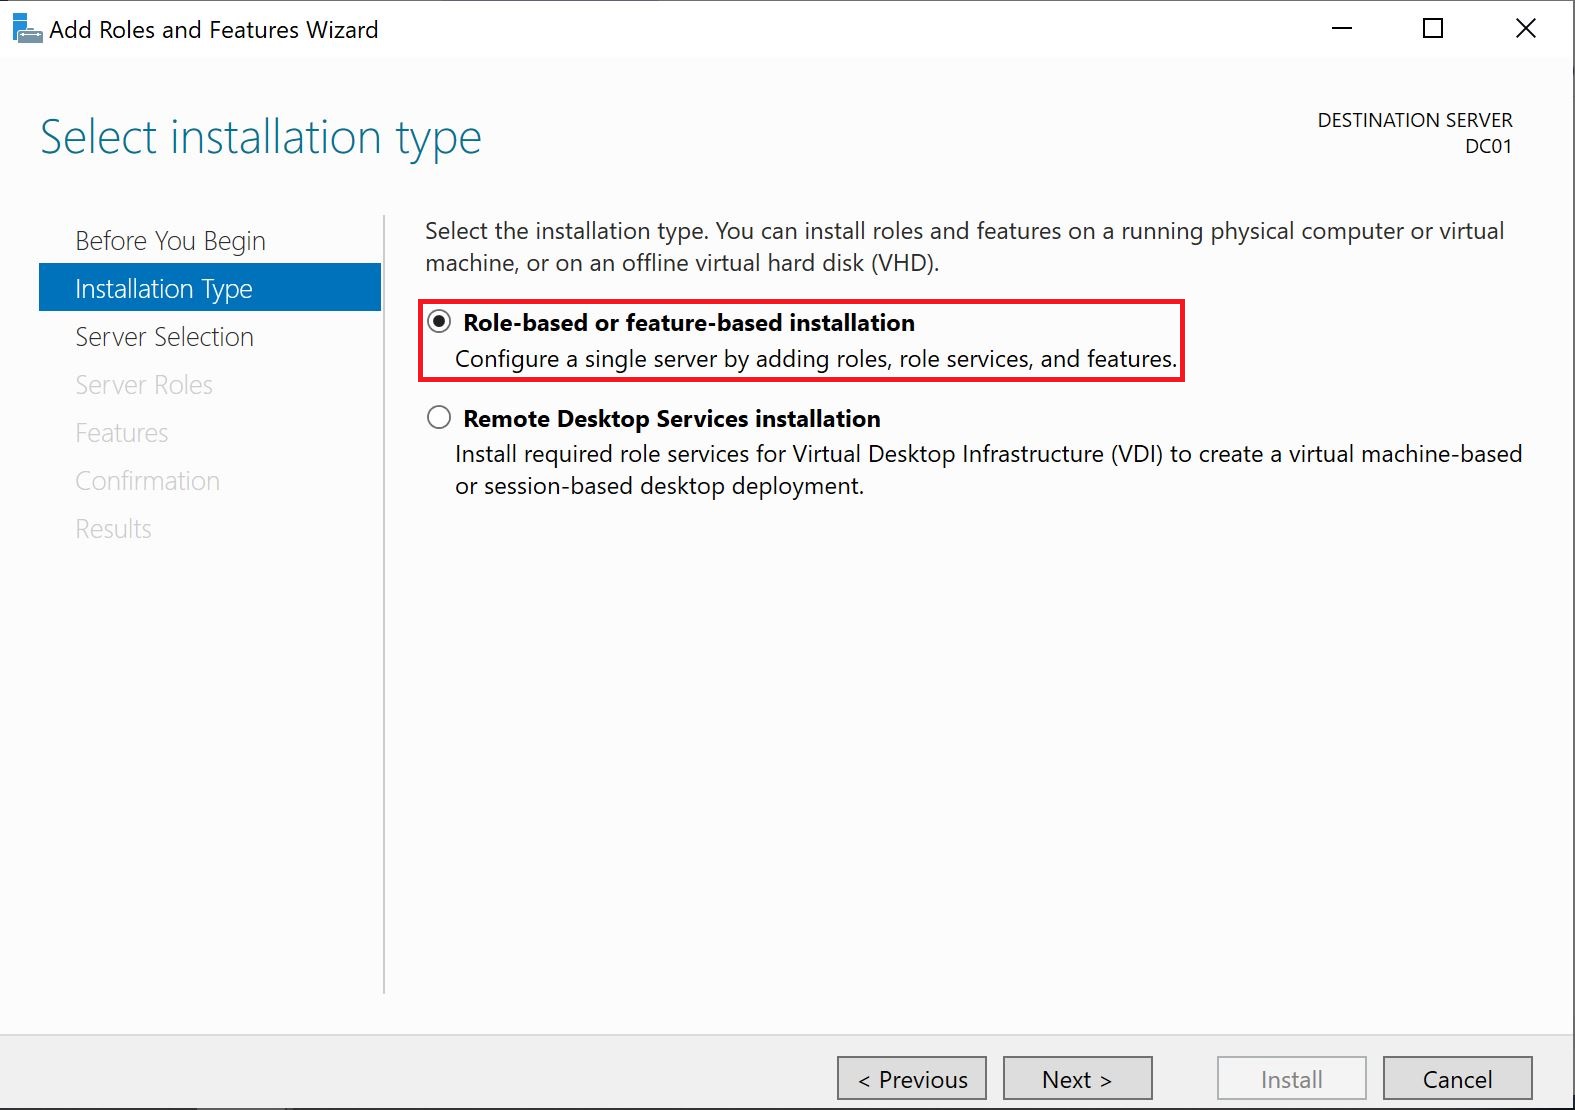
Installation Type
We will select "Role-based or feature-based installation" and next.
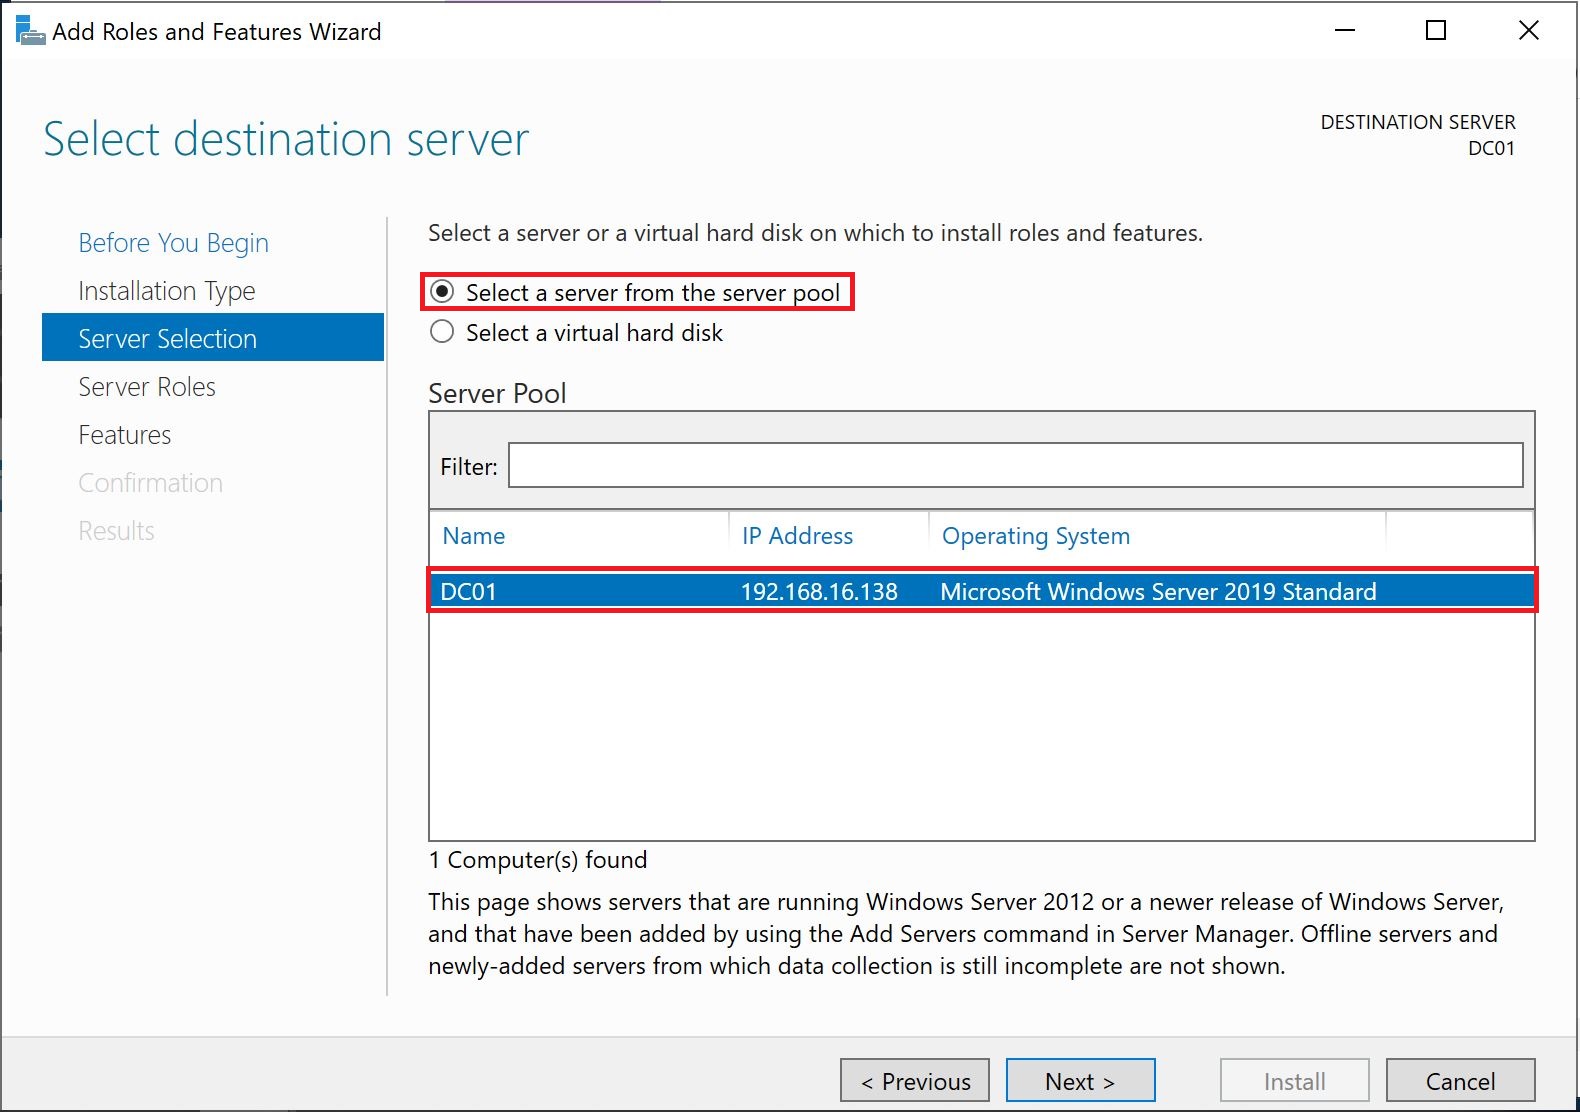
Server Selection
We will select the local server where we are installing an active directory role.
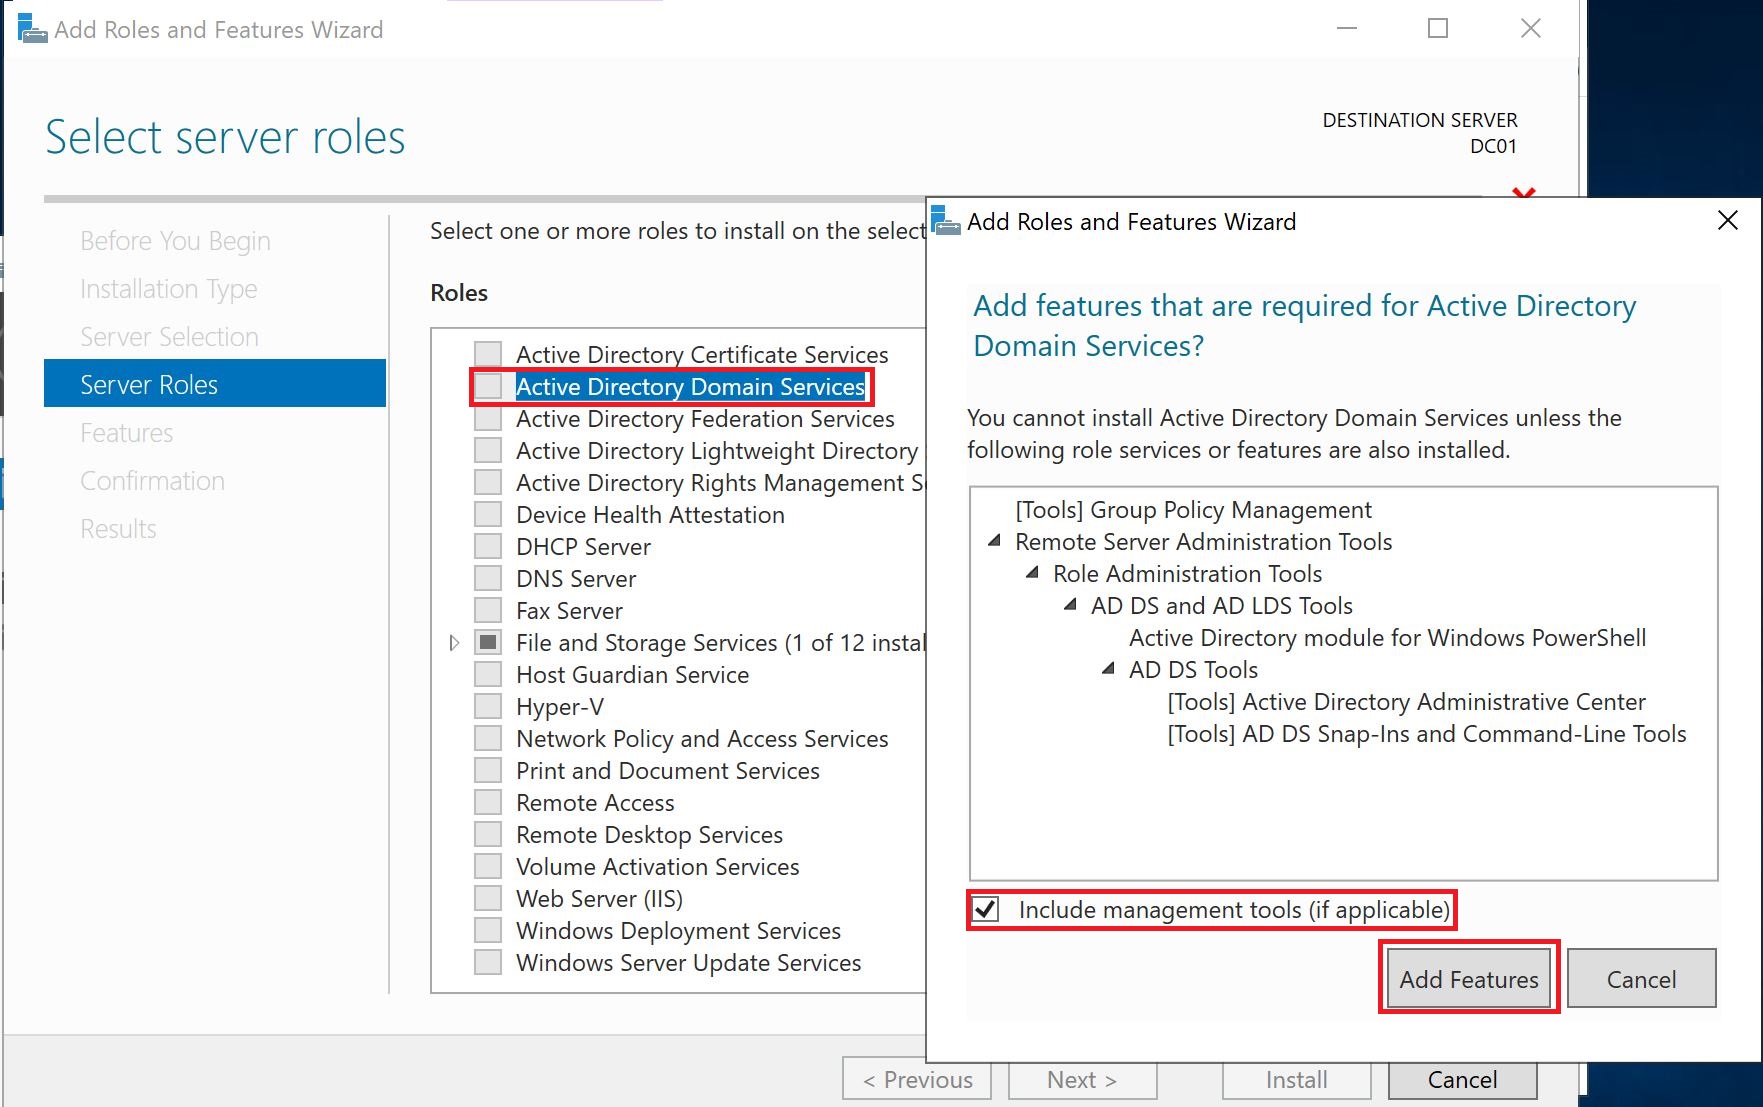
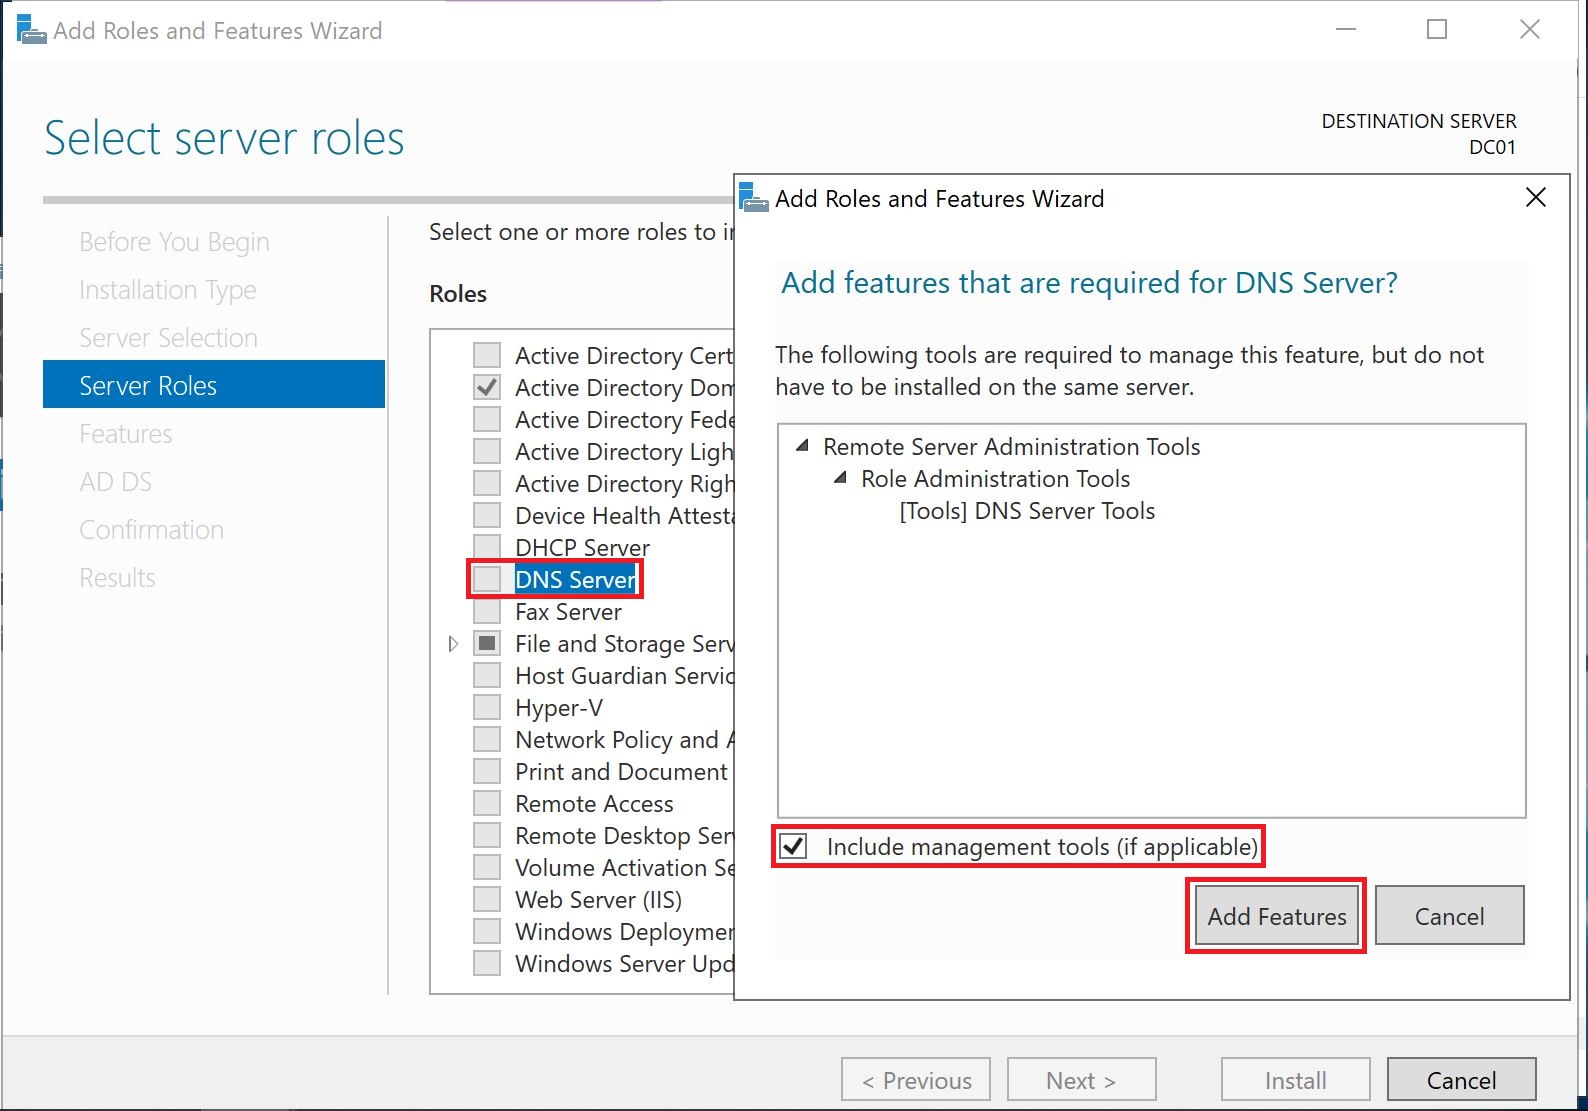
Server Roles
We will select "Active Directory Domain Services", it will pop up another window to install some features which are required for Active Directory installation.
In the next step, we will select the "DNS Server" role and its required features.
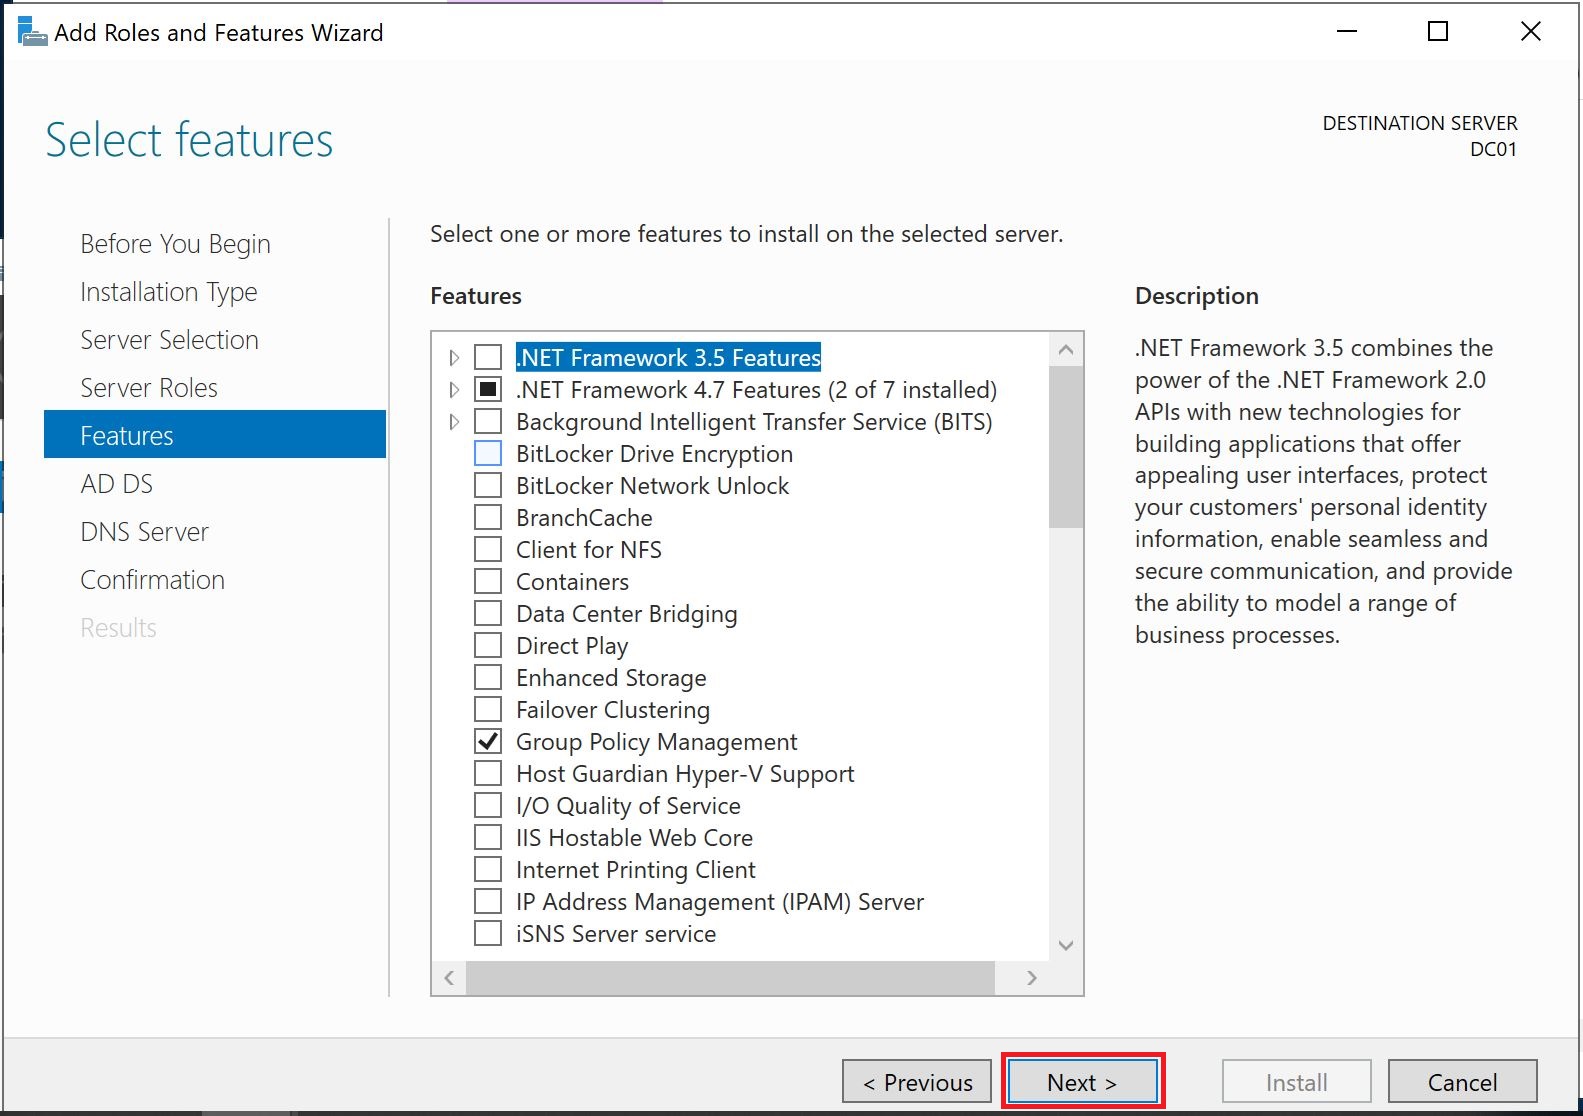
Features
We will not install any additional features and select the next.
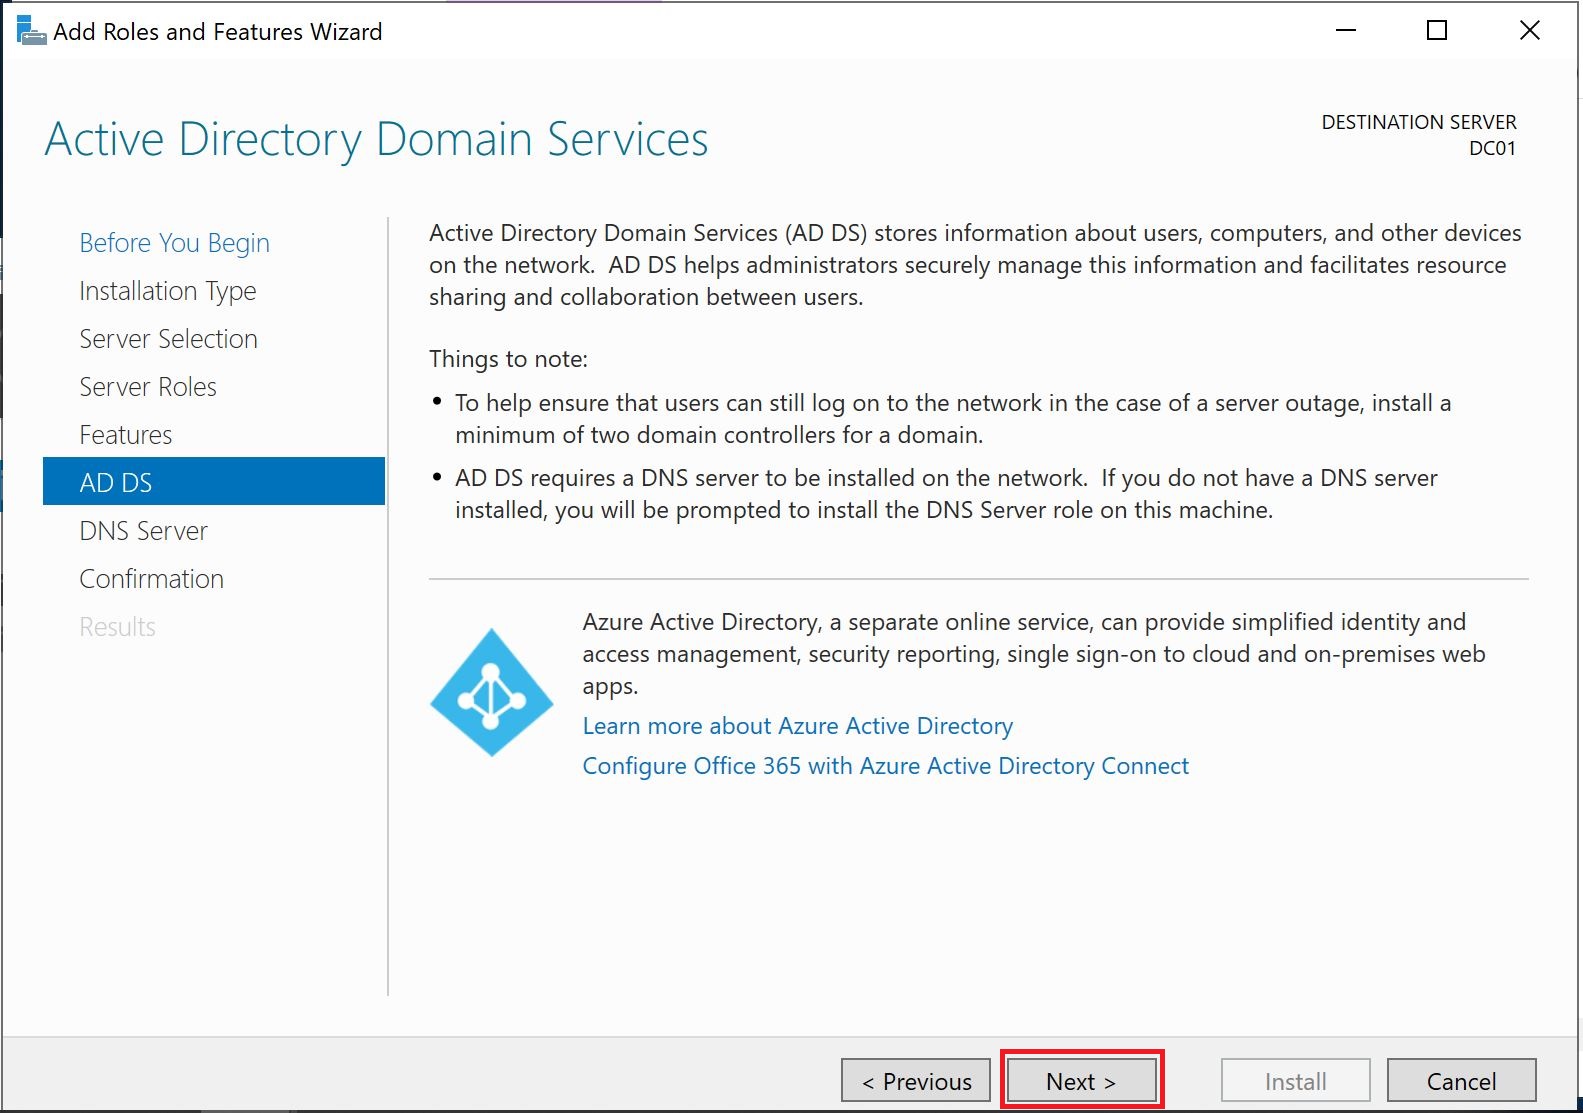
AD DS
No action required, its only information that what are Active Directory Domain Services. Select next.
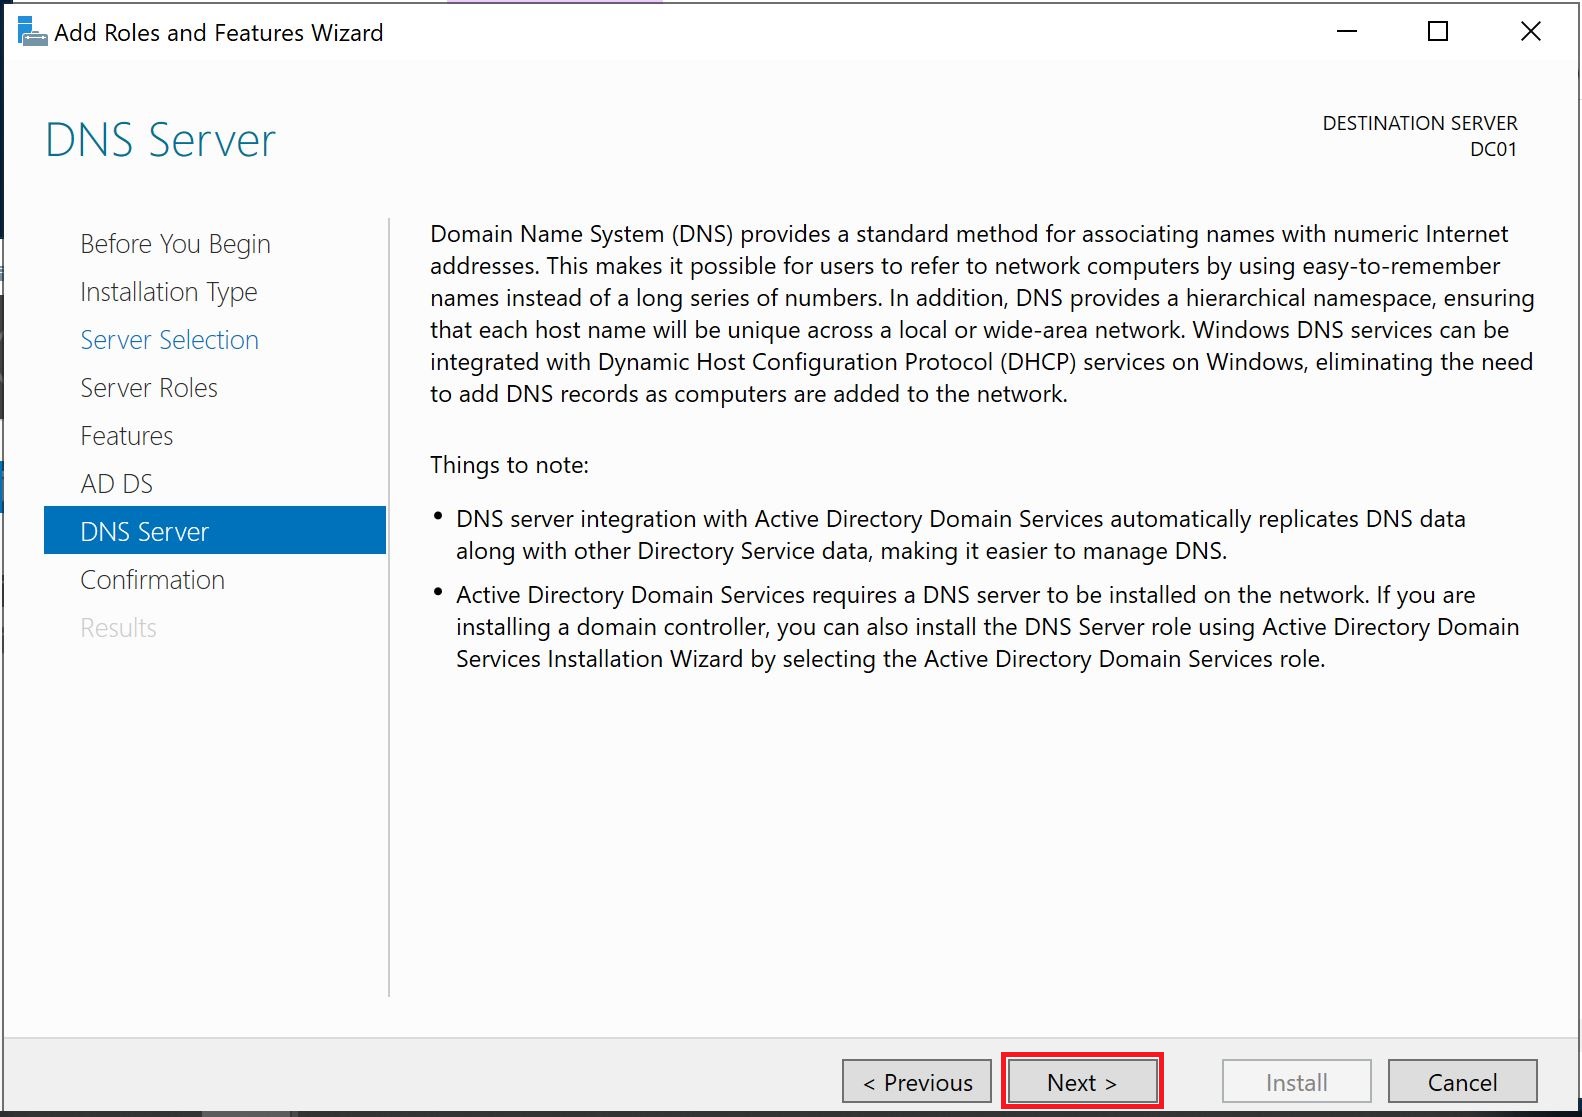
DNS Server
No action required, it's only information about the DNS server and why it is required for Active Directory.
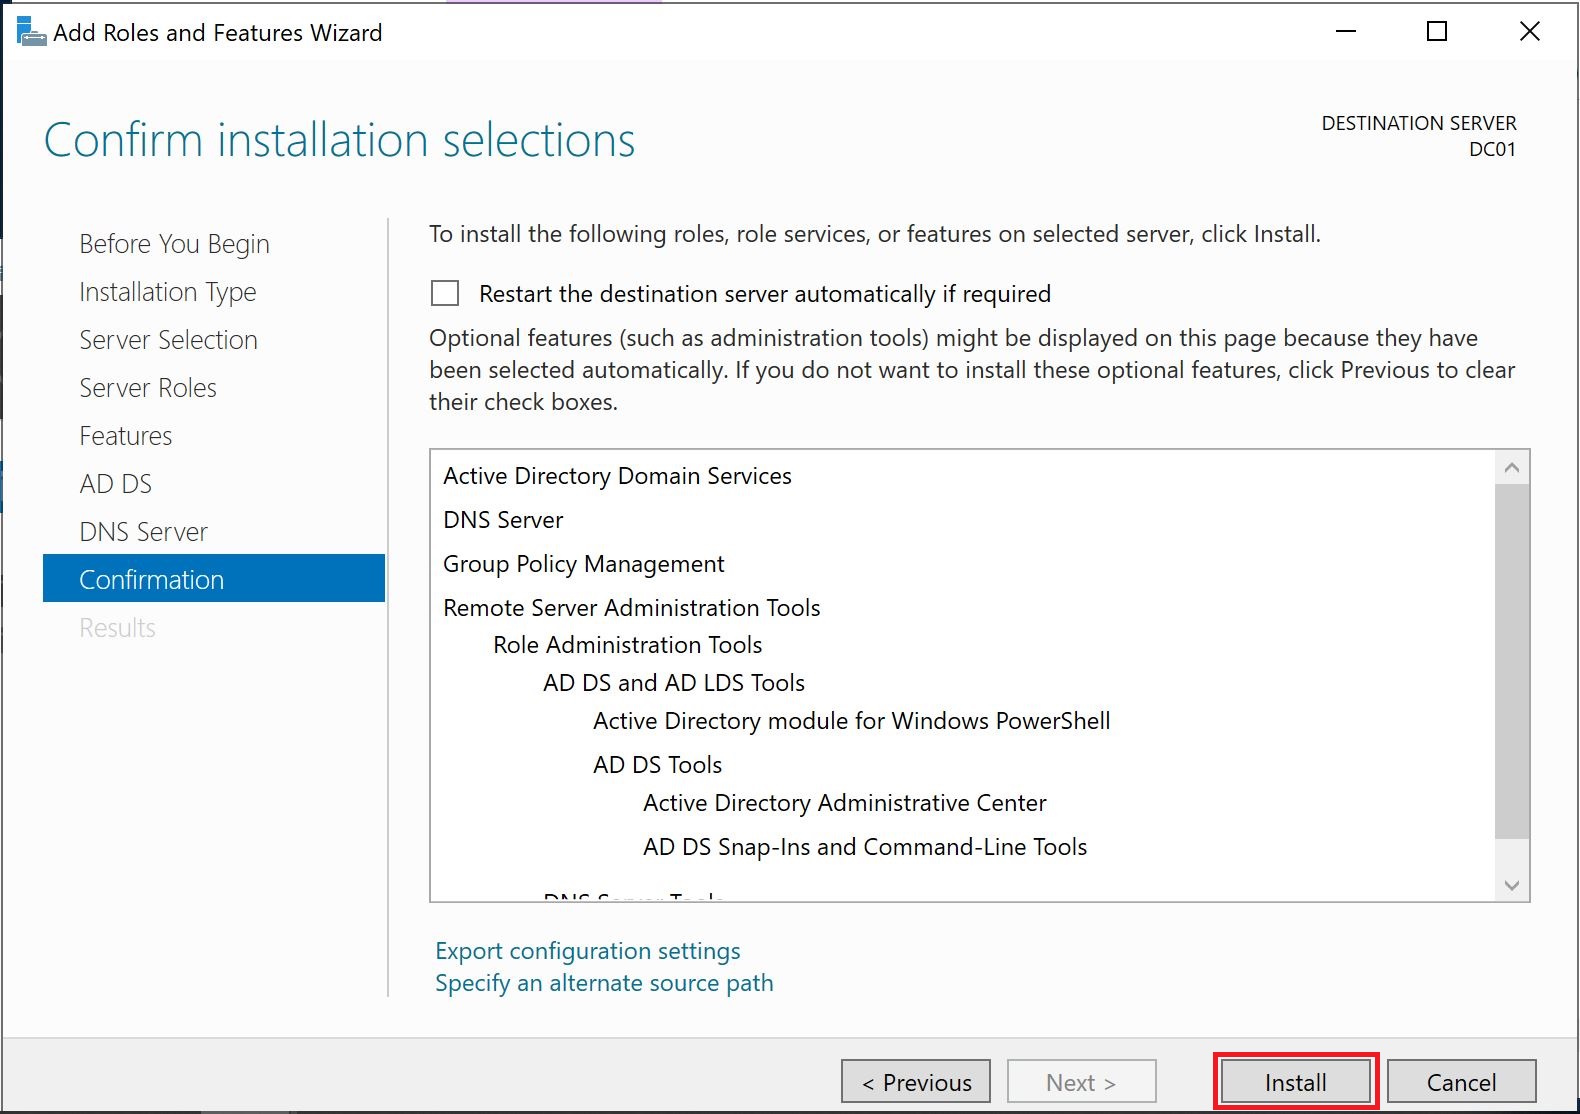
Confirmation
This is a confirmation before installing the Active Directory Domain Services. You can view all the roles and features and you can go back into the wizard to add them if you missed any of them. Select install.
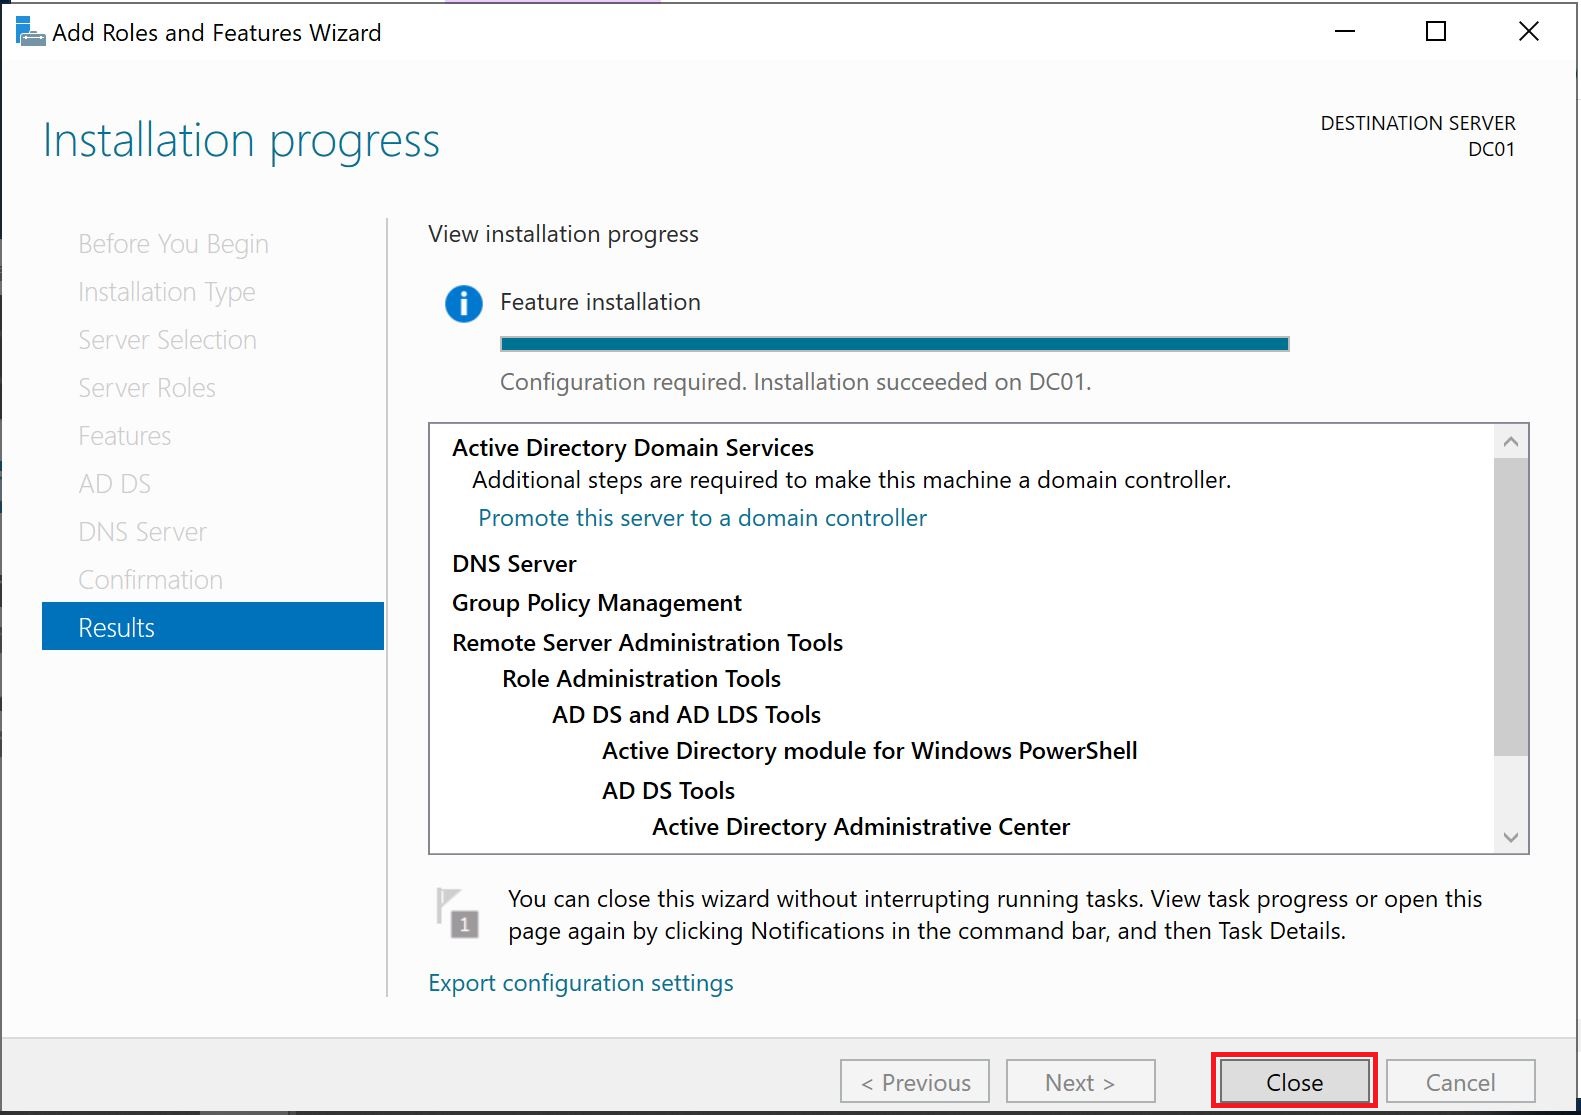
Results
You will see the progress of Active Directory Domain Services and DNS role installation and final results to make sure that installation succeeded. Select Close.
Promote Windows Server to Domain Controller
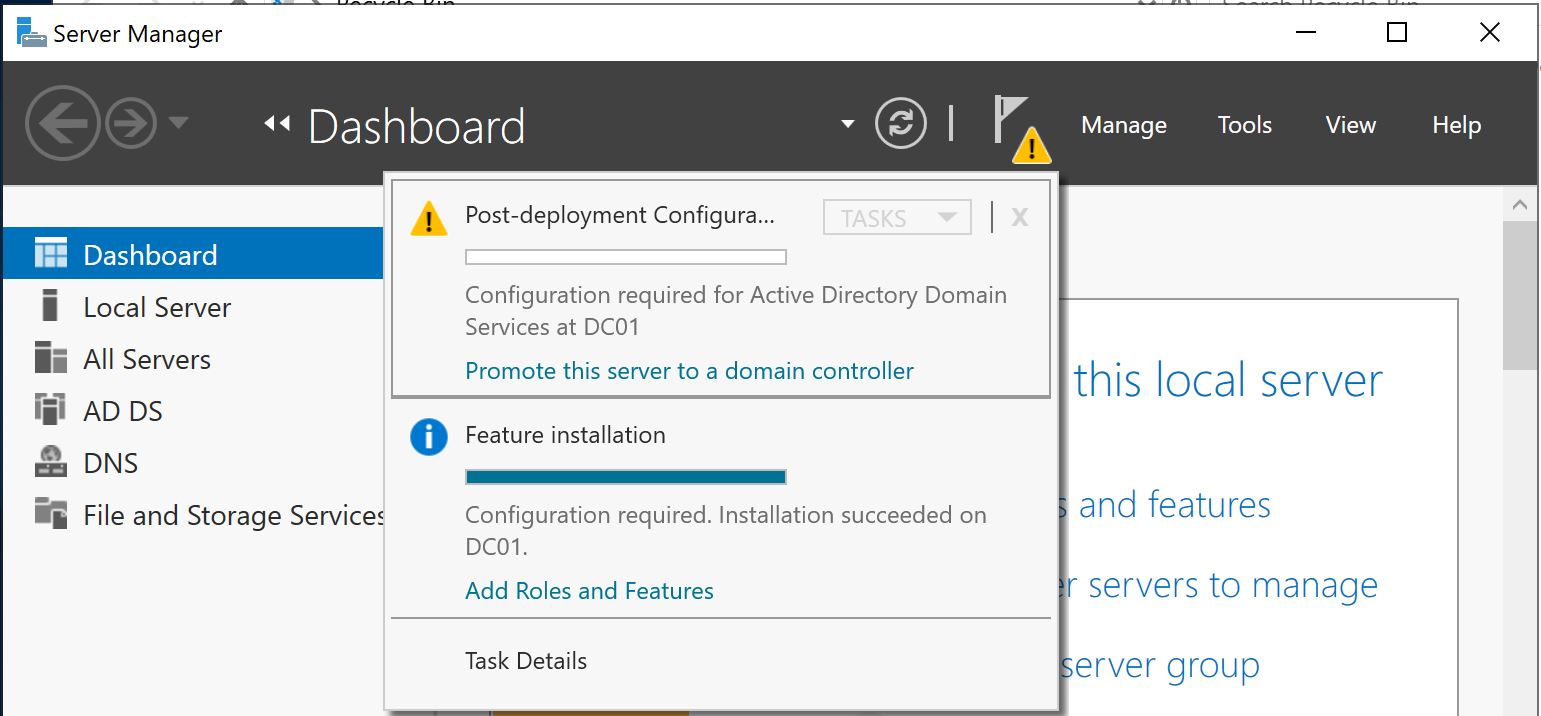
Role and feature installation of Active Directory has been completed. Now the next step is to promote this server to a domain controller.
Open Server Manager and select the yellow icon, you will find an option there to promote this server to the domain controller.
Deployment Configuration
This is the first domain controller so we will select the option "Add a new forest" and provide the "Root domain name". Please make sure that the domain name is correct because you will not be able to change it later.

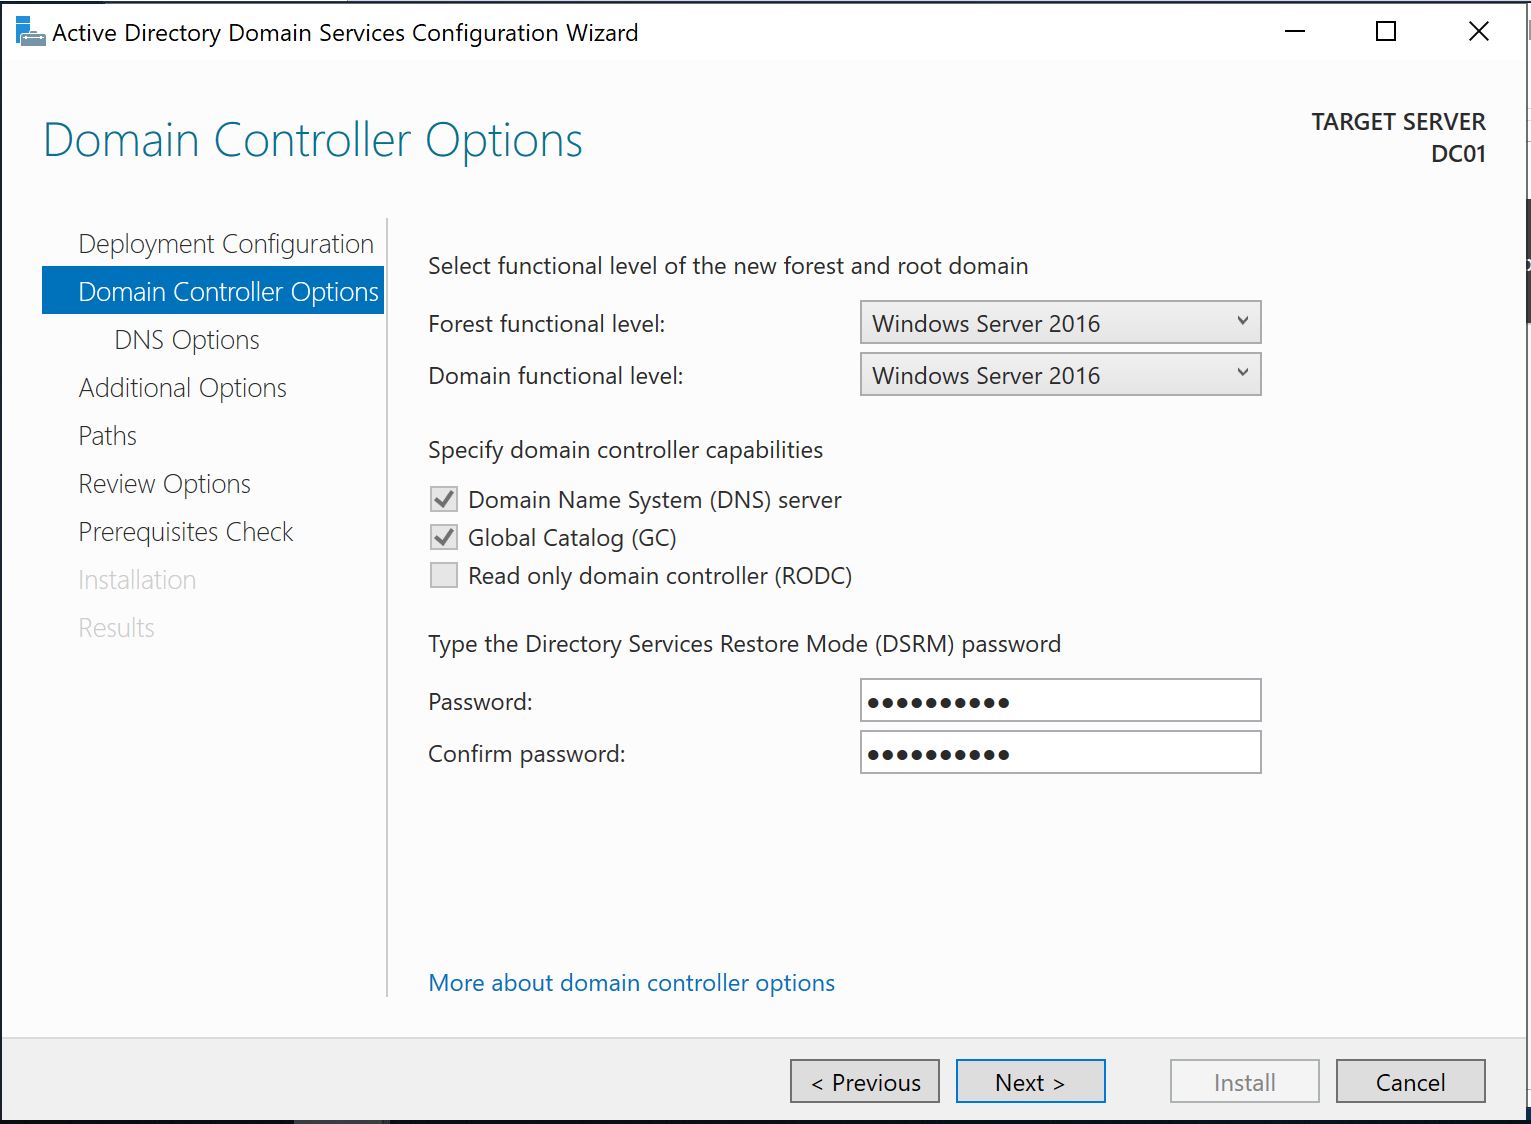
Domain Controller Options
We will set the Forest functional level and Domain functional level. We will select Windows Server 2016.
We also need to provide a Directory restore mode (DSRM) password which is important to keep safe somewhere and will require when need to restore Active Directory domain services.
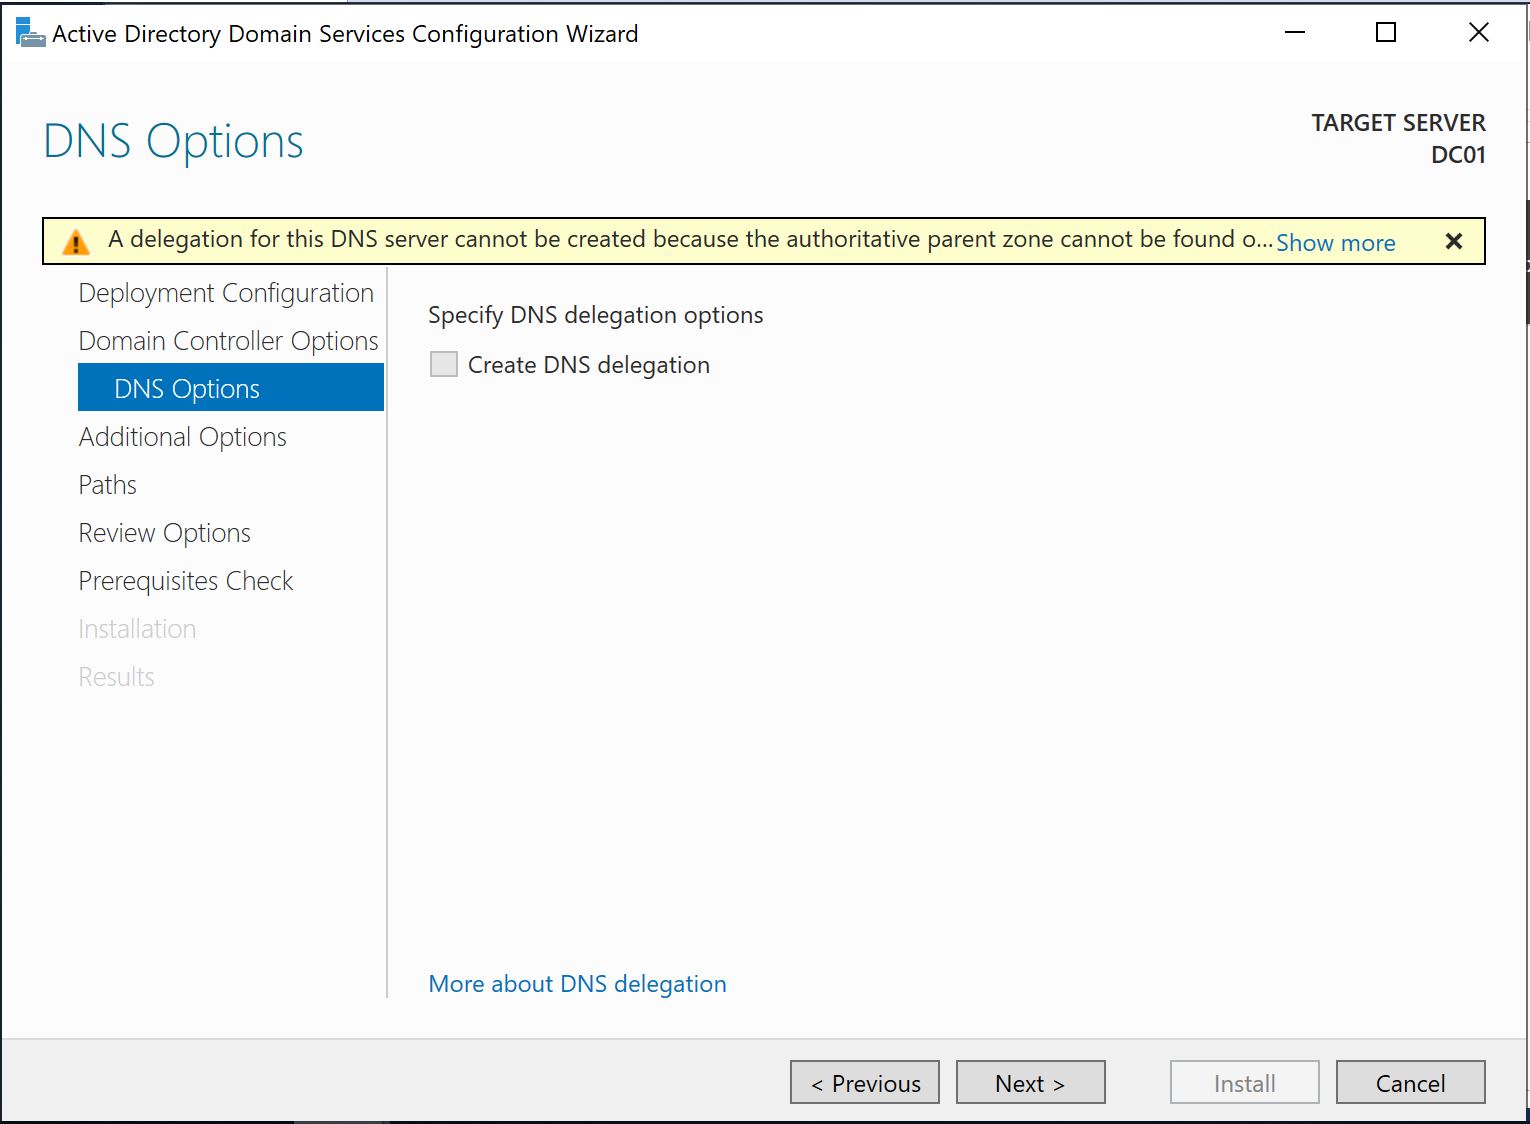
DNS Options
No action required, we can safely ignore this warning.
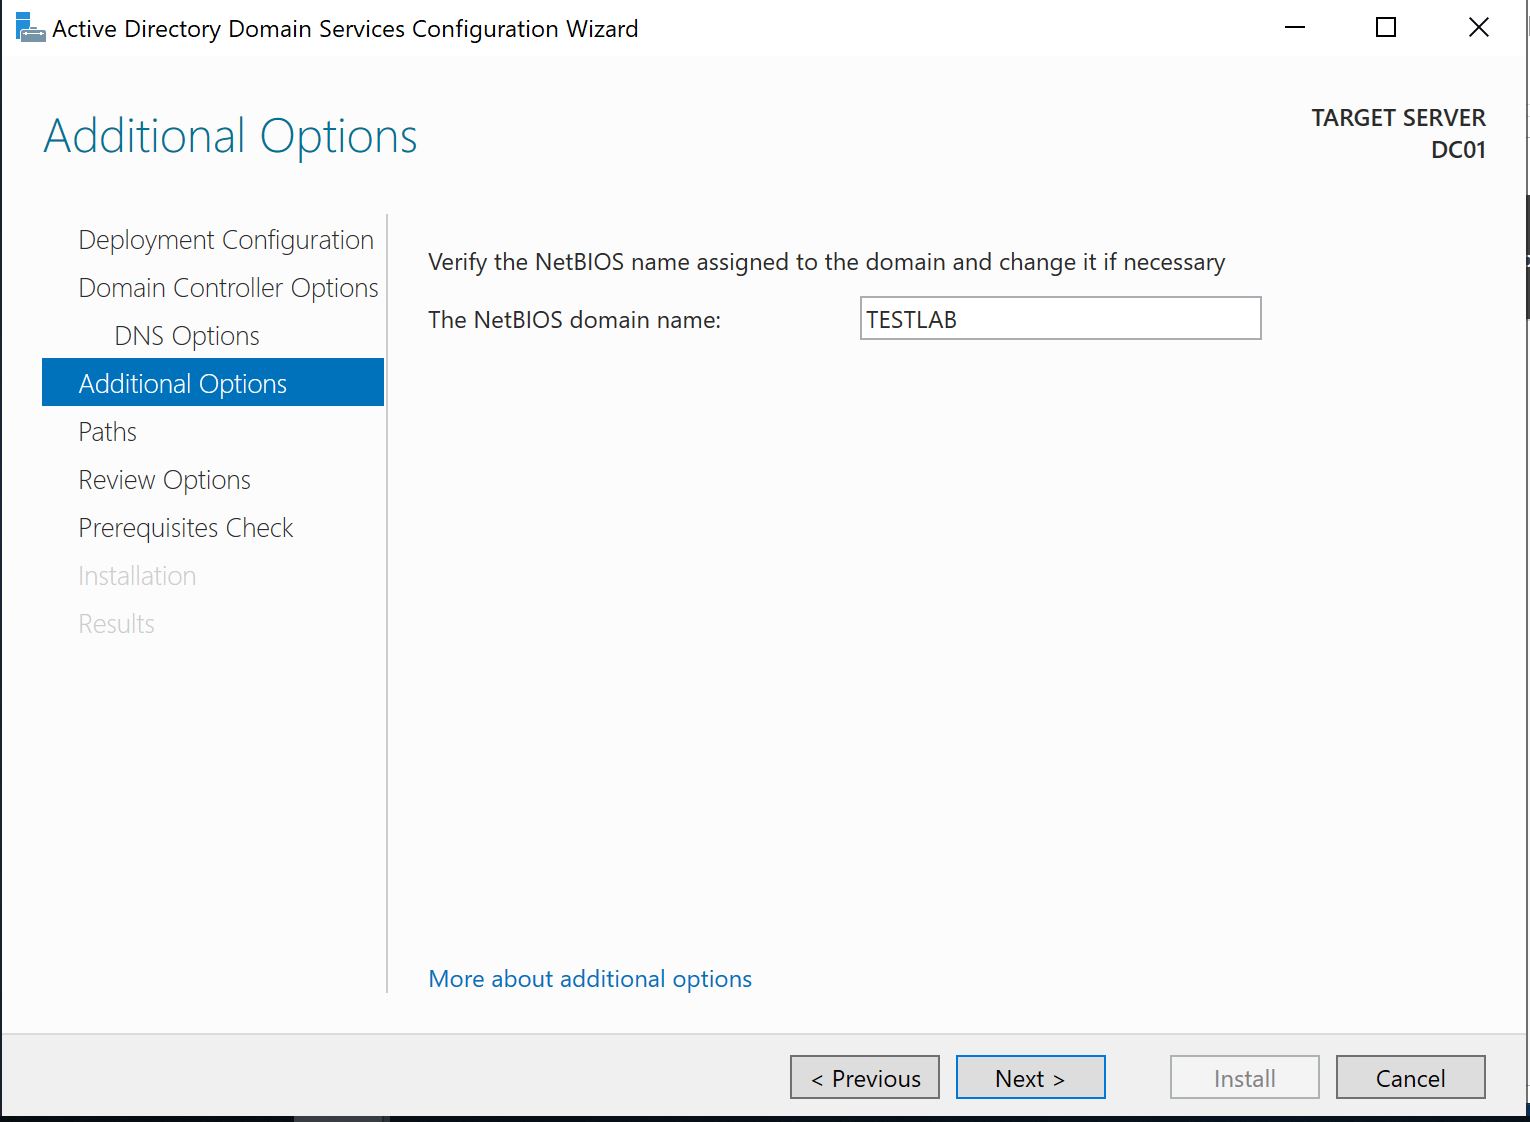
Additional Options
No action is required; we will use the same NetBios Domain name as a domain name.
Paths
On this screen, we can specify the location of the Database folder, Log files folder, and SYSVOL folder or leave the default location path.
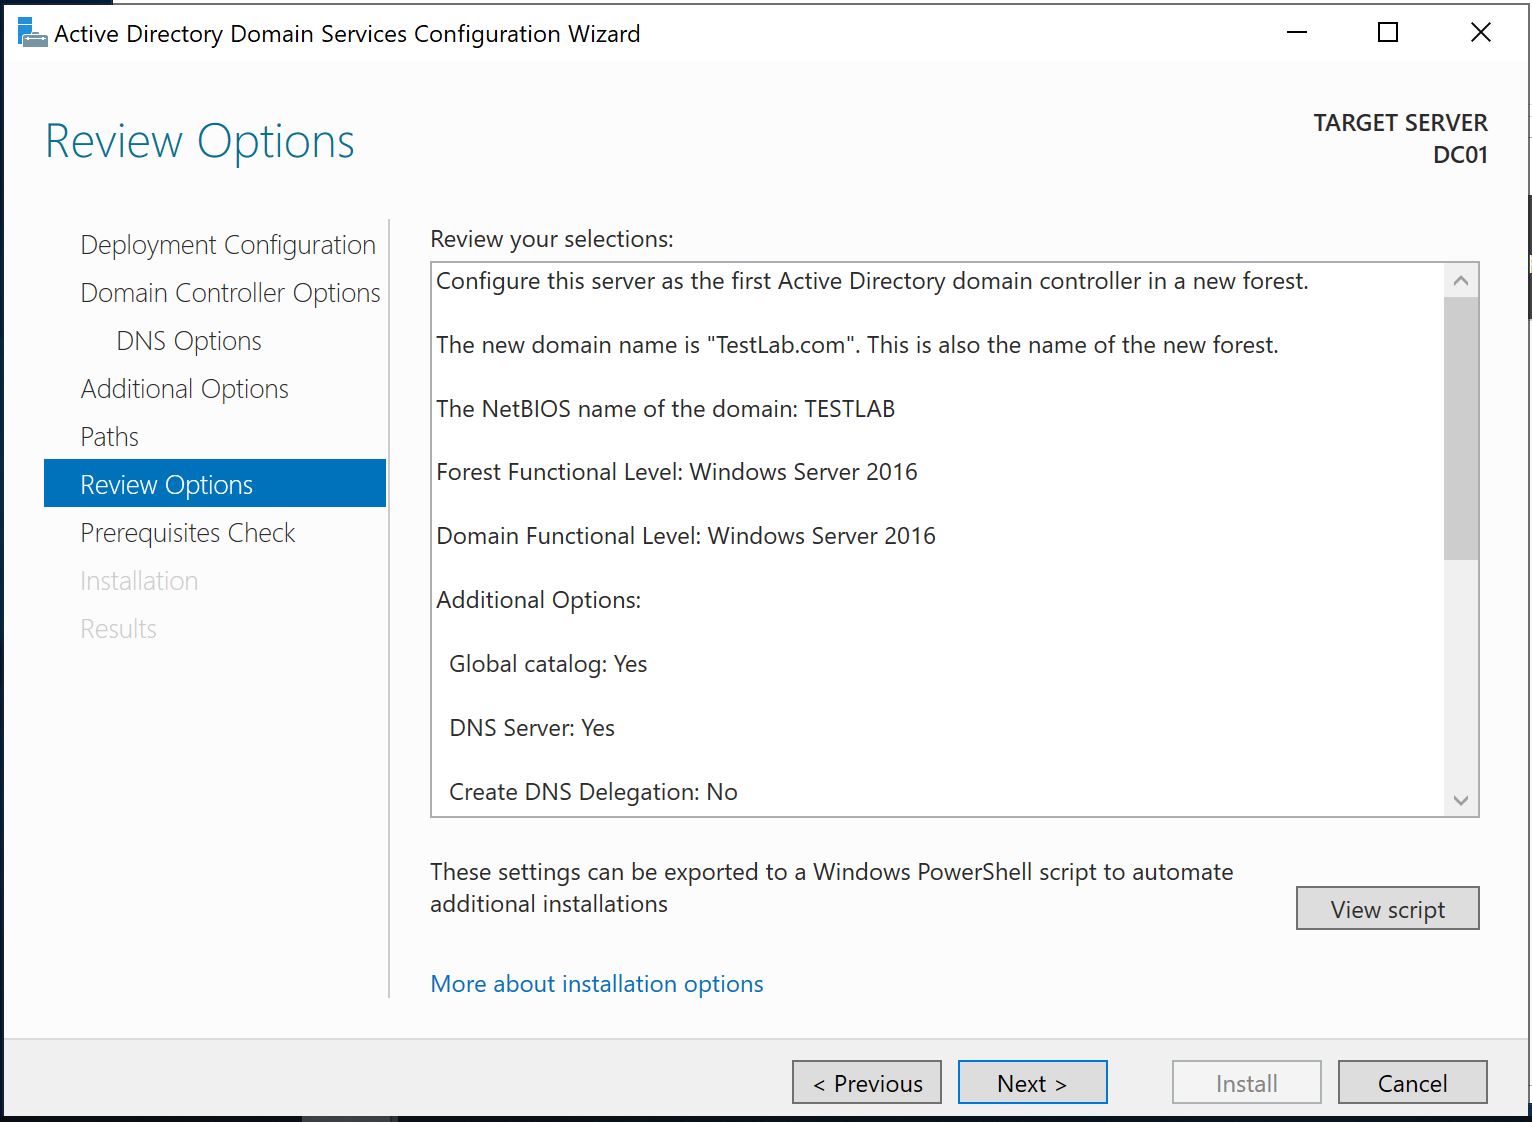
Review Options
We will review all the options and change if needed.
Prerequisites Check
System will check all the prerequisites and if validation is successful, we can install Active Directory. You may ignore some warnings about cryptography and DNS delegation.
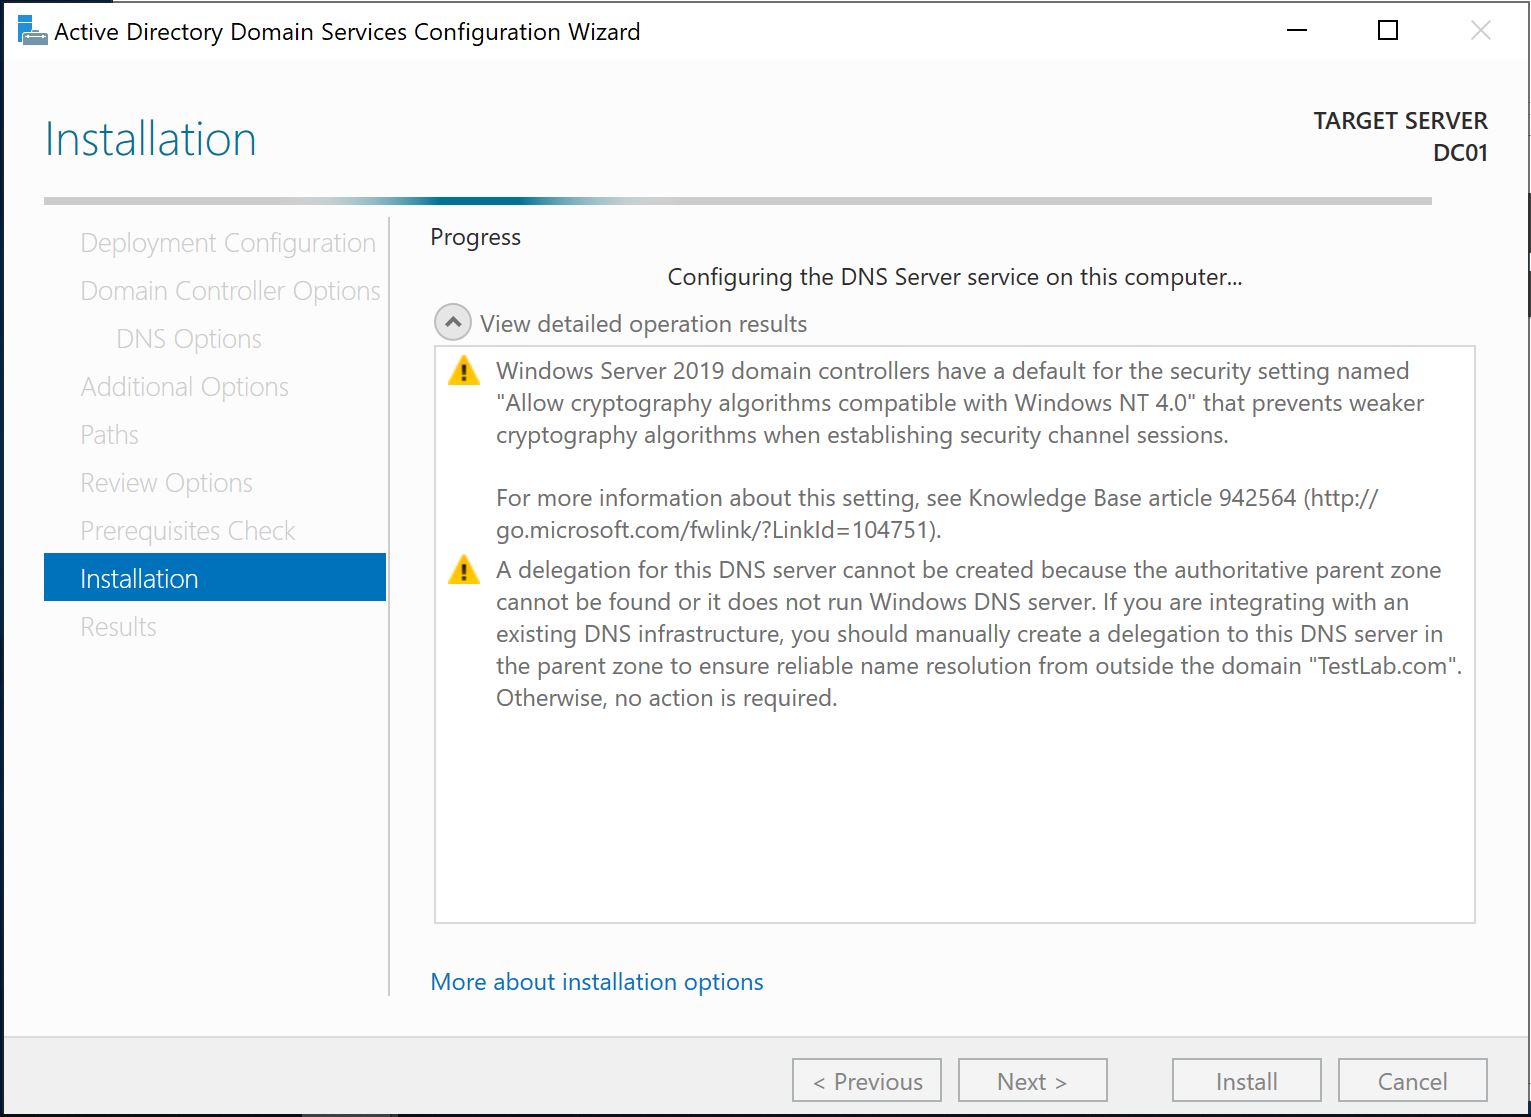
Installation
On this screen, we can review the progress of Active Directory installation and the server will restart automatically.
Once restart is completed, you can log in on the server. Active Directory Domain Services have been installed.
Frequently Asked Questions
What are the minimum requirements to install Active Directory on Windows Server 2019?
You need a Windows Server operating system (2012, 2016, or 2019), an administrator account with a strong password, an NTFS partition with sufficient free space, and a network interface card (NIC) configured with a static IP address. A DNS server is also required and can be installed alongside Active Directory.
Can I change the server hostname after installing Active Directory?
No, you cannot change the computer name after Active Directory Domain Services has been installed and the server has been promoted to a domain controller. Always set the desired hostname before beginning the Active Directory installation process.
What is the DSRM password and why is it important?
The Directory Services Restore Mode (DSRM) password is set during the domain controller promotion process. It is used to log into the server when Active Directory needs to be restored or repaired. Store this password in a safe location, as it is critical for disaster recovery scenarios.
Why is DNS required for Active Directory installation?
Active Directory relies heavily on DNS for locating domain controllers, services, and other network resources. Without a properly configured DNS server, Active Directory clients will not be able to find or authenticate with the domain. The DNS Server role can be installed at the same time as Active Directory Domain Services.
What Forest and Domain functional levels should I choose?
The functional level determines which Active Directory features are available. Select the highest functional level that is compatible with all domain controllers in your environment. If all servers run Windows Server 2016 or later, choose Windows Server 2016 as the functional level to take advantage of the latest features.