Multi-Factor Authentication also known as MFA is a security mechanism where computer users have to input 2 evidence of authentication such as a password and OTP (One time password). In this era of technology, security is critical and almost all big companies provide MFA for their IT services.
In this article, we will learn how to set up MFA on an Azure Active Directory user and what options are available in MFA settings.
How to Setup MFA on Azure Active Directory User
Step 1: Log in to Azure Portal
Log in to https://portal.azure.com
Step 2: Search Azure Active Directory
Search Azure Active Directory in Search Bar

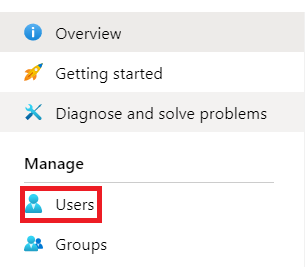
Step 3: Select Users
Select Users from Users Blade
Step 4: Open Multi-Factor Authentication
Click on Multi-Factor Authentication, it will open in a new browser tab.

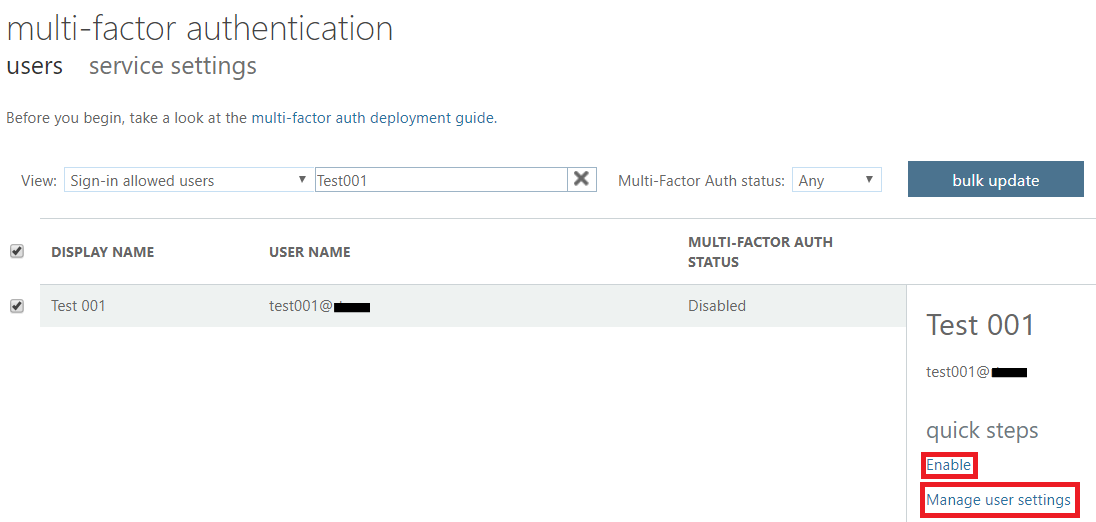
Step 5: Find and Enable User
Click the Search Icon and find the user you want to enable MFA. Select User and Click Enable.
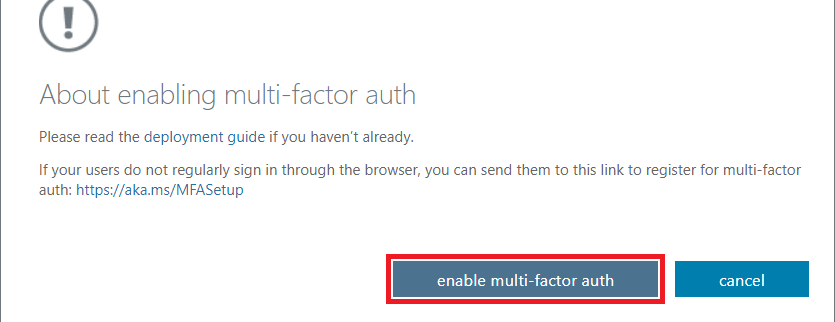
Step 6: Confirm Enable
Click Enable and then select enable multi-factor auth.
Step 7: Configure Contact Methods
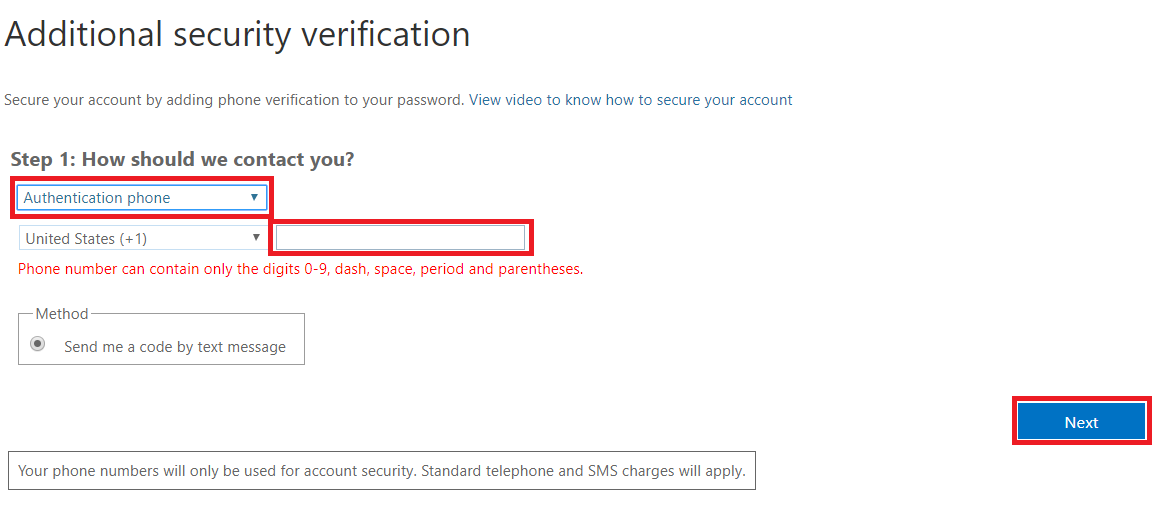
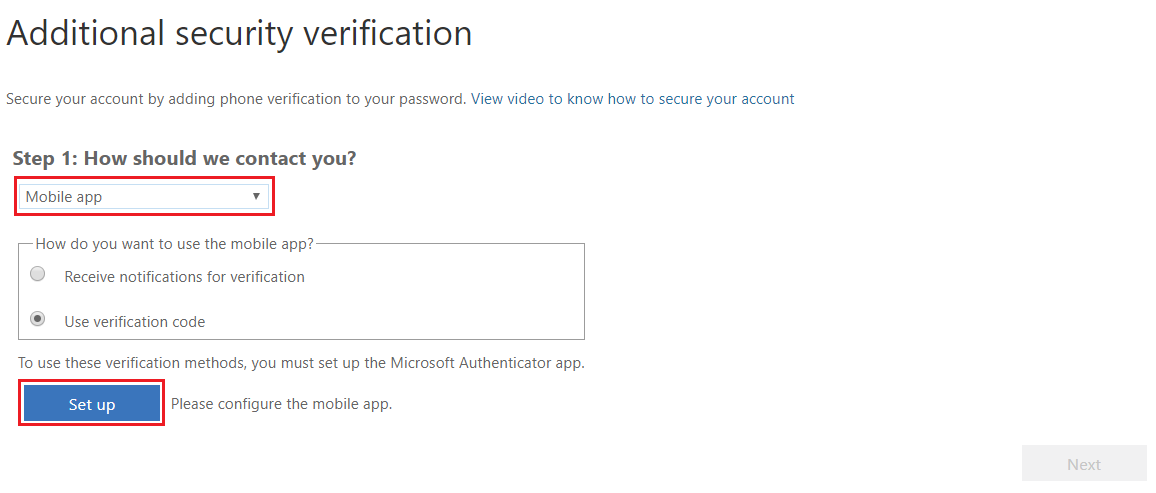
Click Settings and select the first option "Require Selected Users to provide contact methods again". You will be presented with two options:
- Authentication Phone -- You will receive a code by SMS.
- MFA Mobile App -- You will install Microsoft Authenticator App on your phone to authenticate Login.
How to get List of Users with MFA Status
You can use the following PowerShell commands to fetch a list of users with their MFA Status enabled or disabled. This script will get a list of users who are licensed.
Get-MsolUser -all | select DisplayName,UserPrincipalName,IsLicensed, @{N="MFA Status"; E={ if($_.StrongAuthenticationRequirements.Count -ne 0){ $_.StrongAuthenticationRequirements[0].State } else {'Disabled'} } } | Export-Csv -Path "C:\scripts\mfa.csv"