
How To Setup DKIM for Office 365 Domain
DKIM (DomainKeys Identified Mail) is an email authentication protocol that enables email receivers to verify that incoming email messages are authentic and have not been modified in transit. It adds a digital signature to the email message header that verifies the identity of the sender.
Let’s dive into how we can set up DKIM for a domain in Office 365:
Log in to the Office 365 Security center at https://security.microsoft.com.
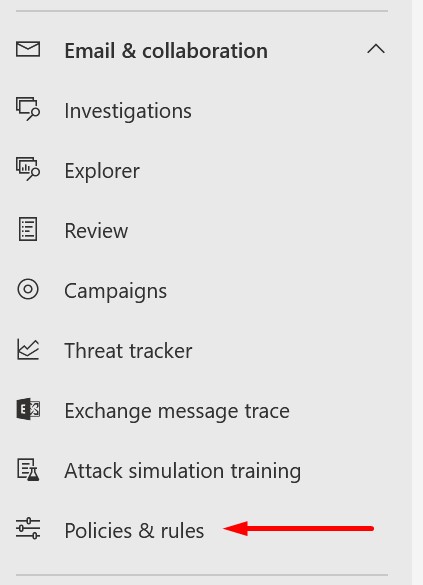
Select “Policies & rules” from the left menu in the “Email & Collaboration” section.
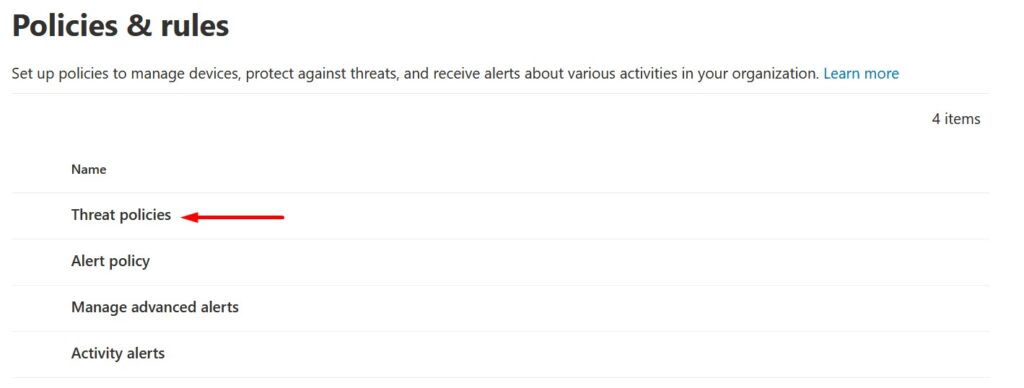
Select “Threat policies.”
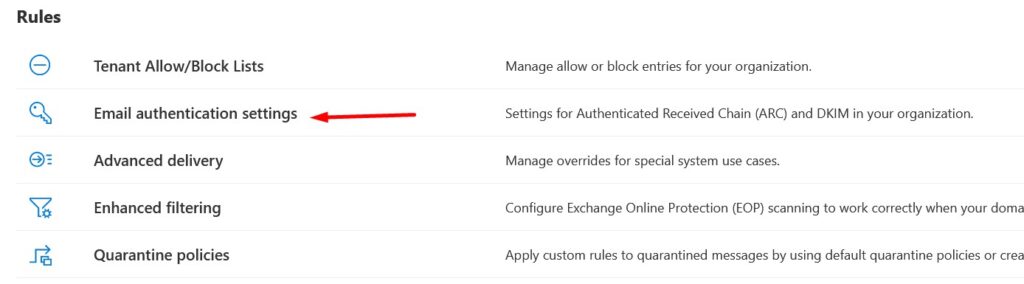
In the rules section, select “Email authentication settings.”
Select DKIM and click on the domain name for which you want to set up DKIM.

Click “Create DKIM keys.”

Copy the CNAME record value for the domain and add it to the public DNS for your domain.

To add a DKIM signature in DNS for a domain, you’ll need to publish two CNAME records for each domain. For Office 365, the selectors will always be to selector CNAMES “selector1” and “selector2”.
Enable the option to sign messages for this domain with DKIM signatures.

If the records are published correctly, you will be able to enable the option. Otherwise, you will get an error. Records can take from a few minutes to four days to propagate.
DKIM is one of several email authentication protocols used to combat spam and phishing attacks. Other protocols include SPF (Sender Policy Framework) and DMARC (Domain-based Message Authentication, Reporting, and Conformance). Together, these protocols can help ensure that email messages are delivered reliably and securely.