What Is DKIM?
DKIM (DomainKeys Identified Mail) is an email authentication protocol that enables email receivers to verify that incoming email messages are authentic and have not been modified in transit. It adds a digital signature to the email message header that verifies the identity of the sender.
Let's dive into how we can set up DKIM for a domain in Office 365.
How To Enable DKIM in Office 365
Step 1: Open the Office 365 Security Center
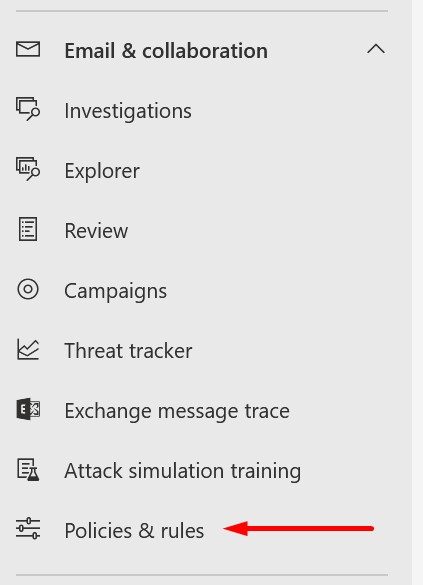
Log in to the Office 365 Security center at https://security.microsoft.com. Select "Policies & rules" from the left menu in the "Email & Collaboration" section.
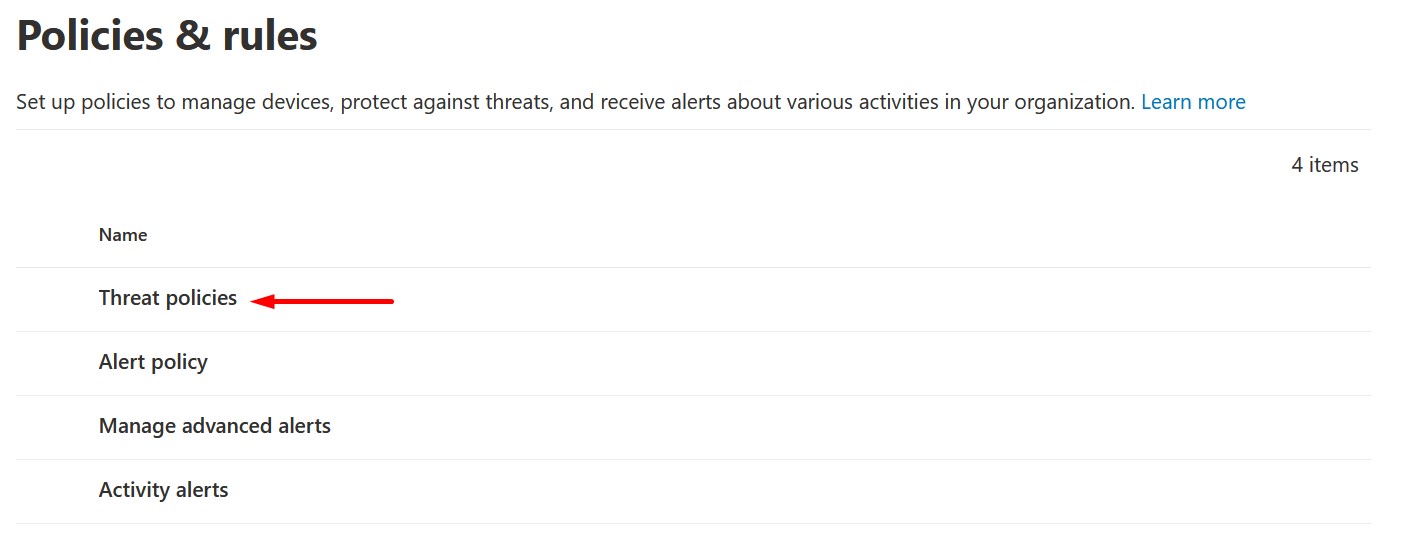
Step 2: Open Threat Policies
Select "Threat policies."
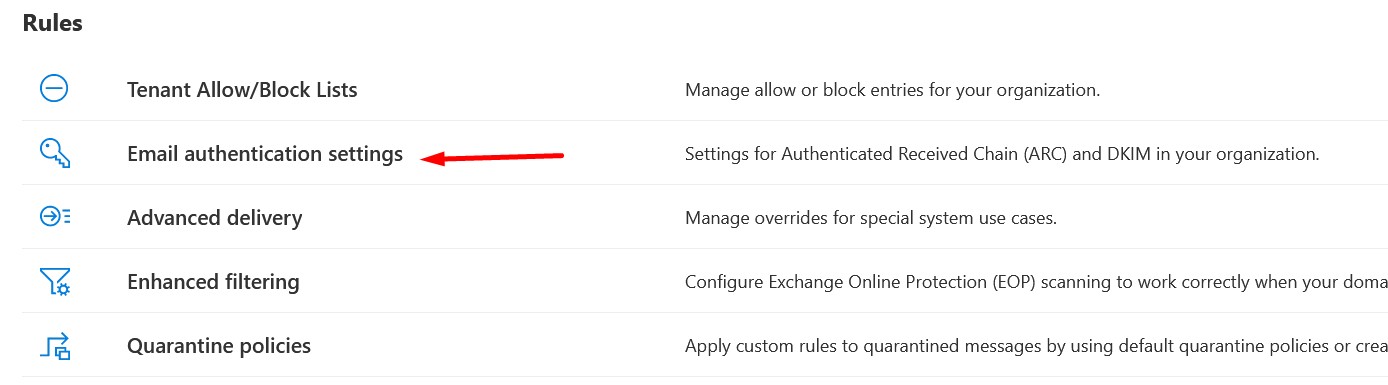
Step 3: Navigate to Email Authentication Settings
In the rules section, select "Email authentication settings."
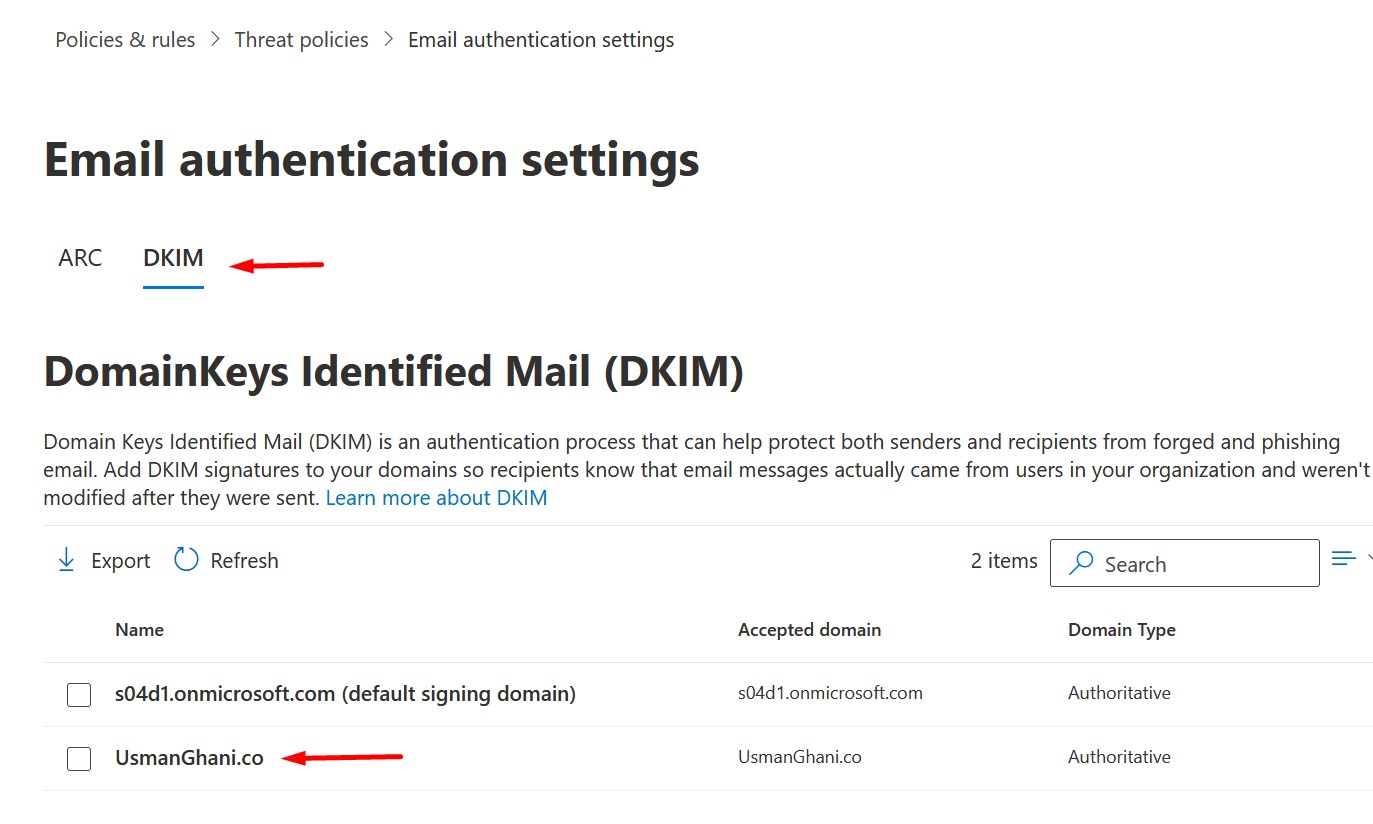
Step 4: Select Your Domain
Select DKIM and click on the domain name for which you want to set up DKIM.
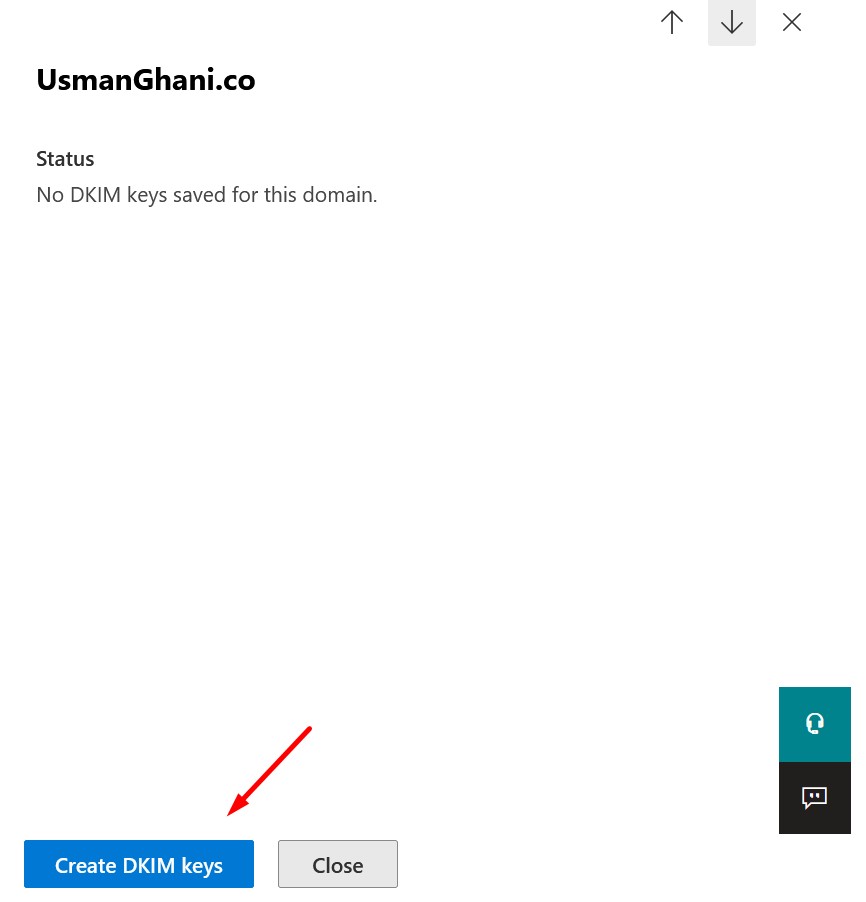
Step 5: Create DKIM Keys
Click "Create DKIM keys."
Step 6: Add CNAME Records to DNS
Copy the CNAME record value for the domain and add it to the public DNS for your domain.
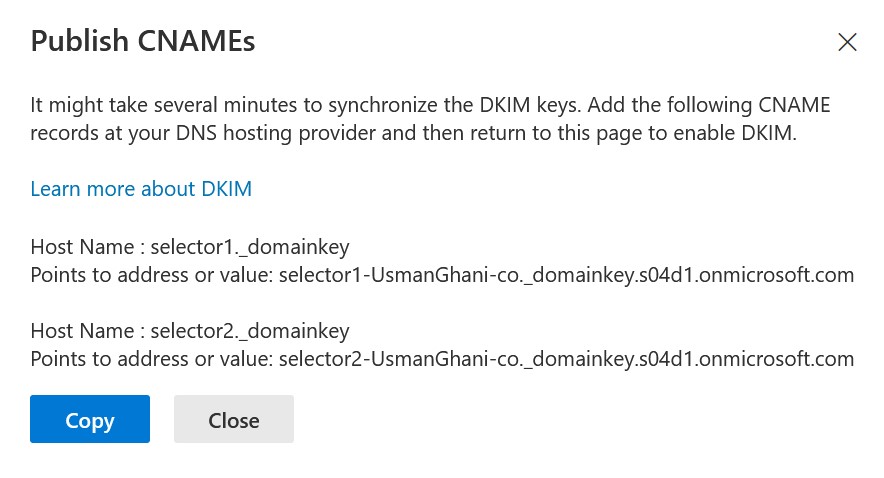
To add a DKIM signature in DNS for a domain, you'll need to publish two CNAME records for each domain. For Office 365, the selectors will always be to selector CNAMES "selector1" and "selector2".
Step 7: Enable DKIM Signing
Enable the option to sign messages for this domain with DKIM signatures.
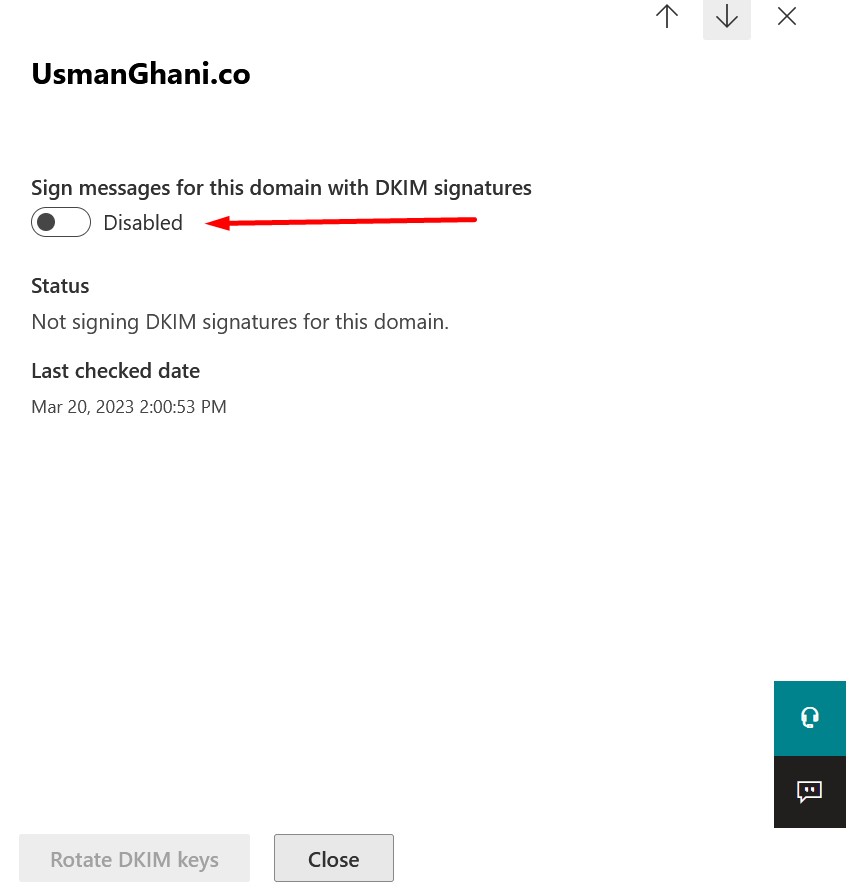
If the records are published correctly, you will be able to enable the option. Otherwise, you will get an error. Records can take from a few minutes to four days to propagate.
DKIM and Other Email Authentication Protocols
DKIM is one of several email authentication protocols used to combat spam and phishing attacks. Other protocols include:
- SPF (Sender Policy Framework) — Specifies which mail servers are authorized to send email on behalf of your domain.
- DMARC (Domain-based Message Authentication, Reporting, and Conformance) — Builds on SPF and DKIM to provide instructions for handling messages that fail authentication checks.
Together, these protocols can help ensure that email messages are delivered reliably and securely.
Frequently Asked Questions
Do I need to create two CNAME records for DKIM in Office 365?
Yes. Office 365 requires two CNAME records per domain, using the selectors "selector1" and "selector2". Both must be published in your public DNS before you can enable DKIM signing.
How long does it take for DKIM DNS records to propagate?
DNS propagation can take anywhere from a few minutes up to four days depending on your DNS provider and TTL settings. You will not be able to enable DKIM signing in Office 365 until the records have fully propagated.
What happens if I enable DKIM but the DNS records are not published?
Office 365 will show an error when you try to toggle the DKIM signing option. You need to ensure both CNAME records are correctly published and propagated before enabling the feature.
Is DKIM alone enough to protect my domain from email spoofing?
No. DKIM should be used alongside SPF and DMARC for comprehensive email authentication. SPF validates the sending server, DKIM verifies message integrity, and DMARC ties them together with a policy for handling failures.
Does Office 365 sign outbound emails with DKIM by default?
Office 365 uses a default DKIM signature for all outbound mail, but it signs with a Microsoft domain. To sign with your own custom domain, you must create DKIM keys and publish the CNAME records as described in this guide.