AzCopy is a command-line tool that is used for copying data to and from Azure Blob, File, and Table storage. The sync feature of AzCopy is used to synchronize files and directories between a source and a destination.
In this tutorial, we will see how to synchronize files from a local PC to an Azure storage account using AzCopy sync.
AzCopy Copy vs AzCopy Sync
AzCopy copy is used to copy data from a source to a destination. It supports only copying data.
AzCopy sync is used to synchronize files and folders between a source and a destination. This command:
- Copies new and changed files from the source to the destination
- Deletes files from the destination that no longer exist in the source
How to Setup AzCopy Sync between Local Folders and Azure Storage Account
Step 1: Create a Storage Account in Azure
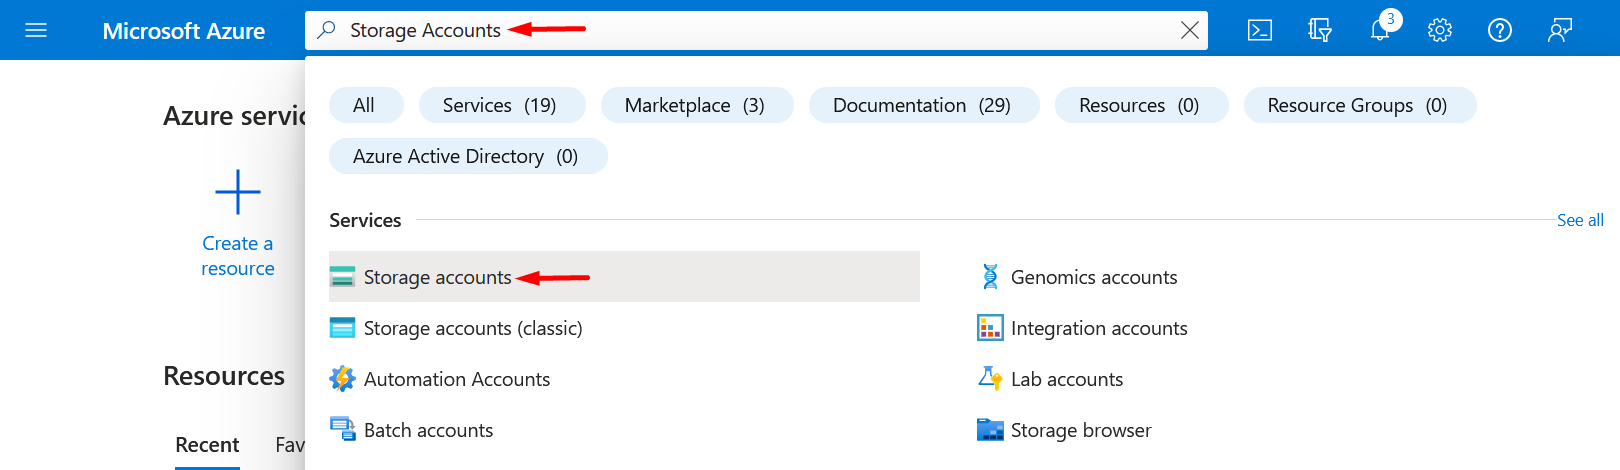
Open Azure Portal https://portal.azure.com. In the search bar, search for storage accounts and select storage accounts in services. Click on Create to create a storage account in Azure.
Step 2: Fill in the Basic Information
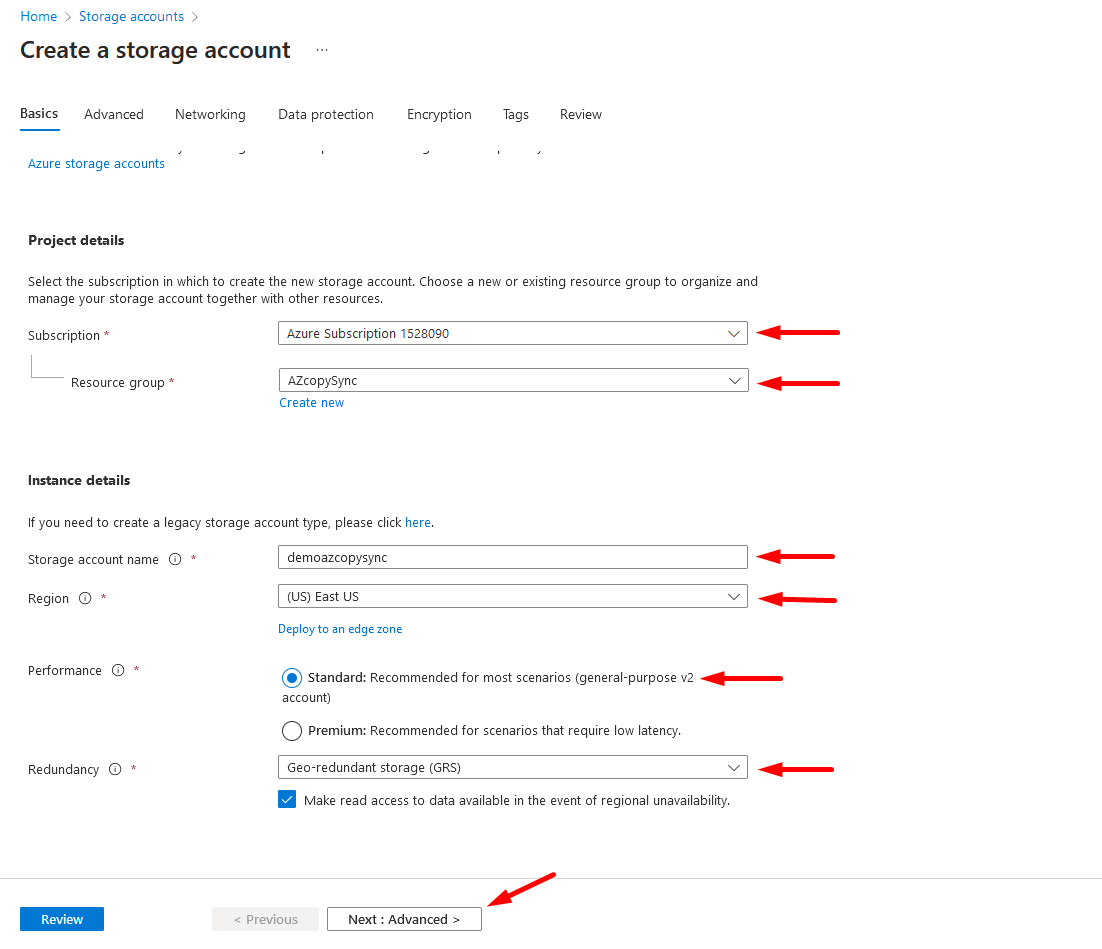
Fill in all the required information:
- Select subscription
- Create or select the existing resource group from the list
- Enter the storage account name (you cannot use spaces or capital letters)
- Select the region from the list
- Select performance tier: Standard or Premium
- Select redundancy level
Click "Next: Advanced >" when done.
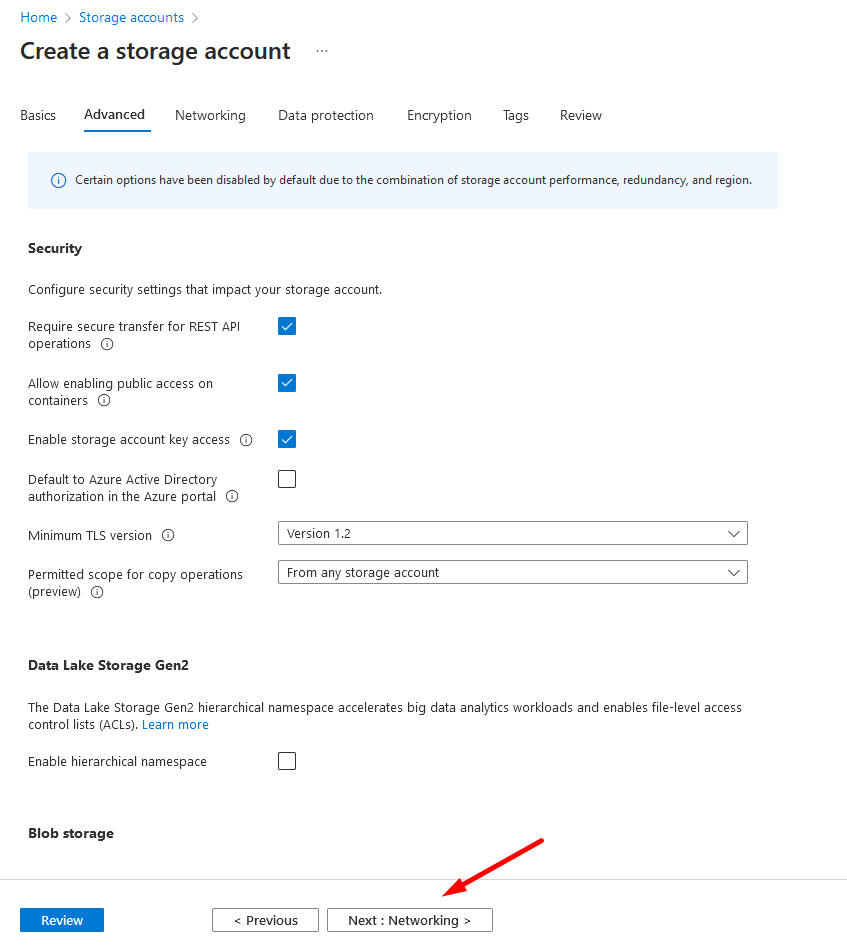
Step 3: Configure Advanced Settings
On the advanced settings page, leave it as default and click "Next: Networking".
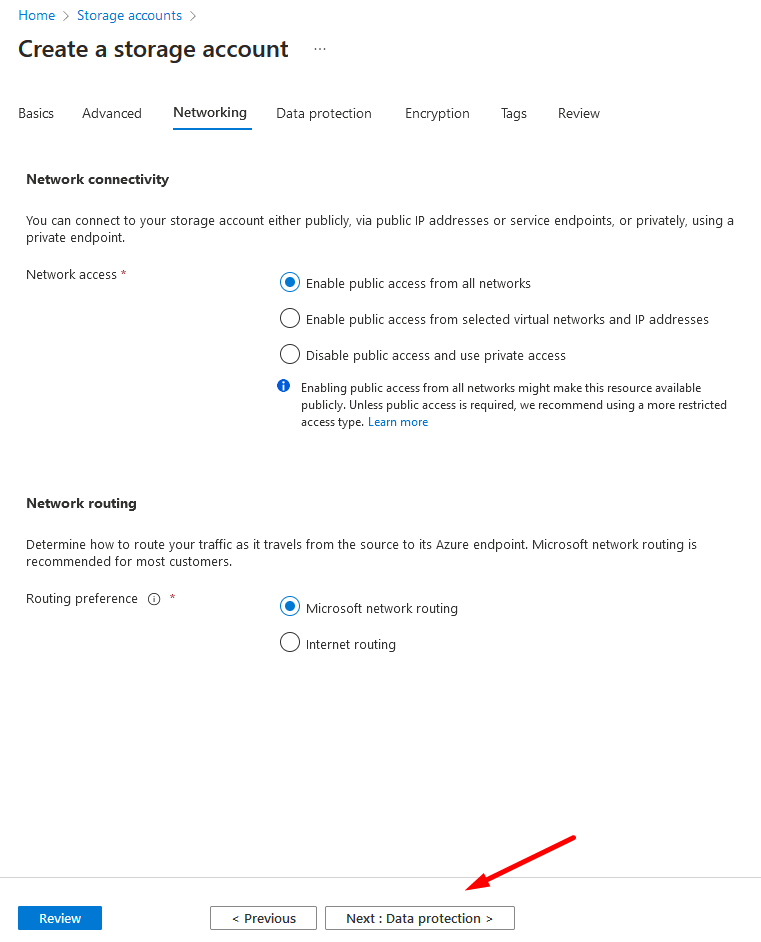
Step 4: Configure Networking
On the networking settings page, leave it as default and click "Next: Data protection".
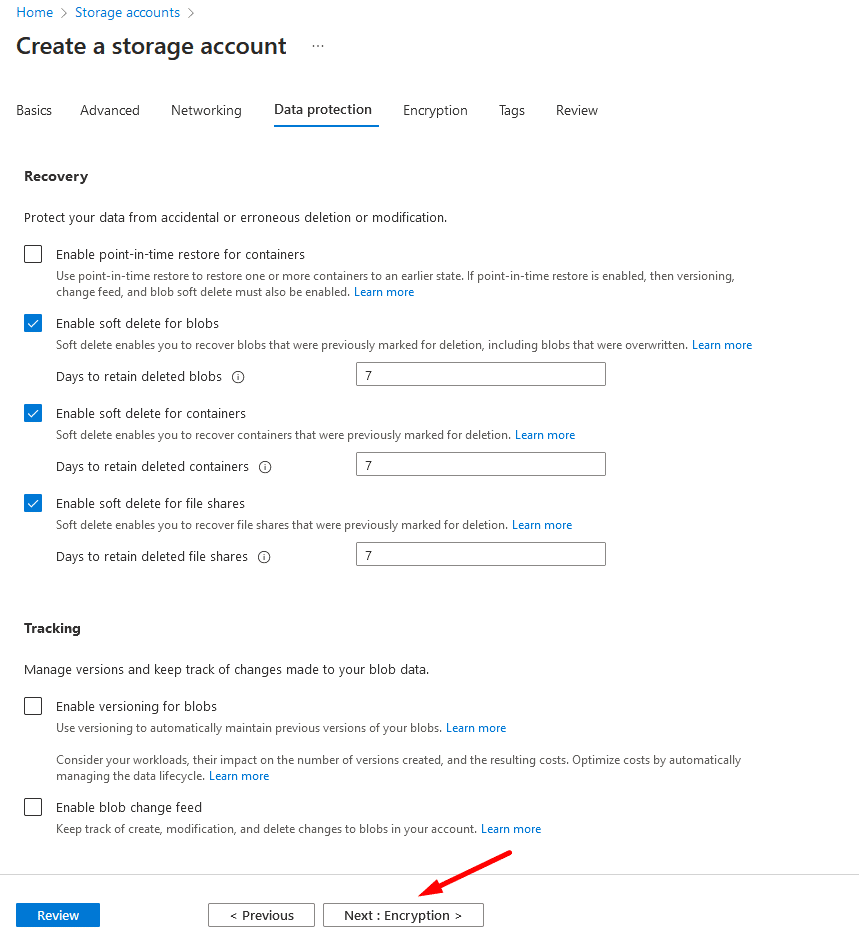
Step 5: Configure Data Protection
On the data protection settings page, leave it as default and click "Next: Encryption".
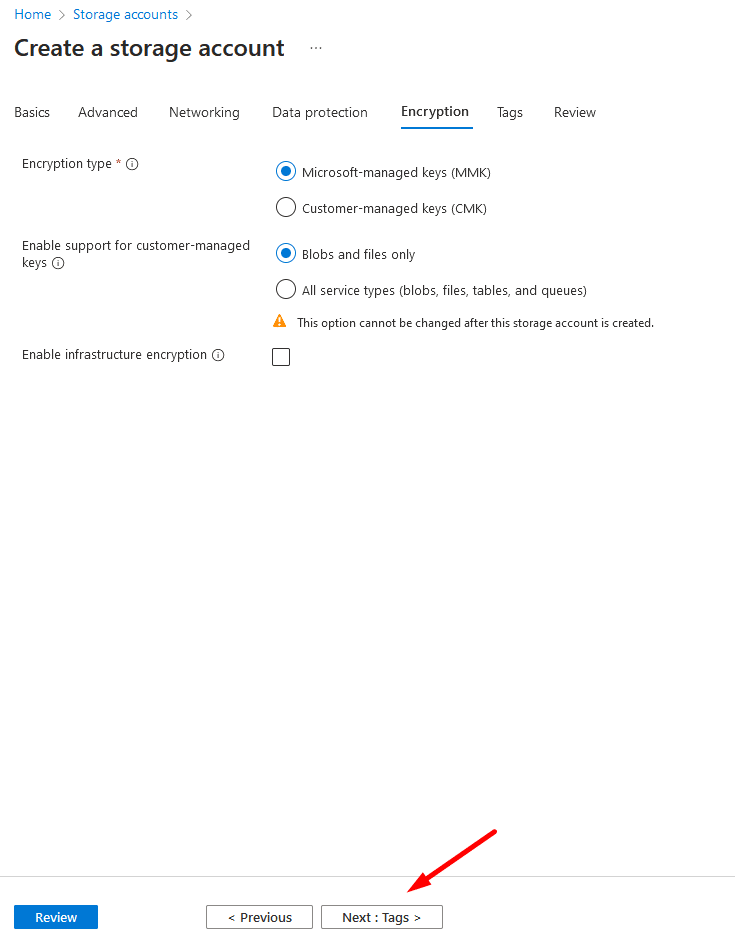
Step 6: Configure Encryption
On the encryption settings page, leave it as default and click "Next: Review".
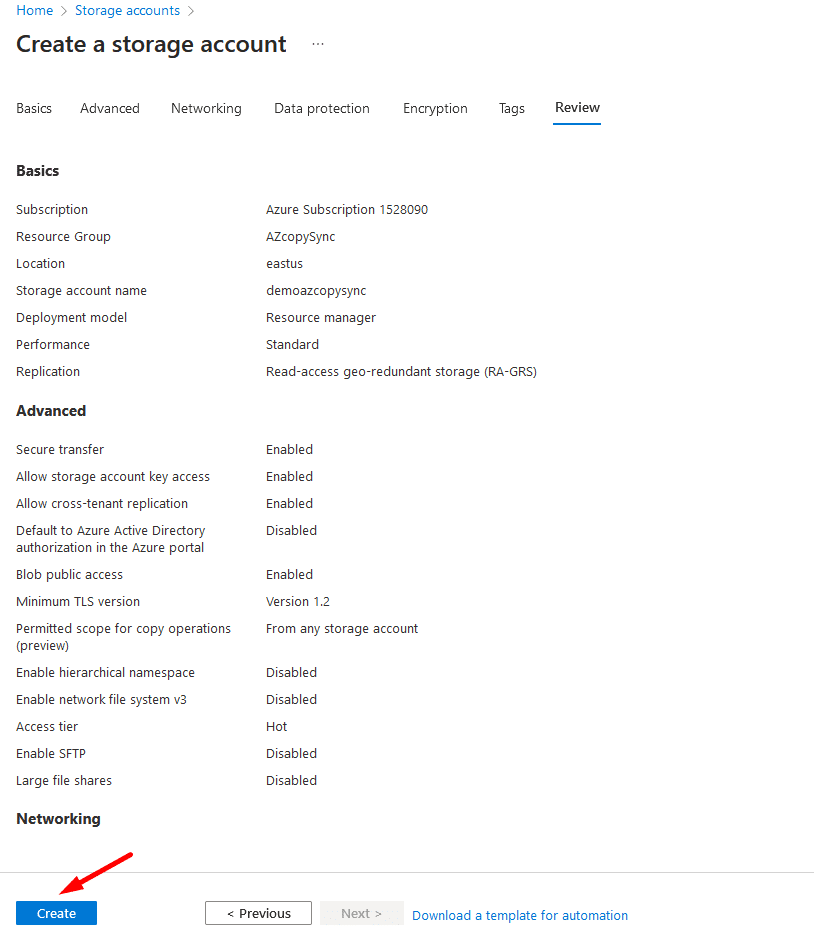
Step 7: Review and Create the Storage Account
Verify all the input details on the review settings page and click Create.
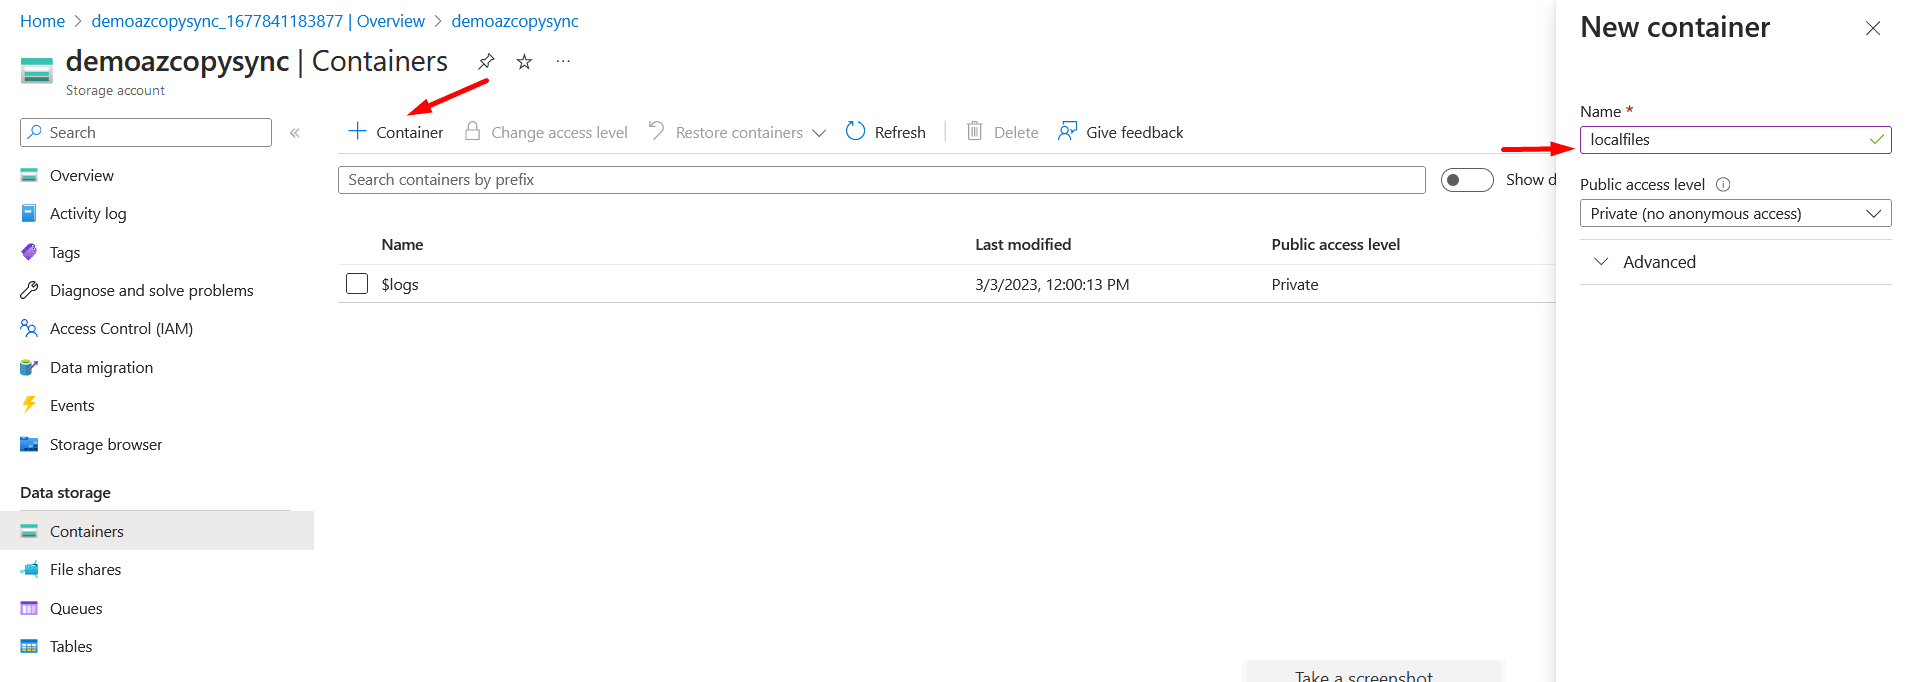
Step 8: Create a Container for Data
Now that the storage account is created, the next step is to create a container for data.
- Click on the newly created storage account
- From the left-hand menu, select Containers
- Click on the + sign to create a container
- Enter the name (must be in lowercase letters)
- Click on Create
Step 9: Generate a Shared Access Token (SAS)
Once the container is created, click on the container's name and select "Shared access tokens" from the left menu. Select the required permissions and generate the SAS token and URL.
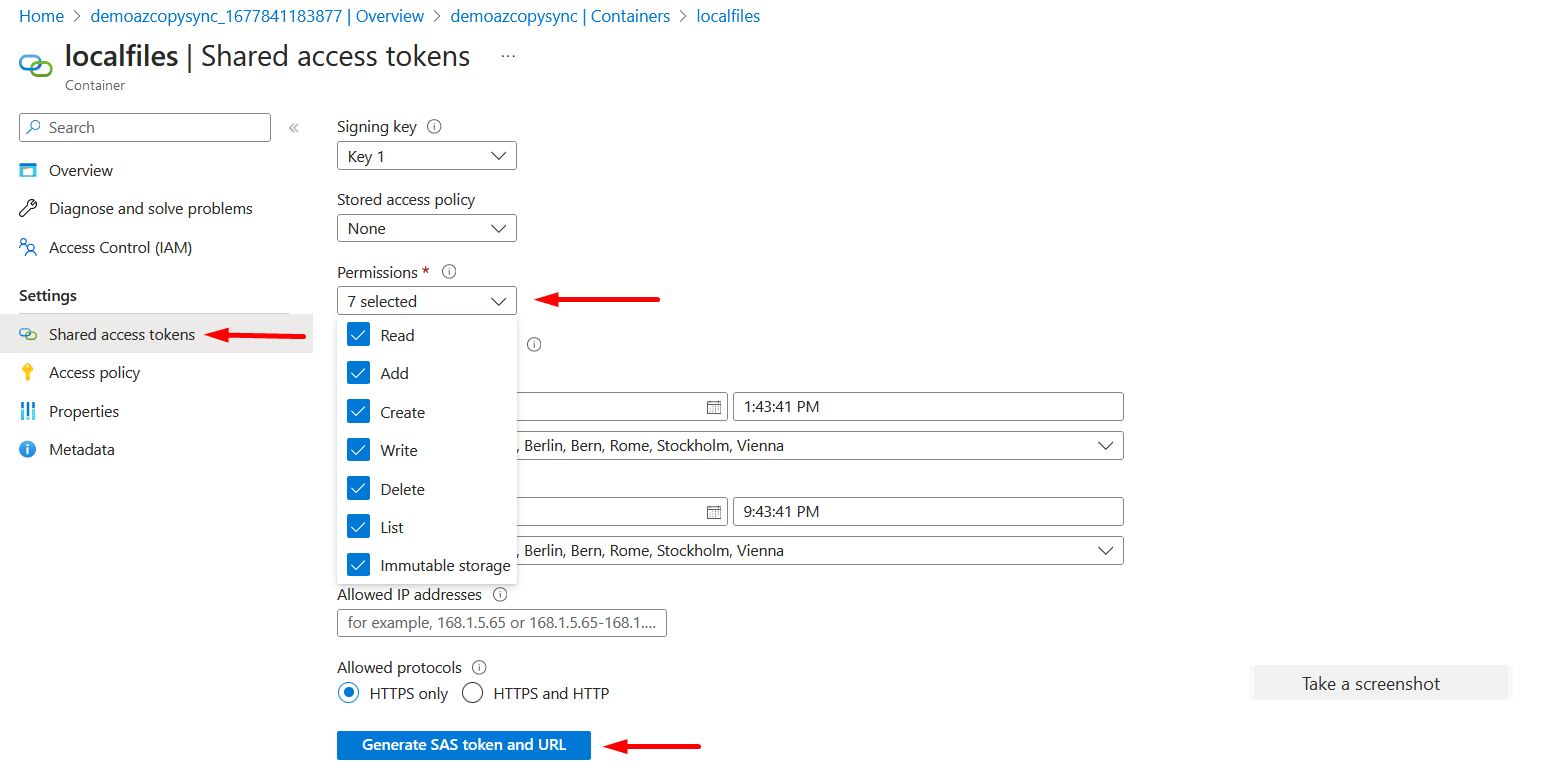
You will find the Blob SAS token and Blob SAS URL in the following format.

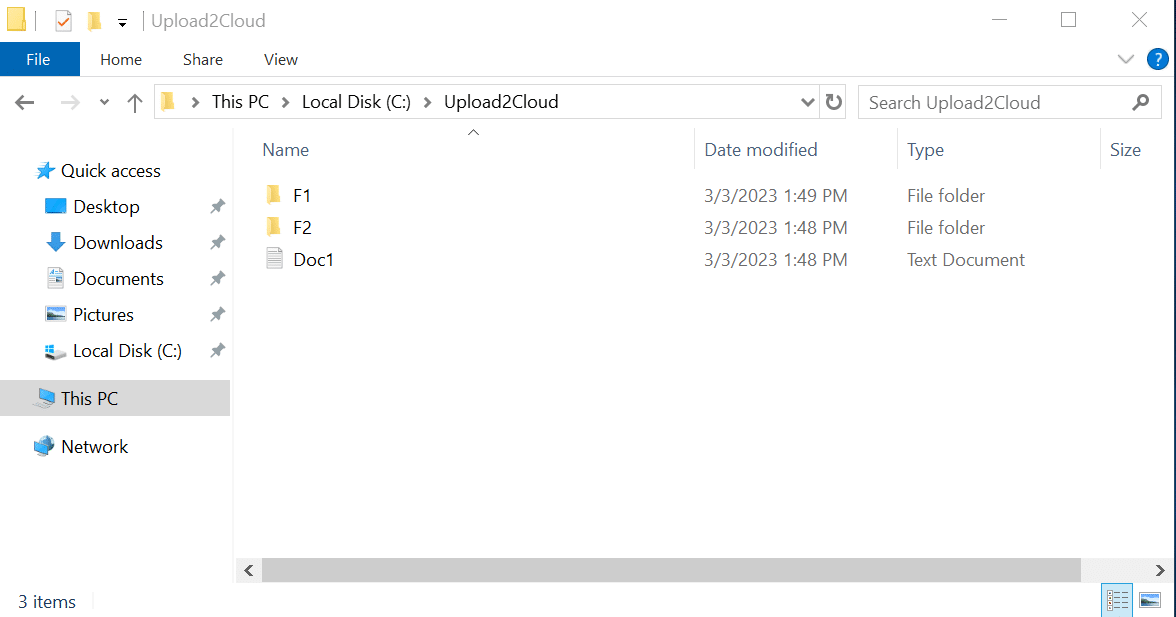
Step 10: Prepare the Local Folder to Sync
The next part is to sync data from your on-premises PC or file server using AzCopy. We have created a folder named "Upload2Cloud" and this main folder has sub-folders and files inside. We will sync these files and folders to Azure storage.
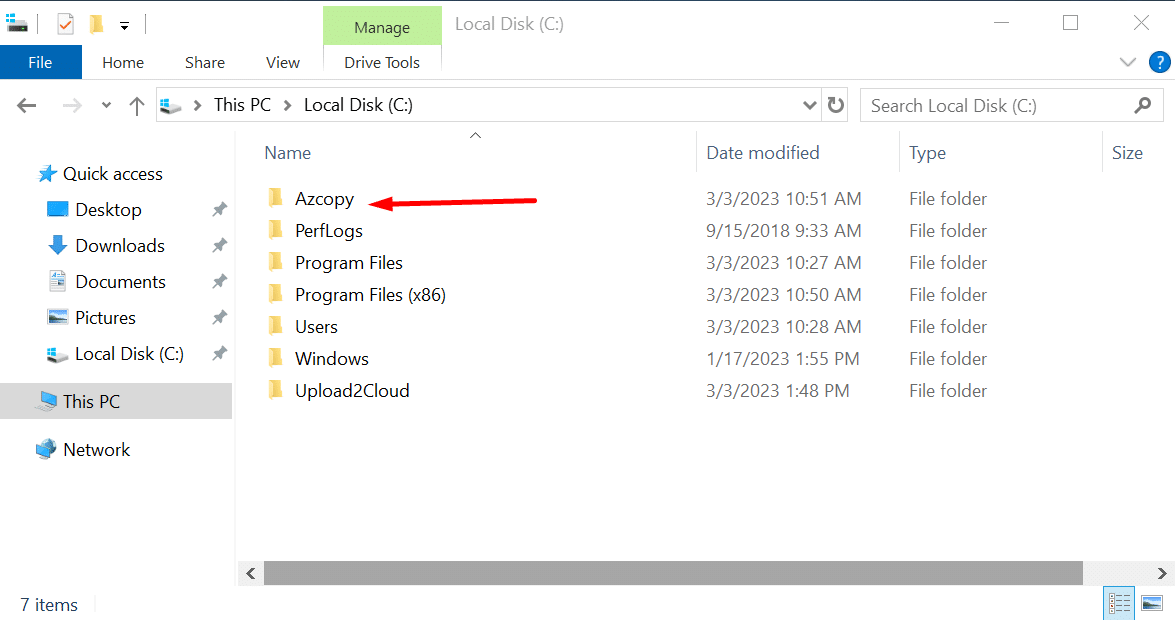
Step 11: Download and Extract AzCopy
Download AzCopy from the following link on the PC from where you want to upload. Extract the zip file in the C: drive with the folder name "azcopy".
Step 12: Run AzCopy Sync via PowerShell
Open PowerShell with administrative rights and change to the AzCopy directory on the C: drive. Run the following PowerShell command to sync to Azure storage:
.\azcopy.exe sync "C:\Upload2Cloud" "https://demoazcopysync.blob.core.windows.net/localfiles?sp=racwdli&st=2023-03-03T12:43:41Z&se=2023-03-03T20:43:41Z&spr=https&sv=2021-06-08&sr=c&sig=dFEShhWYNWEOwvrNfDXPvjFcZyx8u41wRrKoBuf%2Fk%2Bs%3D"

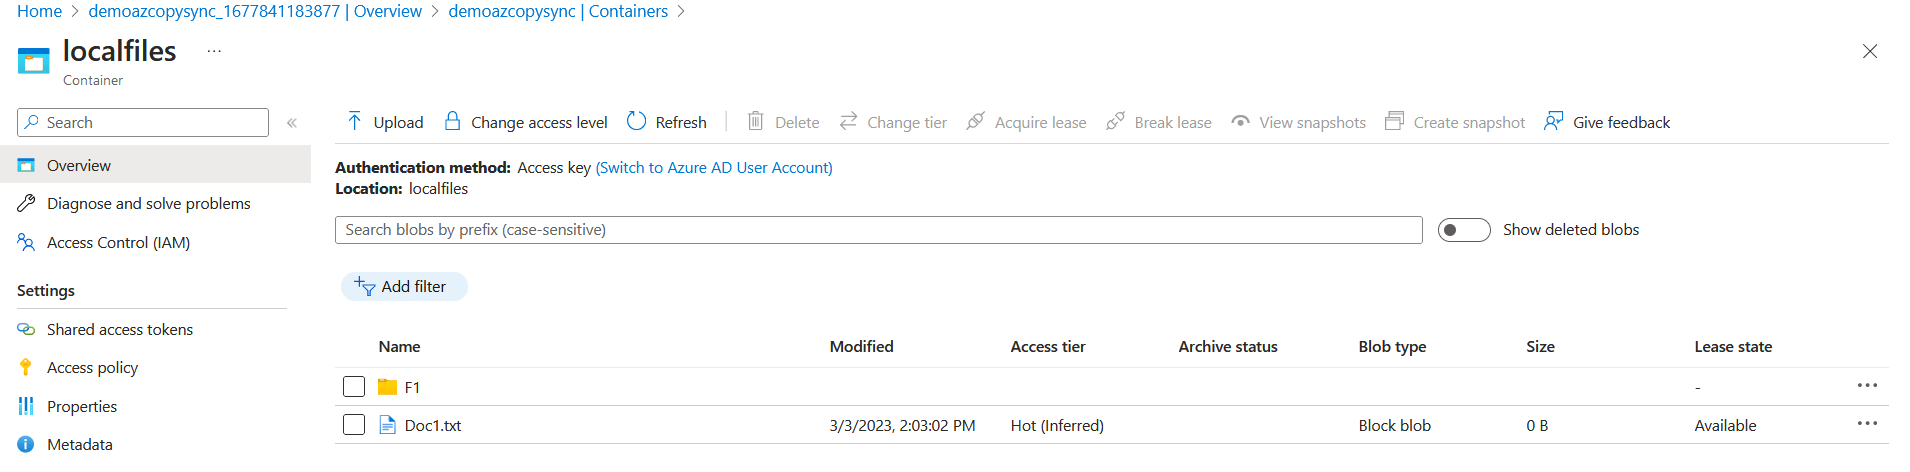
In the initial run, it will copy all the folders and files from the "Upload2Cloud" folder to the Azure storage container "localfiles". If you run it a second time, it will only sync the changes.
You can also create a batch file and set up scheduling using Task Scheduler in Windows to run it at specific intervals.
Note: Empty folders will not be synced and will be excluded.
Conclusion
AzCopy is a useful command-line tool for copying data to and from Azure Blob, File, and Table storage. By following the instructions provided above, users can quickly and easily transfer files to their Azure storage account, making it an ideal solution for data storage and management.
Frequently Asked Questions
What is the difference between AzCopy copy and AzCopy sync?
AzCopy copy simply transfers files from a source to a destination without checking for changes. AzCopy sync compares the source and destination, only copies new or modified files, and can delete files at the destination that no longer exist at the source. Use sync when you want to keep two locations in continuous alignment.
Does AzCopy sync delete files from the destination?
By default, AzCopy sync does not delete files from the destination. To enable deletion of extra files at the destination (files that do not exist at the source), you need to add the --delete-destination=true flag to your sync command.
Can I schedule AzCopy sync to run automatically?
Yes. You can create a batch file (.bat) containing the AzCopy sync command and then use Windows Task Scheduler to run it at specific intervals. This lets you automate regular synchronization between your local folders and Azure Storage without manual intervention.
Does AzCopy sync work with Azure File Shares?
Yes, AzCopy supports syncing with Azure Blob Storage and Azure File Shares. The command syntax is similar; you just need to provide the correct SAS token URL pointing to your file share instead of a blob container.
Why are empty folders not synced by AzCopy?
AzCopy operates at the file level and Azure Blob Storage does not have a true folder hierarchy -- it uses virtual directories based on file paths. Since there are no files inside an empty folder, AzCopy has nothing to transfer and the folder is excluded from the sync operation.