Lenovo x240 is a high-performance Intel Xeon processor-based node which is mostly used for high-end application for blazing performance or virtualization. In this article, we will cover step by step installation process from RAID configuration to installation of Windows 2016 Server operating system.
IBM / Lenovo servers are not designed to do straight windows installation, as we normally do use Windows OS bootable CD. In contrast to the traditional installation process, IBM /Lenovo provides IBM Server guides to make this process easy for system admins.
Step By Step Installation of Windows 2016 Standard on Lenovo Flex System x240 Compute Node
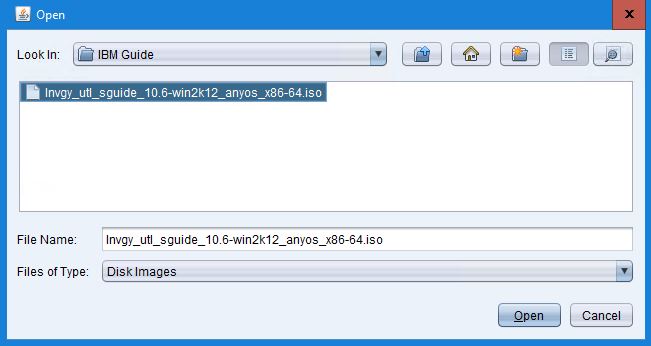
Step 1 - Download IBM Server Guide
Visit IBM/Lenovo website to download IBM guide for configuration of RAID and OS Installation https://datacentersupport.lenovo.com/us/en/documents/lnvo-sg2012
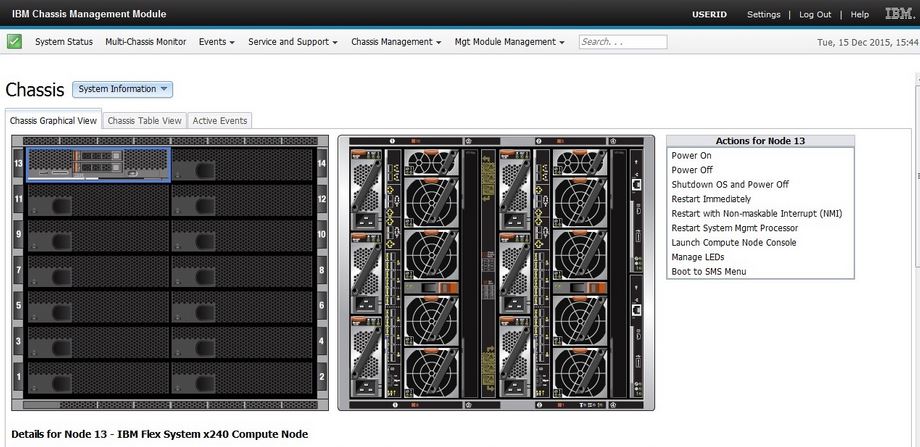
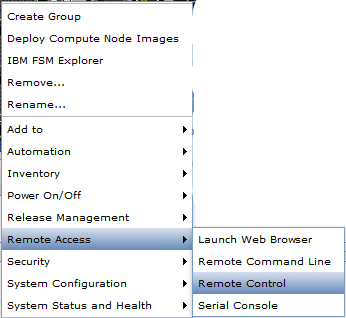
Step 2 - Logon to Flex System
Right click the node to access remote control options.
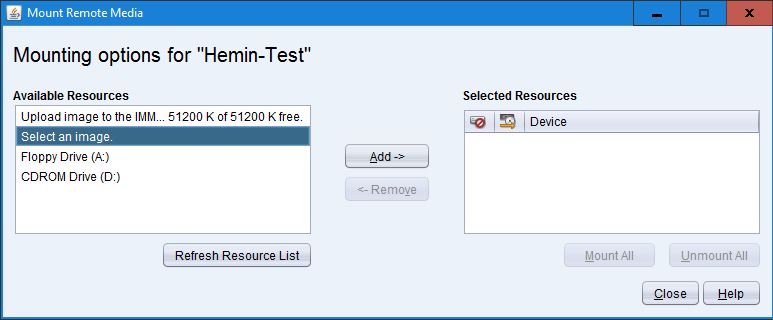
Step 3 - Mount Remote Media
Select the icon to Mount Remote Media. Select an image from Mounting Options and click Add to browse the ISO image of Server Guide which we downloaded in Step 1. Check the box and click Mount All.

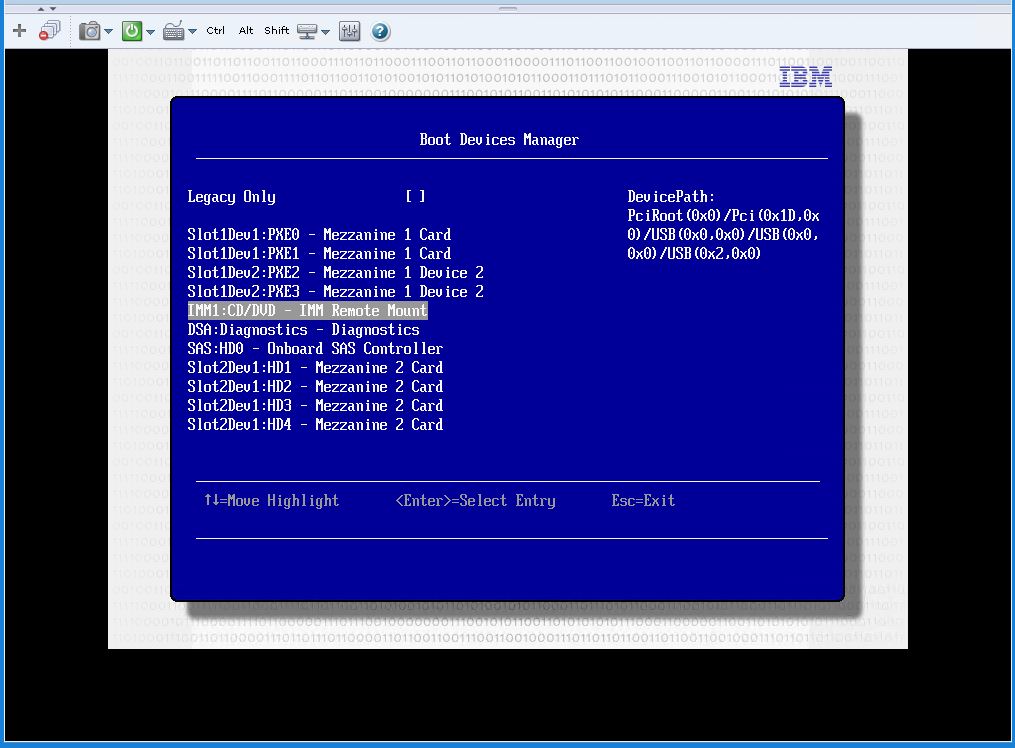
Step 4 - Boot from IMM Remote Mount
Restart the Node, press F12 for Boot Menu, and select IMM Remote Mount.
Step 5 - Select Language and Settings
Select Language and other settings, then click Next.
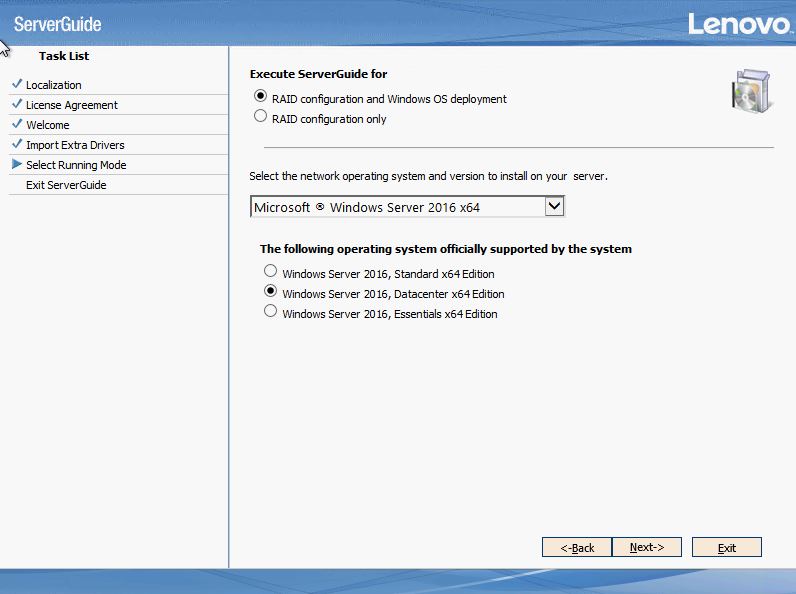
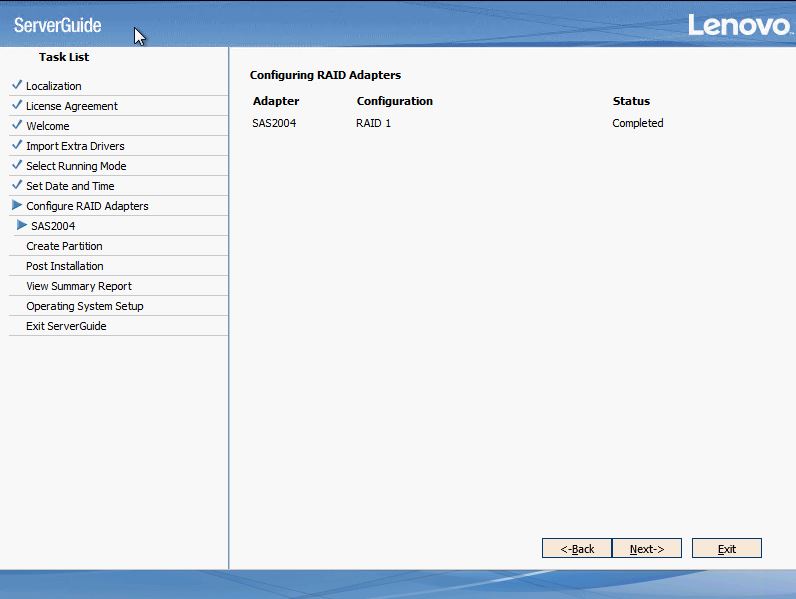
Step 6 - Select RAID Configuration and OS Deployment
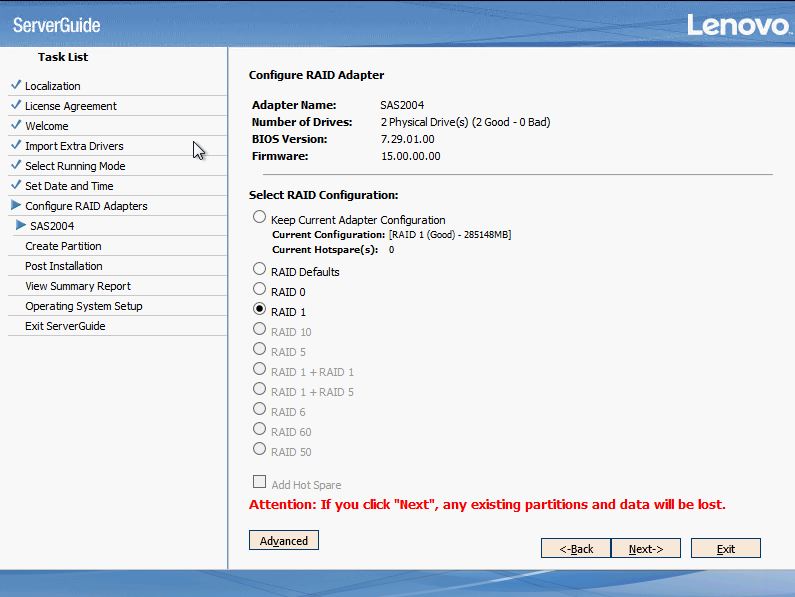
Step 7 - Configure RAID Type
On the RAID configuration screen, select the RAID type you want to configure and click Next.
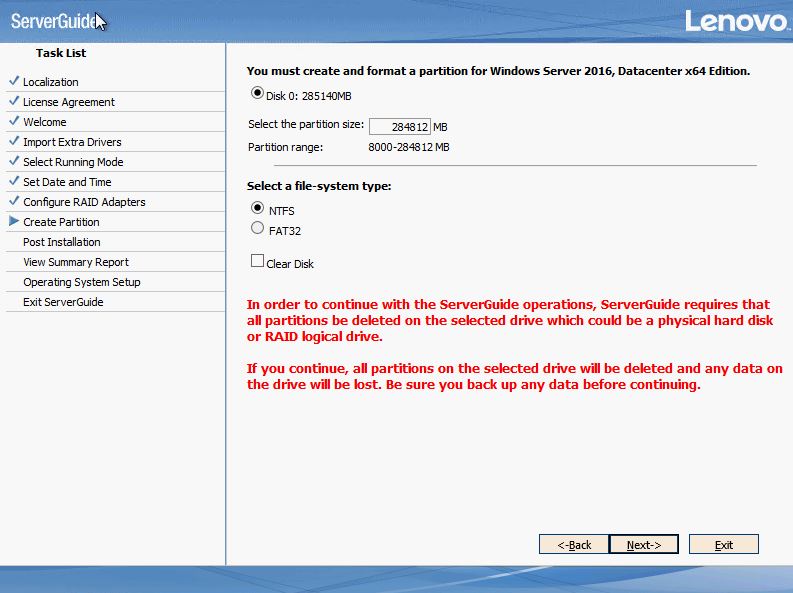
Step 8 - Select Disk Size and File System
Select Disk size and File System and click Next for other screens.
Step 9 - Mount Windows OS ISO
Unmount the Server Guide from IMM Remote Mount and mount the Windows OS ISO.
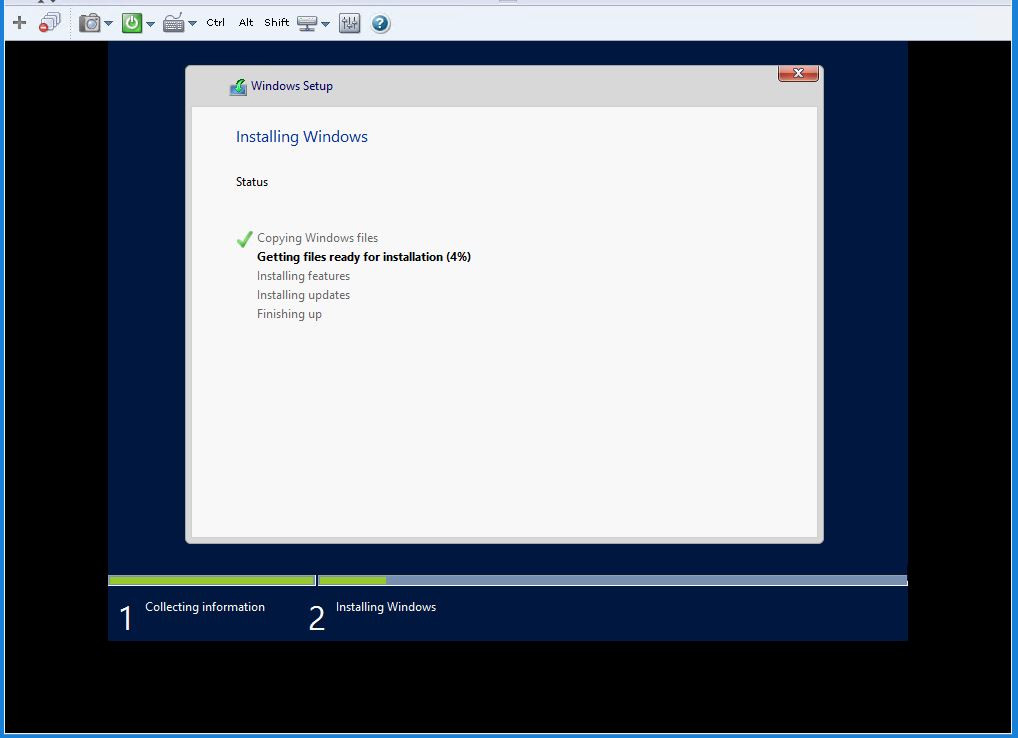
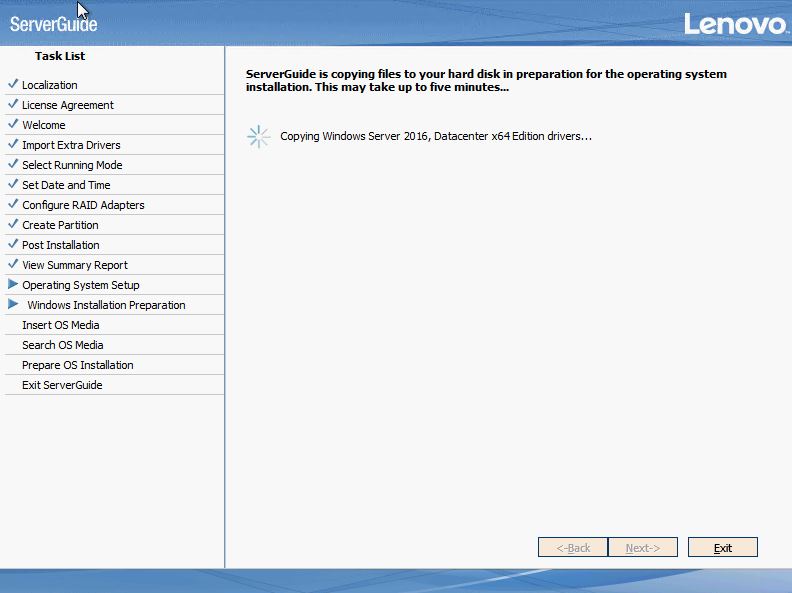
Step 10 - Windows Installation Begins
Setup will search for required files and will start Windows Installation.
Step 11 - OS Installation in Progress
Installation of the OS will start.