Office 365 shared mailboxes provide a convenient way for teams to collaborate and manage emails collectively. As an administrator or IT professional, you might need to grant specific users full access to these shared mailboxes to facilitate seamless collaboration.
In this blog post, we'll walk you through a step-by-step guide on using PowerShell to add bulk users to a shared mailbox in Office 365 with full access.
Prerequisites
- An Office 365 account with administrator privileges.
- Windows PowerShell or PowerShell Core installed on your computer.
- Exchange Online PowerShell module installed (you can install it using the
Install-Module -Name ExchangeOnlineManagementcommand).
Step 1: Prepare the CSV File
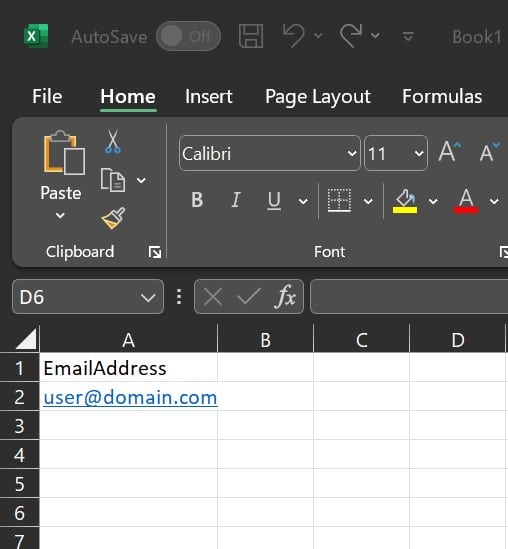
Start by creating a CSV file that contains a list of user email addresses. Each email address should be listed under the "EmailAddress" column. Save the file with a descriptive name, such as "users.csv."
Below you can see how it will look like if you open the CSV file in Excel:
Step 2: Connect to Exchange Online PowerShell
Launch PowerShell and connect to Exchange Online using the following command:
$UserCredential = Get-Credential
Connect-ExchangeOnline -UserPrincipalName $UserCredential.UserName -ShowProgress $true
This will prompt you to enter your Office 365 admin credentials.
Step 3: Write the PowerShell Script
Create a new PowerShell script file (e.g., "AddFullAccess.ps1") and paste the following script:
# Define the shared mailbox and path to the CSV file
$sharedMailbox = "shared@example.com"
$csvFilePath = "C:\Path\To\users.csv"

# Import user list from CSV file
$users = Import-Csv -Path $csvFilePath

# Loop through the list of users and grant them full access to the shared mailbox
foreach ($user in $users) {
    $userEmail = $user.EmailAddress
    Add-MailboxPermission -Identity $sharedMailbox -User $userEmail -AccessRights FullAccess -AutoMapping $false
    Write-Host "Full access granted to $($userEmail) for $($sharedMailbox)"
}

# Disconnect from Exchange Online PowerShell
Disconnect-ExchangeOnline -Confirm:$false
Step 4: Execute the Script
Open PowerShell and navigate to the directory where you saved the script. Run the script using the following command:
.\AddFullAccess.ps1
The script will import the list of user email addresses from the CSV file and grant them full access to the specified shared mailbox. You'll see output messages indicating the users for whom full access was granted.
Managing Office 365 shared mailboxes becomes much easier when leveraging the power of PowerShell. By following the steps outlined in this blog post, you can efficiently grant bulk users full access to shared mailboxes, utilizing the add bulk users to shared mailbox using the PowerShell approach.
Always exercise caution when making changes to your Office 365 environment and ensure thorough testing before deploying scripts in a production environment. Happy scripting!